
A rusty motorcycle gas tank is more than an aesthetic issue; it poses a direct threat to your engine’s health and your safety on the road. When rust scale flakes off inside the tank, it can quickly clog your fuel petcock, degrade fuel lines, and overwhelm your fuel filter, leading to engine sputtering, sudden stalling, or severe damage to carburetors and fuel injectors. Safely cleaning and removing rust from a motorcycle gas tank requires a systematic approach: you must safely drain and isolate the tank, select a chemical or mechanical rust-removal method suited to the level of corrosion, thoroughly neutralize and dry the bare metal, and apply a protective interior coating to prevent future oxidation. By understanding the chemical processes involved and taking strict safety precautions, you can restore your tank’s interior to a clean, fuel-safe condition and keep your motorcycle running smoothly.
What safety precautions and tools do you need before cleaning a motorcycle gas tank?
Before you begin cleaning a motorcycle gas tank, you must establish a highly secure, well-ventilated workspace and gather the correct protective gear and tools to handle volatile fuel vapors and corrosive chemicals safely. Working with gasoline and rust-removal acids presents significant fire and health hazards, making preparation the most critical phase of the entire project.
Your workspace must be outdoors or in a highly ventilated garage with open doors and windows to prevent the accumulation of heavy fuel vapors. Ensure there are absolutely no ignition sources nearby, including open flames, pilot lights, space heaters, grinding tools, or electrical switches that could generate a spark. Keep a class B fire extinguisher rated for flammable liquids within arm’s reach at all times.
Products mentioned in this guide
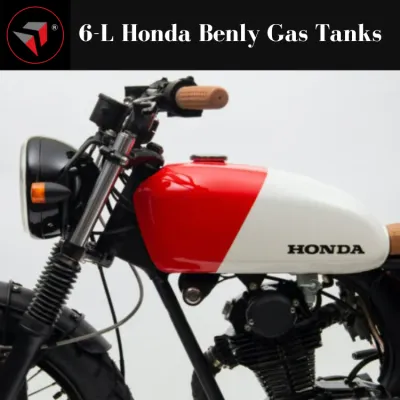
9 Lazada user ratings
Received my Gas Tank from Red Indian Customs, and napakasolid niya! Quality is on point, bagay sa custom build, and angas talaga ng dating. …Read full reviewShow less
Received my Gas Tank from Red Indian Customs, and napakasolid niya! Quality is on point, bagay sa custom build, and angas talaga ng dating. Can't wait to paint it. Sulit na upgrade. Thank you po!
tabingi , d ko maintindihan pano natapos i manufacture na d pantay.. kung hulmahan ang sablay , it means lahat ng kabatch neto o mga susunod…Read full reviewShow less
tabingi , d ko maintindihan pano natapos i manufacture na d pantay.. kung hulmahan ang sablay , it means lahat ng kabatch neto o mga susunod na tank eh tabingi din . im sorry and its sad
Quality: great Appearance: great Performance: great As always til next time guys !!!!!!!!!!!!!!!!!!!!!!!!!!!!!!!!!!!!!!
Quality:5star Appearance:5star Performance:5star
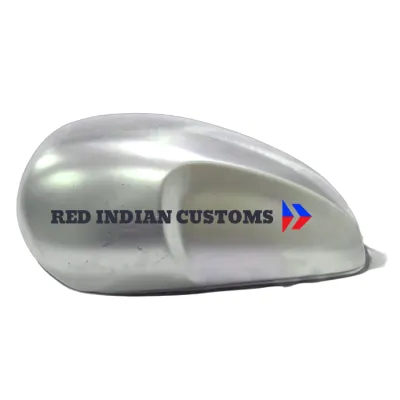
17 Lazada user ratings
medyo natagalan ung delivery since im from pangasinan and item will be coming from cebu. but i received the item in grear condition. seller …Read full reviewShow less
medyo natagalan ung delivery since im from pangasinan and item will be coming from cebu. but i received the item in grear condition. seller is also very responsive to my inquiries.. once painted and installed!
Performance:10/10 solid Appearance:10/10 solid Quality:10/10 solid
salamat po ng marami ganda ng product
Quality: perfect!
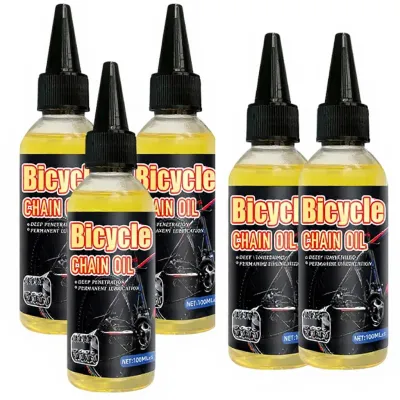
167 Lazada user ratings
This product is certainly something. It has features, and they work in ways that might appeal to some people, or maybe not. There are aspect…Read full reviewShow less
This product is certainly something. It has features, and they work in ways that might appeal to some people, or maybe not. There are aspects that could be noticed, but whether they stand out depends entirely on individual preferences. It's hard to say if it's great or not, as opinions will vary. Overall, it's a product that exists and does what it does, though how that aligns with expectations is up to the user. 😁✌️
👌Ease of Use:10 🔨Durability:10 🔌Compatibility:10 fast delivery.... ganda pang maintenance pang motor... para sa chain, springs etc.. salamat…Read full reviewShow less
👌Ease of Use:10 🔨Durability:10 🔌Compatibility:10 fast delivery.... ganda pang maintenance pang motor... para sa chain, springs etc.. salamat seller, lazada and courier...
maganda sya pantanggal kalawang sa mga parts ng motor mura lang pati sulit bili na kayo neto guys maganda sya pra sa mga motor
complete 💯 maraming salamat po seller at Lazada pati sa rider God bless Us
smooth transaction. mabilis ang delivery
Prices are valid at publication and may change. Please refer to the product page for the latest price.
Personal protective equipment is non-negotiable when handling fuel and chemical rust removers. Wear heavy-duty, chemical-resistant gloves made of nitrile or neoprene, as standard thin latex gloves will quickly degrade when exposed to gasoline or strong acids. Protect your eyes with splash-resistant safety goggles, and wear long sleeves and a protective apron to shield your skin from accidental chemical splashes.
To complete the job efficiently, gather a set of basic hand tools, which typically includes metric wrenches or socket sets to remove the tank mounting bolts, pliers for hose clamps, and a screwdriver. You will also need an approved, clean fuel drain pan, a funnel, and several clean, lint-free microfiber towels. Finally, prepare sealing materials such as rubber expansion plugs, heavy-duty duct tape, or custom blanking plates to seal the fuel petcock, fuel pump, and sensor openings during the liquid cleaning process.
How do you safely drain fuel and remove the tank from the motorcycle?
To safely drain the fuel and remove the tank from your motorcycle, you must follow a careful, step-by-step disassembly sequence that prevents fuel spills, protects delicate electrical connectors, and avoids scratching your bike’s paint or frame. Because fuel systems vary between carbureted and fuel-injected motorcycles, always consult your specific vehicle’s factory service manual before disconnecting any components.

Begin by turning the fuel petcock to the “Off” position on carbureted models. For fuel-injected models, refer to your manual to safely relieve residual fuel system pressure before disconnecting any lines. Place your approved fuel drain pan directly beneath the fuel line connection, loosen the hose clamp, and carefully slide the fuel line off the petcock or fuel pump outlet. Allow any residual fuel in the line to drain completely into the pan.
Next, drain the tank by attaching a temporary hose to the petcock or pouring the fuel through a wide-mouth funnel into a clean, grounded container. Once empty, disconnect all vacuum lines, vent hoses, and electrical wiring harnesses for the fuel pump or sender unit, handling plastic clips gently to avoid breakage.
Unbolt the tank from the motorcycle frame, which usually involves removing a main bolt near the base of the seat and sometimes additional bolts near the steering head. Carefully lift the tank upward and backward, ensuring it does not snag on any wiring or throttle cables. Immediately place the removed tank onto a soft, stable surface, such as an old blanket, foam padding, or a thick cardboard sheet, to protect both the exterior paint and the vulnerable mounting tabs from damage. Dispose of any old, contaminated fuel at an authorized hazardous waste disposal facility in the Philippines, adhering strictly to local environmental regulations.
Which interior rust removal method should you choose based on the tank's condition?
Choosing the right interior rust removal method depends entirely on a visual assessment of the tank’s internal condition, as mild surface discoloration requires a much less aggressive approach than heavy, flaking scale. Shine a bright LED flashlight inside the empty tank to inspect the walls, corners, and seams, looking closely to determine if you are dealing with light surface rust, moderate scaling, or deep structural pitting.
For light surface rust, mild acids like white vinegar or citric acid powder dissolved in warm water are highly effective. Fill the tank completely, let it sit for 24 to 48 hours, and monitor the progress. You can add a handful of clean steel nuts or a short brass chain, seal the openings, and gently agitate the tank to knock loose softened rust. Avoid using gravel or rocks, which leave behind stubborn debris.
For moderate scaling, commercial chemical rust removers and chelating agents offer a faster, targeted solution that dissolves iron oxide without attacking the healthy base metal. When using these products, strictly adhere to the manufacturer’s instructions regarding dilution ratios, dwell times, and operating temperatures.
For severe rust with heavy buildup, electrolysis is a highly effective DIY method, though it requires a more complex setup and constant supervision. This process uses a sacrificial steel anode inserted into the tank (insulated so it does not touch the tank walls), a solution of water and washing soda (sodium carbonate) as an electrolyte, and a low-voltage DC power source, such as a manual battery charger. When the current flows, rust is transferred from the tank walls to the sacrificial anode. While highly effective at restoring heavily corroded metal, electrolysis produces highly flammable hydrogen gas, requiring excellent ventilation and precise electrical monitoring to prevent short circuits or damage to the base metal.
How do you properly rinse, dry, and seal the tank to prevent future rust?
To prevent immediate flash rusting, you must thoroughly rinse the tank with a neutralizing solution, dry every trace of moisture, and apply a dedicated fuel-resistant tank sealer. This phase of the process requires speed, precision, and the correct neutralizing agents to ensure the interior remains stable and protected.
Begin by thoroughly flushing the tank with clean water to remove all traces of the rust-removal chemicals and loose debris. If you used an acid-based remover, such as white vinegar or citric acid, you must neutralize the remaining acid to stop the chemical reaction. Dissolve a few tablespoons of baking soda (sodium bicarbonate) in warm water, pour it into the tank, slosh it around thoroughly to coat all interior surfaces, and let it sit for a few minutes before performing a final, thorough rinse with clean water.
Drying the tank completely is critical to prevent immediate flash rust. Because water clings to seams, simple air-drying is rarely sufficient. Use compressed air or a leaf blower to force moisture out of the openings, or pour in a small amount of denatured alcohol or high-purity isopropyl alcohol. The alcohol binds with remaining water and accelerates evaporation when blown dry.
To provide long-term protection against future corrosion, apply a fuel-resistant interior tank sealer or epoxy coating compatible with your fuel type. Mix the sealer according to the manufacturer’s instructions, pour it into the dry tank, and rotate it slowly to coat every interior surface. Drain any excess sealer completely to prevent thick pools from cracking during curing, and allow it to cure fully for the specified duration before reinstalling.
When should you stop the cleaning process and consult a professional?
You should halt the DIY process and consult a professional restorer or replace the tank if you discover structural damage, pinhole leaks, or if the metal has thinned dangerously. Attempting to repair or use a structurally compromised fuel tank poses severe safety risks, including fuel leaks onto hot engine components, which can lead to catastrophic fires.
Carefully inspect the tank for structural damage during and after the cleaning process. If the removal of rust reveals pinhole leaks, deep pitting that has eaten nearly all the way through the steel, or cracked welds around the mounting tabs, the tank is no longer safe for fuel storage. Press gently on areas that were heavily rusted; if the metal flexes easily under light thumb pressure, the wall thickness has degraded to a dangerous level.
Additionally, if you find that multiple rounds of chemical treatment fail to remove deep, stubborn scale, or if the interior is heavily baffled and prevents you from thoroughly rinsing or sealing the corners, a DIY approach may not be viable. In these scenarios, seek out a professional radiator repair shop or a specialized motorcycle restoration service. These professionals have access to industrial-grade chemical baths, specialized welding equipment, and pressure-testing tools to safely repair structural defects. If the cost of professional restoration exceeds your budget, evaluate replacement options, as installing a new OEM or high-quality aftermarket tank is often the safest and most reliable path to getting your motorcycle back on the road.
Community discussion
Share your experience or ask a question. Comments are reviewed before publication.