
For daily motorcycle riders, a helmet is more than just safety gear—it is a significant investment that deserves a secure resting place. When organizing your home, entryway, or garage, keeping your helmet off the floor and off cluttered tables is essential for maintaining its structural integrity. Choosing how to mount your storage, however, presents a common dilemma: should you go with a drill-free adhesive hook or a permanent screw-mounted rack?
There is no single best option for every rider. The right choice depends heavily on your specific wall material, whether you rent or own your home, and the weight of your riding gear.
Screw-mount hooks offer superior long-term security and much higher weight capacity, making them the ideal choice for permanent setups and heavy full-face or modular helmets. Adhesive hooks provide a damage-free, tool-free alternative that is highly suited for renters, smooth tiled surfaces, and lighter open-face or half helmets. Understanding the distinct physical limits of each method will help you avoid a costly drop and keep your gear safely displayed.
Products mentioned in this guide
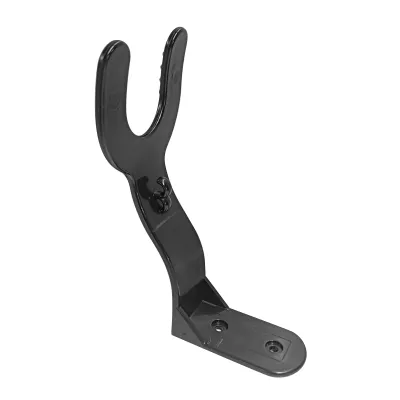
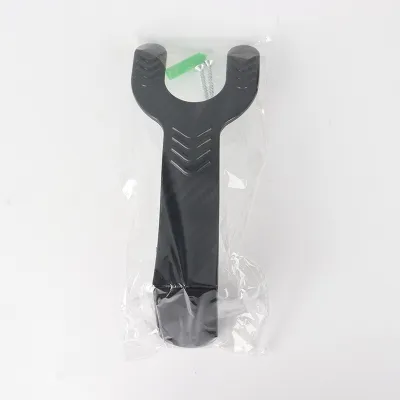
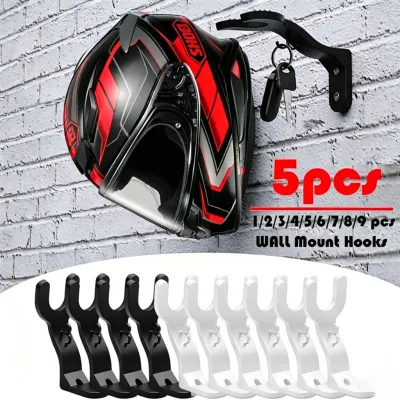
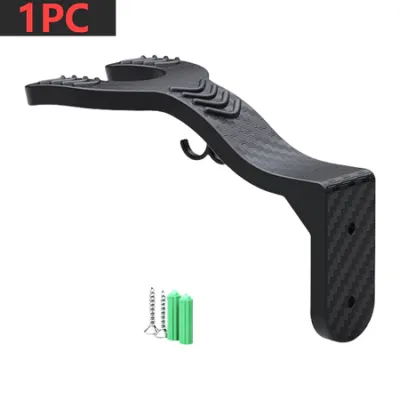
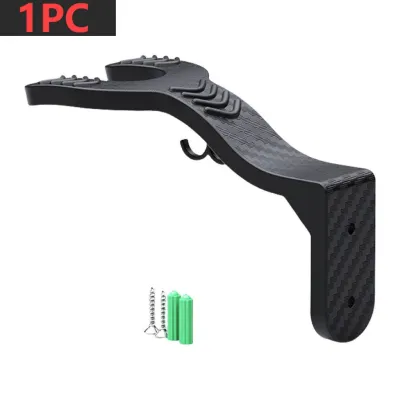
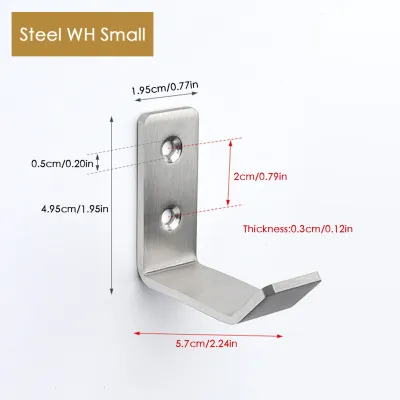
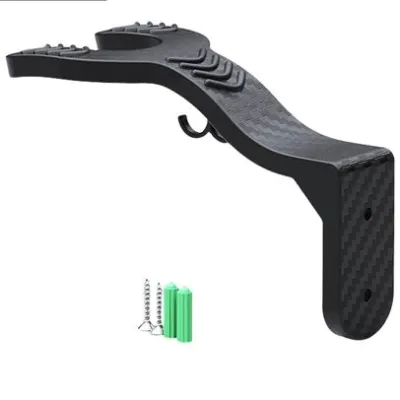
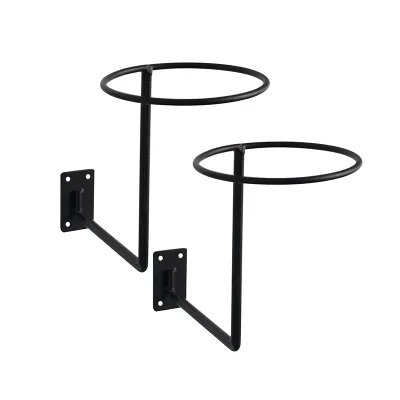
Prices are valid at publication and may change. Please refer to the product page for the latest price.
Core Differences in Design and Installation
If you are browsing online marketplaces for a 1-5PCS Motorcycle Helmet Hook Racks Wall Mount Shelf Storage Holder Helmet Display Hanger Stand to organize your riding gear, you will quickly notice how much the installation methods differ. These differences stem from the underlying physics of how each hook transfers the weight of your helmet to the wall.
Adhesive hooks rely entirely on chemical bonding to stay in place. Most of these systems use pressure-sensitive adhesives, such as double-sided acrylic foam tape, liquid adhesives, or advanced suction mechanisms. The installation process is completely tool-free, requiring only a clean surface and manual pressure. However, because the bond is chemical, it is highly sensitive to surface preparation and requires a strict curing period before you can hang any weight.
Screw-mount hooks utilize mechanical fastening to secure the bracket. This method requires physical hardware, including steel screws, plastic wall plugs, and sometimes heavy-duty masonry anchors. Installing a screw-mount rack requires basic tools such as an electric drill, appropriate drill bits, a screwdriver, and a spirit level. Once fastened, the mechanical connection is immediate and permanent, leaving physical holes in the wall structure if the hook is ever removed.
These design differences directly dictate where and how you can use your helmet display hanger stands. While an adhesive hook can be mounted in minutes without noise, a screw-mount rack establishes a structural anchor that can withstand years of daily use.
Comparing Adhesive and Screw-Mount Hooks Across Key Dimensions
To choose the right mounting method, you must evaluate how each option performs under the physical demands of daily use, the specific characteristics of your walls, and the local environmental conditions.

Weight Capacity and Load Security
When evaluating load security, you must consider both static weight and dynamic stress. Static weight is simply the resting weight of your helmet when it is hanging undisturbed. Dynamic stress occurs every time you place the helmet on the hook, pull it off, or accidentally bump into the display. This physical action creates downward and outward shear forces that multiply the effective weight acting on the mounting base.
Screw-mount hooks excel at handling these complex dynamic forces. Because the metal screws penetrate deep into the wall substrate, the mechanical force is distributed throughout the wall structure itself. This deep anchorage makes screw-mounted brackets highly resistant to pulling loose, even when you hastily grab your helmet on the way out the door.
Adhesive hooks have a strictly limited weight capacity that is governed by the surface area of the adhesive pad and the strength of the chemical bond. The adhesive must hold not only the weight of the hook but also the constant downward pull of the helmet. If the bond stretching limit is exceeded, the adhesive will slowly creep, eventually failing without warning.
Always check the manufacturer’s maximum load rating on the product label or packaging before installation. Do not guess or assume a hook can hold your gear. Factor in the exact weight of your specific helmet, including any installed accessories such as Bluetooth intercom systems, action cameras, heavy-duty visors, or peak extensions, which can easily add several hundred grams to the total load.
Wall Surface Compatibility and Damage
Your wall material is often the deciding factor in which mounting method you can safely use.
Screw-mount hooks are highly versatile regarding wall types, provided you use the correct hardware. They are the standard choice for solid concrete walls, brick, hollow concrete blocks, and wood-backed drywall. In the Philippines, residential interior walls are predominantly made of solid poured concrete or hollow concrete blocks. Drilling into these tough materials requires a hammer drill and specialized masonry bits to insert plastic wall plugs safely. The primary drawback is that this method leaves permanent holes that require patching, sanding, and repainting if you decide to relocate the storage.
Adhesive hooks require a smooth, non-porous, and perfectly flat surface to achieve a complete chemical bond. Ideal surfaces include glazed ceramic tiles, glass panels, polished metal sheets, and sealed, varnished wood. You must avoid using standard adhesives on raw concrete, unpainted plaster, textured wallpaper, or brick, as the adhesive cannot make full contact with the recessed areas. Furthermore, applying strong adhesives to painted walls is highly risky; the adhesive bond is often stronger than the paint’s bond to the wall, meaning the hook will eventually peel the paint layer right off the wall under the weight of a helmet.
For renters living in apartments or condominiums, preserving the wall surface is critical to securing the return of a security deposit. Standard rental agreements often prohibit drilling into concrete walls, making damage-free adhesive hooks on tiled surfaces or glass wardrobe doors the only viable path to vertical helmet storage.
Durability in Tropical Climates
Environmental factors play a massive role in the long-term reliability of wall-mounted hardware, especially in tropical climates.
The climate in the Philippines is characterized by high humidity, high ambient temperatures, and seasonal dampness. These conditions are exceptionally harsh on chemical adhesives. Over time, persistent heat and moisture can degrade adhesive compounds, causing them to soften, lose their grip, or dry out and become brittle. An adhesive hook that holds perfectly in an air-conditioned room may fail rapidly if installed in a humid, non-airconditioned hallway or an open veranda.
Mechanical screw-mounts are completely unaffected by temperature fluctuations and humidity levels in terms of holding power. However, the metal hardware itself is vulnerable to environmental degradation. In highly humid areas, such as outdoor carports, open garages, or coastal properties, standard steel screws and cheap metal brackets can rust quickly. Rust not only compromises the structural integrity of the hook over time but can also leave permanent orange stains on your helmet’s delicate inner fabric lining. To prevent this, always select screw-mount hooks made of stainless steel or those featuring high-quality powder-coated, rust-resistant finishes.
Decision Framework: Which Mounting Method Fits Your Situation?
To simplify your decision, use this structured framework to match your living situation and riding gear to the correct mounting method.
Choose Screw-Mount Hooks if:
- You own your home or have written permission from your landlord to drill into the walls.
- Your walls are made of solid concrete, hollow concrete blocks, or have accessible wooden studs behind drywall.
- You ride daily with a heavy helmet, such as a modular, adventure, or full-face helmet equipped with communication units and action cameras.
- You are installing the rack in a high-humidity area, such as an open carport, an unventilated garage, or an outdoor porch.
Choose Adhesive Hooks if:
- You are renting a property and must avoid drilling holes to protect your security deposit.
- You are mounting on smooth, non-porous surfaces, such as glazed bathroom or kitchen tiles, glass partition walls, or polished laminate cabinet doors.
- You use lightweight helmets, such as open-face jet helmets, half-helmets, or bicycle helmets.
- You want a temporary display that you can easily relocate or remove without patching walls.
Verify First if:
- You are unsure of the wall's construction or the quality of the paint. If the paint is old, chalking, or peeling, do not use adhesives.
- The total weight of your helmet and accessories is close to the adhesive's rated limit. If the margin of safety is narrow, do not risk your expensive helmet; opt for a freestanding floor stand or a sturdy shelf instead.
Before purchasing any hook, measure your available wall space. Ensure the hook design matches your helmet’s retention system—whether it uses a classic D-ring, a micrometric quick-release buckle, or requires resting the helmet’s interior EPS liner directly on a curved dome. The hook should hold the helmet securely without pinching or scratching the internal comfort liner.
Safe Installation and Maintenance Practices
Regardless of which mounting method you select, following correct installation procedures and performing regular maintenance is the only way to prevent accidental drops.
For Adhesive Installation
- Clean the surface thoroughly using isopropyl alcohol and a clean microfiber cloth to remove all dust, grease, and fingerprint oils. Avoid using household glass cleaners or multi-surface sprays, as they often leave a thin chemical residue that prevents the adhesive from bonding fully.
- Allow the surface to dry completely for several minutes.
- Apply the adhesive pad to the back of the hook, then press the hook firmly against the wall. Apply even, heavy pressure across the entire mounting base for at least 30 to 60 seconds to activate the pressure-sensitive adhesive.
- Wait the full curing time specified by the manufacturer before hanging your helmet. This curing process typically takes 24 to 72 hours. Hanging weight on the hook too early is the single most common cause of adhesive failure.
For Screw-Mount Installation
- Hold the mounting plate against the wall and use a spirit level to ensure the hook sits perfectly straight. Mark the screw holes clearly with a pencil.
- Select the correct drill bit and wall anchor for your wall material. For concrete walls, use a hammer drill with a masonry bit that matches the diameter of your plastic wall plugs (tox). For hollow drywall, use specialized toggle bolts or self-drilling drywall anchors.
- Drill the holes to the correct depth, clear out any remaining dust from inside the holes, insert the wall plugs until they are flush with the wall surface, and then screw the bracket tightly into place.
Routine Maintenance
Make it a habit to perform periodic physical checks on your helmet storage. For adhesive mounts, visually inspect the edges of the adhesive pad every few weeks to check for lifting, peeling, or sliding. For screw-mounts, gently wiggle the bracket to ensure the screws have not loosened and check for any fine cracks forming in the surrounding concrete or plaster.
Safety Boundary: If an adhesive hook shows any sign of slipping, peeling, or lifting, remove your helmet immediately. Do not attempt to re-secure a failing adhesive pad using household superglue, hot glue, or standard double-sided tape. Discard the degraded adhesive entirely, clean the wall surface again, and apply a fresh, high-quality replacement mounting strip designed for heavy-duty use.
Frequently Asked Questions (FAQ)
Can adhesive helmet hooks hold heavy full-face motorcycle helmets?
While some high-quality adhesive hooks claim high weight capacities on their packaging, relying on them to hold heavy full-face motorcycle helmets is generally not recommended. A typical full-face helmet weighs between 1.4 and 1.8 kilograms, and this weight increases when you add action cameras or Bluetooth intercom systems. Even if the adhesive itself is strong, the bond is limited by the strength of your wall’s paint or plaster layer. Under the constant weight and the dynamic stress of daily placement, the paint layer can peel away, causing your helmet to fall. For heavy full-face helmets, screw-mount hooks are always the safest option.
How do I safely remove adhesive hooks without peeling the wall paint?
To remove an adhesive hook safely, use a handheld hairdryer on a low-to-medium heat setting to gently warm the adhesive pad for one to two minutes. The heat will soften the chemical bonds within the adhesive. Once the pad is warm and pliable, slide a piece of dental floss, strong sewing thread, or a flexible plastic scraper behind the hook base. Gently saw downward through the softened adhesive foam rather than pulling the hook straight off the wall. Any remaining sticky residue can be cleaned off with a mild adhesive remover or isopropyl alcohol, but test a small, hidden area first to ensure it does not discolor your wall finish.
Community discussion
Share your experience or ask a question. Comments are reviewed before publication.