
Upgrading your Yamaha NMAX V2 with carbon-look accessories is a popular way to give this highly capable scooter a sportier, more aggressive edge. The distinct lines of the V2 model provide an excellent canvas for carbon-themed enhancements, ranging from subtle decals to prominent top boxes and protective crash bars. However, navigating the vast market of aftermarket parts requires a clear understanding of what makes an accessory both visually appealing and structurally safe.
When selecting carbon-look upgrades, you must balance aesthetic desires with practical engineering. A poorly fitted phone mount can vibrate loose on rough roads, while an incorrectly installed top box can compromise your scooter’s balance. By focusing on precise compatibility, material durability, and proper installation techniques, you can elevate your ride’s appearance while maintaining its daily utility and safety on the road.
Selection Criteria for NMAX V2 Carbon-Look Accessories
Before purchasing any carbon-style upgrades, it is essential to establish clear baseline standards for material quality, fitment, and structural safety. Not all carbon finishes are created equal, and understanding these differences will help you make informed purchasing decisions.
Products mentioned in this guide
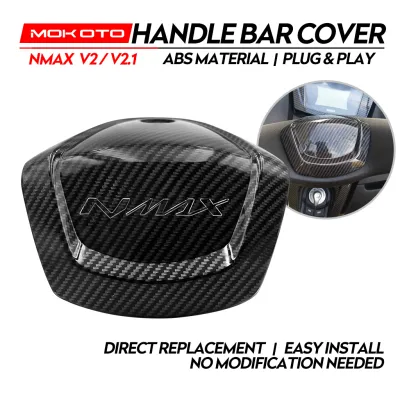
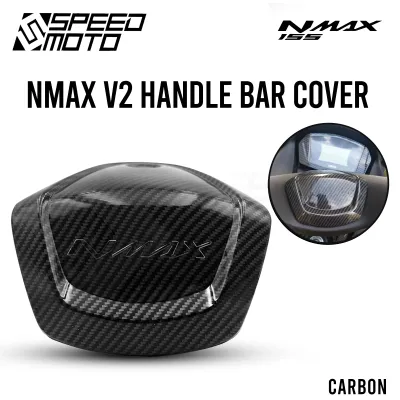
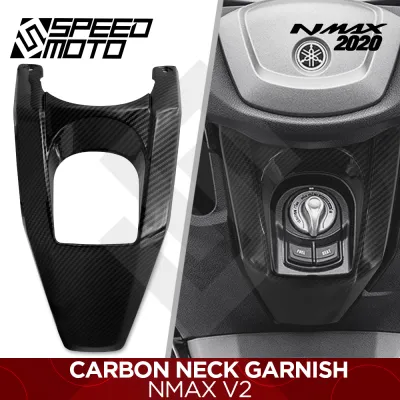
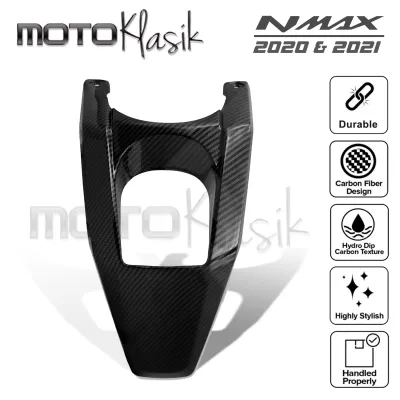
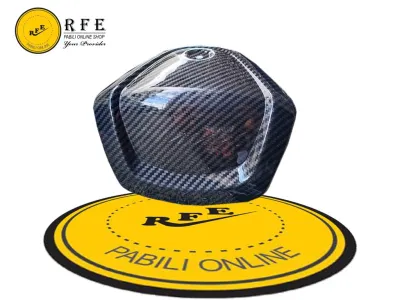
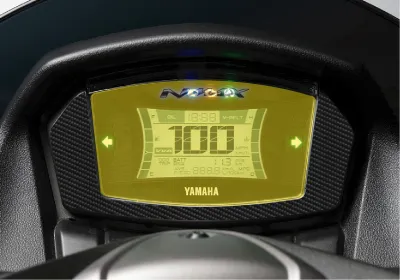
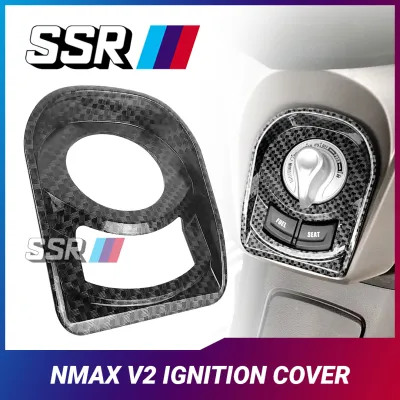
Prices are valid at publication and may change. Please refer to the product page for the latest price.
Distinguishing Material Types The term “carbon” is often used loosely in the aftermarket motorcycle scene. Real carbon fiber is a composite material made of woven carbon filaments bound by epoxy resin, valued for its extreme strength-to-weight ratio. In contrast, carbon-look accessories are typically made of Acrylonitrile Butadiene Styrene (ABS) plastic that has undergone a surface treatment. The most common methods include hydro-dipping (water transfer printing), where a carbon-patterned film is floated on water and transferred onto the plastic part, and vinyl wrapping, which uses an adhesive-backed film. While real carbon fiber offers genuine structural reinforcement, carbon-look ABS is primarily cosmetic, offering a similar high-tech appearance at a fraction of the cost. Always read product labels and manufacturer descriptions carefully to verify whether you are buying real composite material or a treated plastic cover.
Verifying NMAX V2 Compatibility The Yamaha NMAX has undergone significant design evolutions, and parts designed for the V1 model will rarely fit the V2. The V2 features redesigned front fairings, a different headlight assembly, modified side panels, and altered mounting points. Even minor variations in screw hole placement or panel curvature can prevent a cosmetic cover or bracket from fitting securely. When browsing parts, look for explicit confirmation that the accessory is designed specifically for the NMAX V2. Avoid generic listings that claim universal fitment for all NMAX model years unless the seller provides detailed dimensions and mounting diagrams that match your scooter’s specific layout.
Understanding Structural and Weight Limits It is crucial to distinguish between purely cosmetic covers and load-bearing accessories. A carbon-look ignition key cover or air filter cap only needs to stay securely attached and resist engine heat. However, accessories like phone mounts, top box brackets, and crash bars must withstand constant road vibrations, wind resistance, and physical loads. Using a cosmetic mounting point to support a heavy accessory can crack your scooter’s plastic fairings. Always ensure that any load-bearing hardware mounts directly to the metal frame or designated structural points of the scooter, rather than relying on plastic body panels for support.
Choosing Carbon-Style Phone Mounts and Top Boxes
Adding storage and navigation tools to your NMAX V2 enhances its practicality for daily commutes and long weekend rides. Selecting carbon-style options for these components requires a careful look at ergonomics, clearance, and weight distribution.

Phone Mount Placement and Clearance The NMAX V2 features a handlebar cover that limits the use of traditional handlebar clamp mounts. To install a phone mount, you typically have two options: utilizing a mirror stem mount or installing a dedicated accessory bar that spans across the handlebar area. When choosing a carbon-look phone mount, verify that its clamping mechanism is compatible with your chosen mounting position. Additionally, check the clearance between the mount and your windshield. If you have installed an aftermarket tall windshield, ensure the phone mount does not strike the screen when you turn the handlebars fully to the left or right. The mount should also be positioned so it does not obstruct your view of the digital instrument panel or block access to the ignition switch.
Top Box Base Plate and Grab Rail Integration A carbon-look top box can dramatically change the rear profile of your NMAX V2. Before purchasing, inspect the mounting base plate supplied with the top box. This plate must secure tightly to your rear rack or grab rail adapter. Verify that the installation does not interfere with the passenger grab rails or block the mechanism that latches the seat closed. Some larger top boxes can prevent the seat from opening fully, which makes accessing the under-seat storage compartment difficult. Measure the clearance between the front of the top box and the rear of the seat to ensure smooth operation.
Locking Mechanisms, Weather Resistance, and Weight Distribution A reliable top box must protect your belongings from both theft and the elements. Look for models featuring robust locking mechanisms with reinforced key cylinders. Given the tropical climate of the Philippines, where sudden downpours are common, high-quality rubber gaskets around the lid seal are essential to prevent water from seeping inside. Furthermore, pay close attention to the manufacturer’s recommended weight limits. Placing too much weight far behind the rear axle can lighten the front end of the scooter, leading to vague steering feel, reduced front-tire grip, and instability at higher speeds. Keep heavy items in the under-seat compartment and use the top box primarily for lighter gear.
Fitment and Safety Checks for Crash Bars and Decals
Protective hardware and visual wraps are excellent ways to personalize your NMAX V2, but they must be installed with safety and precision in mind to avoid damaging your vehicle.
Crash Bar Installation and Clearances Crash bars provide vital protection for your scooter’s expensive side panels in the event of a tip-over. However, because they are rigid metal structures, they must be mounted directly to the scooter’s steel frame. When installing carbon-look crash bars, locate the designated frame mounting points and use the correct hardware. Refer to the manufacturer’s instructions for specific torque values; over-tightening bolts can strip the threads in the frame, while under-tightening can allow the bars to vibrate loose. Ensure there is adequate clearance between the crash bars and critical components like the radiator, front fender, side panels, and the kickstand. The bars must not restrict the movement of the front forks or interfere with your feet when riding or stopping.
Professional Installation vs. DIY Deciding whether to install accessories yourself or hire a professional depends on the complexity of the task. Applying carbon-look decals, installing cosmetic engine covers, or mounting a simple phone holder are generally safe DIY projects. However, installing structural crash bars, heavy-duty rear racks, or electrical accessories requires proper tools, such as a torque wrench, and a solid understanding of motorcycle mechanics. If an accessory requires removing major body panels or mounting directly to the frame, having a qualified motorcycle mechanic perform the installation ensures that your scooter remains structurally sound and safe to ride.
Decal Selection and Application Carbon-look decals and stickers are a cost-effective way to add sporty accents to your NMAX V2’s bodywork. To ensure longevity, select decals made from high-quality, UV-resistant vinyl that can withstand intense sunlight without fading or peeling. Before application, clean the plastic panels thoroughly with isopropyl alcohol to remove any dirt, wax, or silicone-based polish, which can prevent the adhesive from bonding. Apply the decals carefully, using a squeegee or a soft cloth to smooth out air bubbles from the center outward. Be careful not to cover critical safety features, such as side reflectors, cooling vents, or manufacturer warning labels.
Sourcing and Verifying NMAX V2 Carbon Accessories
With a wide variety of aftermarket parts available, sourcing high-quality carbon-look accessories requires a strategic approach to avoid low-quality imitations or ill-fitting components.
Comparing Retail Channels When shopping for NMAX V2 accessories, you can choose between authorized motorcycle dealers, local physical shops, and online marketplaces. Local physical shops are highly advantageous because they allow you to inspect the physical quality of the carbon-look finish, feel the weight of the brackets, and sometimes even test-fit the part on your scooter before paying. Online marketplaces offer a broader selection and competitive pricing, but you must exercise caution. Prioritize sellers who offer clear return policies, warranties against manufacturing defects, and responsive customer service to handle any compatibility issues that may arise.
Evaluating Buyer Reviews Before purchasing any accessory online, dive deep into the customer reviews. Do not rely solely on overall star ratings, which can sometimes be inflated. Look for detailed reviews from other Yamaha NMAX V2 owners. Pay close attention to comments regarding fitment accuracy, paint peeling, fading under the sun, or missing installation hardware. Photos uploaded by actual buyers are incredibly helpful, as they show how the carbon-look pattern actually looks in natural lighting compared to polished promotional images.
Budgeting and Installation Costs When planning your upgrades, establish a realistic budget in ₱. Simple cosmetic decals and small plastic covers may cost anywhere from ₱150 to ₱800. Mid-range functional items like carbon-look phone mounts or small top boxes typically range from ₱1,200 to ₱3,500. High-end structural components, such as heavy-duty crash bars or large, premium carbon-look top boxes with matching brackets, can cost between ₱4,000 and ₱10,000. Remember to factor in potential professional installation fees if you plan to have a mechanic mount your crash bars or complex brackets, as this ensures the work is done safely and correctly.
Frequently Asked Questions (FAQ)
Can I install carbon-look crash bars on my NMAX V2 by myself?
While it is possible to install carbon-look crash bars yourself if you have the necessary tools and mechanical experience, it is often safer to have them installed by a professional. Unlike simple cosmetic covers, structural crash bars must align perfectly with the scooter’s frame mounting points. This process often requires removing several plastic fairings and using a torque wrench to tighten bolts to the manufacturer’s exact specifications. Incorrect installation can lead to stripped frame threads, misaligned bars that rub against the bodywork, or loose hardware that vibrates off during a ride. If you do not own a torque wrench or feel uncomfortable working near the scooter’s frame and radiator, consulting a qualified motorcycle mechanic is highly recommended.
Will carbon-look top boxes affect the NMAX V2's handling or seat access?
Yes, adding a top box can influence both the handling and ergonomics of your NMAX V2. Because a top box sits high and far back on the scooter, any weight placed inside it shifts the center of gravity rearward. This can make the front steering feel lighter and less responsive, especially at higher speeds or when carrying a passenger. To minimize this effect, always adhere to the weight limits specified by the top box and bracket manufacturers. Additionally, ensure the box is positioned far enough back so it does not block the passenger seat from opening fully or crowd the passenger’s seating space. Finally, verify that the top box does not obstruct the visibility of your tail light, turn signals, or license plate from behind.
How do I maintain the finish on carbon-look plastic accessories?
Maintaining the appearance of carbon-look plastic accessories requires gentle cleaning and protection from environmental elements. Avoid using harsh, abrasive chemical cleaners or rough scrubbing pads, which can scratch the clear coat or wear away hydro-dipped patterns. Instead, wash these parts using a soft microfiber cloth and mild motorcycle soap. When washing your scooter, do not spray high-pressure water directly at the edges of decals or the seams of hydro-dipped parts, as the pressure can lift the adhesive or chip the finish. Applying a high-quality, UV-blocking plastic protectant or wax regularly will help prevent the carbon-look finish from yellowing, fading, or cracking under intense tropical sunlight.
Community discussion
Share your experience or ask a question. Comments are reviewed before publication.