
Finding the right cup holder for motorcycle setups in the Philippines requires balancing secure mounting, quick access, and extreme climate resilience. In a country characterized by intense tropical heat, sudden monsoon downpours, and challenging road conditions, a flimsy accessory will not last. The ideal motorcycle cup holder must firmly grip your beverage container without shifting during sudden stops, resisting both the corrosive coastal humidity and the relentless vibration of daily commutes.
To make an informed purchase, you must evaluate how a cup holder attaches to your specific bike, how its materials handle local weather, and how to position it safely. Prioritizing mechanical security and control clearance over aesthetic features ensures your hydration solution does not become a safety hazard on the road.
Quick Answer: Matching the Right Mount to Your Motorcycle
For standard manual motorcycles, underbones, and backbone bikes, handlebar clamps and mirror-stem mounts offer the most secure and stable attachment points. These locations keep your drink within easy reach while utilizing the sturdiest structural elements of the motorcycle’s front end.
Products mentioned in this guide
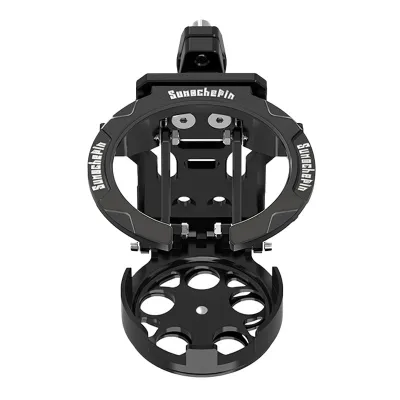
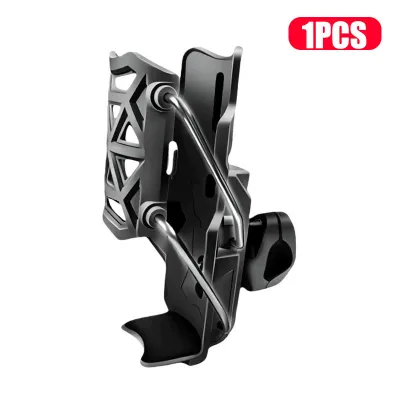
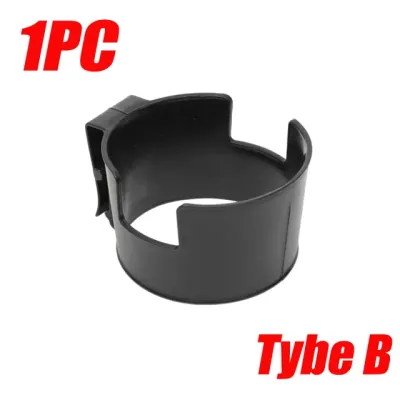
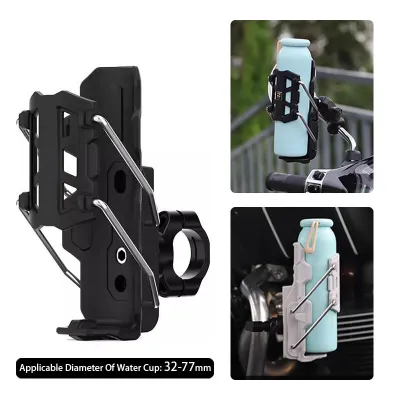
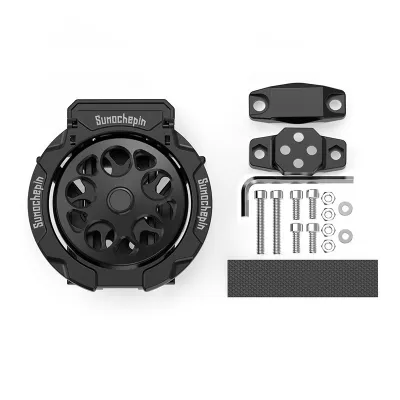
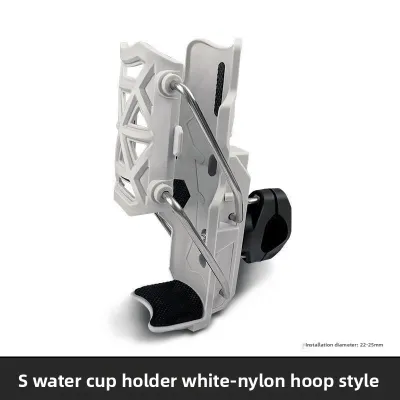
Prices are valid at publication and may change. Please refer to the product page for the latest price.
Conversely, scooter riders—who typically navigate crowded cockpits with fully enclosed plastic fairings—should prioritize dedicated fairing integration brackets, glove-box drop-in slots, or specialized accessory bars (often called crossbars or GPS mounts).
Regardless of your motorcycle type, the golden rule of motorcycle accessories is absolute: mounting security and control clearance must always take priority over insulation, capacity, or aesthetic style. A cup holder that interferes with your steering, blocks your view of the instrument cluster, or risks detaching at highway speeds is a severe safety hazard.
Key Features to Evaluate for Tropical and Humid Climates
Operating a motorcycle in the Philippines exposes your accessories to harsh environmental elements, including high UV exposure, intense tropical heat, and heavy seasonal rains. Selecting a cup holder designed to withstand these specific conditions prevents premature failure and keeps your beverages secure.

Material Durability and UV Resistance
When shopping for a cup holder for motorcycle use, material selection determines longevity. High-quality options generally utilize marine-grade aluminum (such as 6061-T6 alloy) or UV-stabilized engineered plastics like polycarbonate and high-impact ABS.
Cheap, uncoated metals or low-grade plastics degrade rapidly under the intense Philippine sun. Unprotected plastics become brittle and crack after a few months of UV exposure, while low-grade steel or zinc-plated hardware will corrode quickly when exposed to high humidity and salty coastal air. If you ride frequently in coastal provinces, prioritize stainless steel or anodized aluminum mounting hardware to prevent rust from seizing your adjustment bolts.
Drainage and Weatherproofing
During the monsoon season, sudden downpours can fill a solid-bottom cup holder with water in minutes. Standing water not only ruins your drink container but also creates a breeding ground for mosquitoes when the bike is parked, presenting a local health risk.
Look for cup holders featuring open-bottom designs, mesh baskets, or integrated drain holes at the lowest point of the container. These features allow rainwater to escape instantly, keeping the mounting pocket dry and preventing mold or debris accumulation.
Insulation vs. Ventilation
Insulated cup holders, typically made of neoprene or fabric-lined foam, help keep iced drinks cold during hot afternoon rides. However, in highly humid climates, these fabric liners trap moisture, sweat, and spilled liquids, quickly becoming breeding grounds for mold, mildew, and unpleasant odors.
Ventilated designs, such as open plastic cages, metal rings, or synthetic mesh, do not retain moisture and dry rapidly after a rainstorm. If you prefer an insulated holder for your daily commute, select one with a removable, washable liner so you can clean and dry it regularly.
Vibration Damping
Philippine roads present a mix of concrete joints, potholes, and unpaved surfaces that subject your motorcycle to constant vibration. Without adequate damping, a rigid cup holder will transfer these vibrations directly to your beverage, causing plastic bottles to rattle loudly, metal flasks to scratch, and open cups to spill.
Look for cup holders equipped with internal rubber gaskets, flexible silicone fingers, or adjustable tension bands. These soft materials grip the container snugly, absorbing high-frequency road vibrations and reducing physical stress on the mounting bracket itself.
Top Cup Holder Types by Mounting Style and Bike Anatomy
Motorcycles vary widely in their handlebar layouts, fairing designs, and available mounting space. Understanding the primary cup holder categories helps you select a model that physically matches your bike’s anatomy.
Handlebar Clamp Mounts
Handlebar clamp mounts are the most common and versatile option for motorcycles with exposed tubular handlebars, such as standard street bikes, cruisers, and adventure motorcycles. These holders use a metal or heavy-duty plastic clamp that wraps directly around the handlebar tube, secured by hex bolts or quick-release thumbscrews.
Most handlebar clamps are designed to fit standard bar diameters, typically 7/8 inch (22mm), 1 inch (25.4mm), or 1-1/4 inches (32mm). Many manufacturers include rubber sizing inserts or shims to ensure a snug fit on thinner bars while protecting the handlebar paint from scratches.
Before purchasing a handlebar-mounted cup holder, measure your available handlebar space. Ensure there is a clear section of bare metal away from obstructions like brake lines, clutch cables, master cylinders, and switchgear housings. The clamp must sit completely flat on the tube to prevent slipping.
Mirror Stem and Accessory Mounts
If your handlebars are crowded with phone mounts, GPS units, and auxiliary light switches, or if your bike has clip-on handlebars with no exposed tubing, a mirror stem mount is an excellent alternative. These brackets feature a flat metal tab with a hole that slips over the threaded base of your side mirror before it is screwed into the control perch.
Mirror stem mounts typically support standard M8 or M10 mirror threads. Because they position the cup holder higher up in your field of view, they offer exceptionally easy access to your drink while keeping the lower handlebar area clear.
However, you must respect the physical limits of this mounting style. A mirror stem is relatively thin and not designed to support heavy loads. Mounting a large, heavy insulated flask (such as a 1-liter metal bottle) on a long bracket arm creates significant leverage. This weight can cause the mirror stem to vibrate violently, loosen over time, or even suffer metal fatigue and snap. Limit mirror-mounted drinks to standard-sized plastic bottles or lightweight cups under 500 grams.
Scooter-Specific and Fairing Mounts
Most modern scooters feature fully enclosed plastic fairings around the steering column, leaving no exposed metal handlebars for traditional clamps. To accommodate this, riders must look for scooter-specific mounting solutions.
Many scooter owners utilize aftermarket multi-functional accessory bars (often called “mini-bars” or “crossbars”) that mount to the mirror bases, providing a convenient tubular surface for standard clamps. Alternatively, specialized brackets can bolt directly into existing fairing screws or glove-box mounting points.
Avoid using suction cups or heavy-duty adhesive pads as your primary means of securing a cup holder to scooter fairings. While they may seem convenient, the combination of engine vibration, road bumps, high humidity, and tropical heat will degrade the adhesive or suction seal rapidly. A sudden failure at speed can cause your drink and holder to fall into your front wheel or bounce into traffic, posing a severe safety hazard.
Tank Bags and Luggage Integrations
For long-distance touring, adventure riding, or highway cruising, a non-permanent luggage integration is a highly practical option that requires no physical modifications to your motorcycle. Many tank bags, tail bags, and soft saddlebags come equipped with external mesh pockets, adjustable drawstrings, or modular lightweight load-carrying equipment (MOLLE) webbing.
Using a dedicated pocket on a tank bag keeps your water bottle centered directly in front of you, resting on the fuel tank. This position minimizes wind resistance, keeps the weight centered on the bike’s chassis, and completely eliminates the risk of handlebar mounting brackets failing or scratching your paint.
When utilizing luggage-based drink storage, ensure the bottle is secured with a secondary tether or drawstring. High-speed wind blast can lift loose bottles out of shallow mesh pockets, creating a hazard for riders behind you.
Safety Checks and Installation Boundaries Before You Ride
Installing any aftermarket accessory on a motorcycle carries inherent safety responsibilities. A poorly positioned cup holder can interfere with your control of the vehicle, distract you while riding, or cause mechanical damage.
Control Clearance
The absolute priority during installation is ensuring that the cup holder and your inserted drink container do not restrict your physical control of the motorcycle. You must verify this through a complete range-of-motion test before starting your engine:
- Steering Lock-to-Lock: Turn your handlebars fully to the left and then fully to the right. The cup holder, mount, and bottle must not touch the fuel tank, fairings, windshield, or any cables at either extreme.
- Lever Interference: Verify that your front brake lever and clutch lever can be pulled completely to the handlebar grip without contacting the cup holder or your beverage.
- Throttle and Switch Access: Ensure your hand can grip the throttle and operate the starter, engine kill switch, turn signals, and horn without any physical obstruction.
Dashboard and Sensor Visibility
Your cup holder must be positioned so that it does not block your line of sight to critical instrument panel displays. You must have an unobstructed view of your speedometer, fuel gauge, turn signal indicators, and engine warning lights. Furthermore, ensure the physical assembly does not block any front-facing camera sensors, navigation screens, or your side mirrors.
Weight and Leverage Limits
Consider the physics of adding weight to your steering assembly. A standard 500ml bottle of water weighs approximately 0.5 kilograms. When placed in a cup holder at the end of a long mounting arm, this weight acts as a lever, amplifying road vibrations and altering the steering feel of lightweight motorcycles.
Always mount the cup holder as close to the center triple clamp or handlebar base as possible. Avoid using long extension arms that position heavy drinks far away from the mounting point, as this increases the risk of the bracket snapping under sudden impacts, such as hitting a pothole.
When to Stop and Consult a Professional
While installing a basic handlebar clamp is a straightforward task, certain scenarios require professional assistance. Stop the installation and consult a qualified motorcycle mechanic if you encounter any of the following challenges:
- The mounting bolts do not match your motorcycle's thread pitch, or you risk stripping the threads on your mirror perch.
- Your handlebars have a non-standard tapered diameter, and the clamp does not sit flush or tight, even with rubber shims.
- The installation instructions suggest drilling holes into your fairings, structural frame, or near fuel-containing components.
- You must reroute or extend brake lines, throttle cables, or electrical wiring to make space for the mount.
Routine Maintenance to Prevent Rust and Hardware Failure
To ensure your cup holder remains clean, functional, and structurally secure over years of use, establish a simple routine maintenance schedule.
Cleaning and Debris Removal
Spilled sugary drinks, coffee, road dust, and rainwater can combine to create a sticky residue inside your cup holder. This residue attracts dirt, clogs drainage holes, and can cause adjustable tension mechanisms to seize.
Wash the cup holder regularly using mild dish soap, warm water, and a soft brush. Pay close attention to the bottom of the holder, ensuring that all drain holes are completely clear of leaves, road grime, or dried spills. Avoid using harsh chemical solvents or abrasive scouring pads, which can strip protective anodized coatings or scratch UV-resistant plastics.
Hardware Inspection
Constant engine vibration and rough road surfaces can cause mounting bolts and clamps to back out over time. Once a month, perform a quick physical inspection of your cup holder assembly:
- Check the tightness of all mounting bolts, clamp screws, and swivel joints. If you notice persistent loosening, apply a small drop of medium-strength thread-locking compound (such as blue Loctite) to the bolt threads before re-tightening.
- Inspect the condition of all rubber gaskets, shims, and silicone liners. The intense Philippine sun can cause rubber to dry, crack, and lose its elasticity. Replace degraded rubber pads to maintain proper vibration damping and prevent the mount from slipping on your handlebars.
Corrosion Prevention
If your cup holder features metal components, take active steps to prevent rust, especially if you ride in coastal regions or during the rainy season. After washing your bike or riding through a storm, wipe down the metal parts of the cup holder with a clean, dry microfiber cloth.
Apply a light coating of a non-greasy anti-corrosion spray or silicone protectant to the metal joints, adjustment screws, and springs. Avoid using heavy greases or wet lubricants, as they will attract road dust and grit, turning into an abrasive paste that wears down the hardware.
Frequently Asked Questions (FAQ)
Can I use a standard car cup holder on my motorcycle?
No, standard automotive cup holders are not engineered to withstand the harsh operating environment of a motorcycle. Car cup holders are typically designed for enclosed, low-vibration cabins and rely on gravity to keep drinks upright.
They lack the heavy-duty mechanical clamping force, robust weatherproofing, and advanced vibration-damping systems required to handle open-air wind blast, engine vibrations, and sudden bumps. Using a car cup holder on a motorcycle will almost certainly result in your beverage ejecting from the holder or the entire assembly breaking off the handlebars.
Are insulated cup holders worth the extra weight for daily commuting?
For short daily commutes (under 30 minutes), a lightweight, non-insulated plastic or mesh cup holder is generally the more practical and safer choice. Insulated cup holders utilize thick fabric, neoprene, or double-walled metal structures that add noticeable weight and bulk to your handlebars, increasing leverage stress on the mounting bracket.
However, if you face long hours in heavy traffic or enjoy long weekend rides under the hot sun, an insulated holder can keep your water cold and refreshing. If you choose an insulated option, ensure it features a streamlined design and is mounted on a highly secure handlebar clamp rather than a delicate mirror stem.
How do I accurately measure my handlebar for a cup holder clamp?
To find the exact outer diameter of your handlebar, use a pair of digital calipers to measure the bare metal section where you plan to install the clamp.
If you do not have calipers, wrap a flexible measuring tape, a strip of paper, or a piece of string tightly around the bare metal tube to find its circumference. Mark the point where the end meets, measure that length in millimeters, and divide the number by 3.1416 (Pi) to calculate the diameter. Always measure a clean, bare section of the handlebar, avoiding areas covered by rubber grips, thick paint build-ups, control housings, or cable wraps.
Community discussion
Share your experience or ask a question. Comments are reviewed before publication.