
When your motorcycle or scooter struggles to come to a stop on wet roads during the rainy season, your first instinct is likely to buy a new set of brake pads. For most routine maintenance, swapping out worn friction material is indeed the correct solution. However, if your braking issues stem from a bent, corroded, or seized brake arm, installing fresh pads is a temporary fix that fails to resolve the underlying safety hazard. Knowing how to distinguish between a simple pad replacement and a structural hardware failure protects your budget, prevents premature component wear, and ensures your vehicle remains safe on demanding roads.
Brake Pads vs. Brake Arms: Understanding Your Braking Hardware
Braking systems rely on a delicate balance of friction and mechanical leverage to slow your vehicle safely. To diagnose braking issues accurately, you must first understand the distinct roles played by consumable friction materials and structural hardware.
Brake pads and brake shoes are consumable components designed to wear down over time. When you apply the brakes, these pads press directly against a spinning metal disc (rotor) or the inside of a brake drum to slow your vehicle. In the Philippines, the combination of dense, stop-and-go city traffic and high ambient humidity accelerates this wear, making regular pad replacement a standard part of vehicle ownership.
Products mentioned in this guide
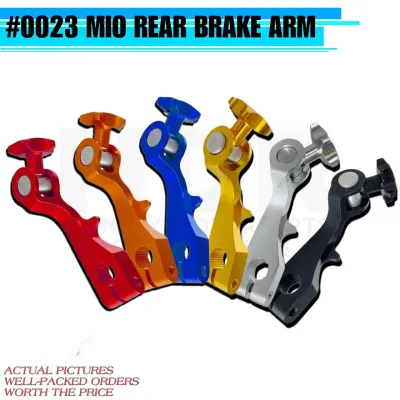
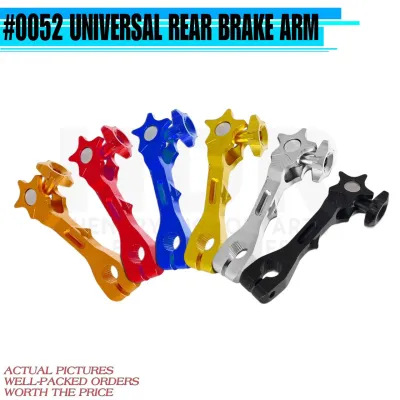
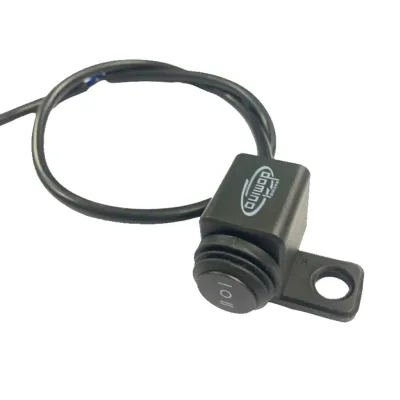
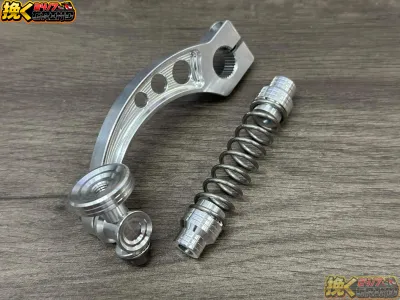
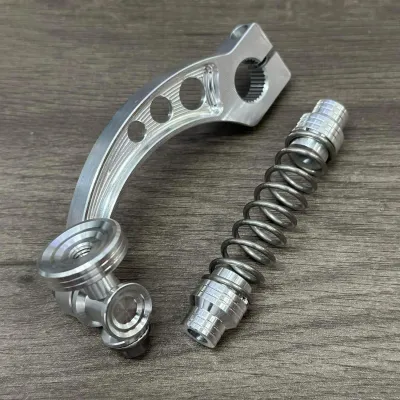
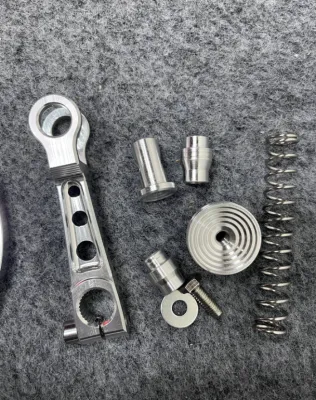
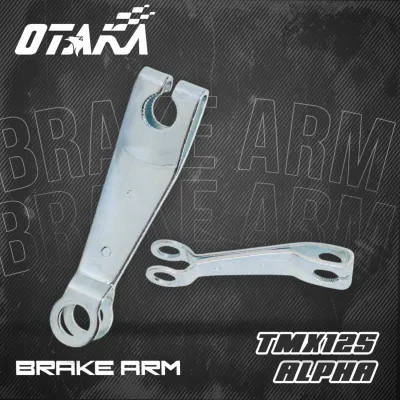
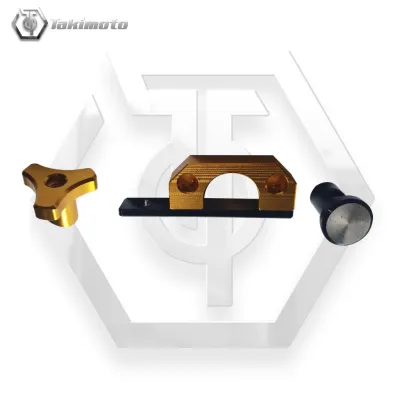
Prices are valid at publication and may change. Please refer to the product page for the latest price.
In contrast, a brake arm is a structural component designed to transmit the physical force of your hand or foot to the actual braking mechanism. The exact definition of a brake arm depends on the specific braking system installed on your vehicle:
- In drum brake systems, the brake arm is the external metal lever attached to the brake camshaft. When you pull the brake cable or rod, it rotates this arm, pushing the brake shoes outward against the drum.
- In disc brake systems, the mechanical linkage is often referred to as the caliper bracket, torque arm, or the physical brake lever or pedal arm. These components hold the caliper in perfect alignment with the rotor or transfer the initial input force.
While brake pads are routine maintenance items, brake arms are structural components engineered to last the entire lifespan of your vehicle. They do not wear down from friction. Instead, they should only require replacement if they suffer physical damage from an accident, severe corrosion from exposure to floodwaters, or mechanical wear on their mounting splines and threads. Mistakenly replacing your brake pads when the underlying issue is a compromised brake arm will not restore your stopping power and can lead to rapid, dangerous component failure.
Clear Signs You Only Need to Replace the Brake Pads
Distinguishing between routine pad wear and structural hardware failure is straightforward when you know what to look, hear, and feel for. When your braking hardware is in good structural condition, worn brake pads will exhibit highly predictable symptoms that do not affect the mechanical action of the brake lever or pedal.

First, pay close attention to auditory cues. Most modern brake pads feature built-in metal wear indicators. When the friction material wears down to a critical level, these small metal tabs make contact with the rotor, producing a high-pitched squealing or squeaking sound whenever the brakes are applied. If you hear this sound but the brakes still engage smoothly, your hardware is likely fine, and only the pads need to be replaced.
Second, observe the tactile feedback from your controls. As brake pads wear thinner, you may notice a gradual reduction in the initial braking “bite.” You might find yourself pulling the brake lever or pressing the pedal slightly further down than usual to achieve the same stopping power. However, as long as the overall feel of the lever remains firm, consistent, and free of unusual vibrations or sticking points once engaged, the mechanical linkages are operating correctly.
Third, perform a quick visual confirmation. Look directly at the brake caliper or through the inspection window of your drum brakes. If the remaining friction material on your disc brake pads is worn down to approximately 2mm to 3mm, or if the wear indicator grooves cut into the pads have completely disappeared, they have reached the end of their service life.
If your visual inspection confirms thin pads, and the brake lever or pedal moves smoothly without binding, catching, or vibrating, you can confidently proceed with a simple pad replacement.
Critical Symptoms That Point to a Failing Brake Arm
When the structural brake arm, bracket, or mounting hardware is compromised, the symptoms extend far beyond simple friction wear. Ignoring these signs can lead to mechanical failure, making it essential to recognize when your braking problems require a hardware replacement.
Uneven or Rapid Pad Wear
If you install a fresh set of brake pads and find that one pad wears down to the metal within a few months while the other remains nearly untouched, the issue is not the pads. A bent caliper bracket, seized slide pins, or a worn drum brake actuating arm prevents the braking system from applying even clamping force. This misalignment causes one pad to drag constantly against the rotor or forces the pads to contact the rotor at an angle, tapering the friction material. Not only does this ruin your new pads prematurely, but it also significantly reduces your total braking surface area and stopping power.
Spongy Feel or Excessive Lever/Pedal Travel
A spongy, soft, or springy feel when you pull your brake lever or press your pedal is a major warning sign. While this is sometimes caused by air bubbles in hydraulic lines, it can also indicate physical deformation in your brake hardware. A bent brake lever arm, a deformed pedal arm, or a heavily worn drum brake camshaft introduces mechanical play or “slop” into the system. As you apply force, the metal arm flexes or rotates off-axis instead of transferring that force directly to the pads. Even after bleeding the hydraulic lines or adjusting the cable tension, the lever will still feel soft and require excessive travel before the brakes begin to grab.
Clunking, Rattling, or Vibration Under Braking
If you experience a distinct metallic clunking, rattling, or severe shuddering when you apply the brakes, your structural mounting hardware may be loose or damaged. This symptom is frequently caused by a worn torque arm, deteriorated mounting bushings, or a cracked caliper bracket. Under the intense force of deceleration, these loose or damaged components shift out of position, causing the entire brake assembly to vibrate violently. Replacing your brake pads will not resolve this shaking, as the physical foundation holding the brake assembly to your vehicle is compromised.
Brake Dragging or Failure to Release
A properly functioning braking system should disengage instantly when you release the lever or pedal. If your vehicle feels sluggish, struggles to roll freely, or if you notice an intense burning smell coming from your wheels, your brakes are dragging. This is often caused by a seized actuating arm, a corroded caliper mount, or bent hardware that prevents the pads from retracting. In tropical climates like the Philippines, where vehicles are frequently exposed to heavy rain, mud, and flooded streets, road debris and rust can lock the brake arm or slide pins in a partially applied position. This constant friction overheats the rotors, glazes the pads, and severely reduces your fuel efficiency.
Step-by-Step Inspection Guide for Your Brake Hardware
Conducting a regular visual and physical inspection of your braking system allows you to catch hardware issues before they become dangerous. Follow this systematic routine to safely diagnose the condition of your brake components at home.
Safety Preparation Before beginning any work, ensure your vehicle is parked on a flat, level surface. The braking system must be completely cool to the touch to prevent severe burns. Securely support the vehicle on a sturdy center stand or a dedicated paddock lift. Never rely solely on a side stand when checking your brakes, as the physical force required to inspect or loosen bolts can easily cause the vehicle to tip over, resulting in injury or damage.
Friction Check Using a flashlight, peer into the brake caliper to inspect the pads. If your vehicle uses drum brakes, you may need to remove the wheel assembly to access the shoes. Measure the thickness of the remaining friction material. Check both pads in the set to ensure they are wearing evenly. Look closely for diagonal wear patterns, which indicate that the pads are not pressing flat against the rotor.
Structural Inspection Spray the brake assembly with an authorized brake cleaner to remove accumulated road grime, mud, and brake dust. Use cleaners only for label-authorized uses, keeping them away from sensitive rubber seals or painted surfaces. Inspect the brake arm, caliper bracket, and torque arms for any visible damage. Look closely for hairline cracks, bends, or signs of rust jacking—a condition where rust expands between joined metal components, forcing them apart and weakening the assembly.
Movement and Play Test Slowly operate the brake lever or pedal by hand. Observe the movement of the drum brake actuating arm or the disc brake caliper as it slides on its pins. The movement must be completely smooth, fluid, and free of any catching or sticking. Next, grasp the brake arm or caliper bracket and attempt to wiggle it laterally. There should be no excessive play, wobbling, or loose movement in the mounting bolts, bushings, or splines.
Safety Boundary Your safety is paramount. Do not attempt to disassemble hydraulic brake lines, force seized structural mounts, or guess torque specifications during your inspection. Always verify your specific vehicle model, year, interface dimensions, and mounting positions using your manufacturer’s official documentation. If your inspection reveals any visible cracks, severe structural deformation, stripped threads, or deep corrosion pitting on any brake arm or bracket, stop immediately. Do not ride the vehicle. The damaged structural component must be replaced before the vehicle can be safely operated.
Action Plan: When to Maintain, Replace, or Seek Professional Help
Once you have completed your inspection, use your findings to determine the most cost-effective and safest course of action. Depending on the condition of your hardware, your next steps will fall into one of four distinct paths.
Path 1: Clean and Lubricate If your structural hardware is straight and crack-free but exhibits minor sticking or surface dirt, a thorough servicing is required. Clean the components using an authorized brake cleaner. Apply a thin layer of high-temperature brake grease specifically designed for automotive use to the caliper slide pins, pivot points, and drum brake camshaft. Be extremely careful to keep grease entirely away from the friction surfaces of the brake pads, shoes, rotors, or drums, as contamination will destroy your stopping power.
Path 2: Replace Pads Only If your inspection confirms that the brake arm, caliper bracket, and mounting hardware are straight, rust-free, and move smoothly, your structural system is in excellent health. You only need to replace the worn friction material. When purchasing new pads, verify that they are the exact dimensions and interface style specified for your vehicle’s model and year.
Path 3: Replace the Brake Arm/Hardware If you discover a bent brake arm, a cracked caliper bracket, stripped mounting threads, or deep corrosion pitting, you must replace the damaged hardware immediately. Never attempt to weld a cracked brake arm, file down damaged splines, or bend a warped bracket back into shape. Applying heat or mechanical force to straighten structural aluminum or steel severely compromises its metallurgical strength, making it highly likely to snap under the extreme stress of emergency braking. Replacement parts should be sourced as OEM or certified aftermarket components. In the Philippines, replacement brake arms and brackets generally range in price from budget-friendly OEM options (under ₱1,000) to premium aftermarket upgrades (₱1,500 to ₱4,000+), depending on your vehicle’s make and model.
Path 4: Seek Professional Help Brakes are your vehicle’s most critical safety system. If your diagnosis reveals internal hydraulic blockages, ABS sensor malfunctions, or if you do not possess the proper torque wrenches, tools, and manufacturer specifications to safely reassemble structural mounts, do not attempt the repair yourself. Take your vehicle to a qualified professional mechanic. A certified technician will ensure that all structural fasteners are torqued to exact factory specifications, maintaining your vehicle’s road legality and keeping you safe on the road.
Frequently Asked Questions (FAQ)
Can I just file down or bend a warped brake arm to make it fit?
No. Brake arms and caliper brackets are engineered to withstand immense mechanical loads during deceleration. Filing down metal reduces its thickness and load capacity, while bending introduces micro-fractures into the material. Under heavy braking, a compromised arm can snap instantly, causing a complete loss of braking power. Always replace damaged structural hardware with original equipment manufacturer (OEM) or certified aftermarket parts.
Why are my new brake pads wearing out unevenly after just a few months?
Rapid or uneven wear is a classic symptom of a mechanical hardware malfunction rather than a pad defect. This typically occurs when a caliper bracket is misaligned, slide pins are seized, or the drum brake actuating arm is sticking. Because the pad cannot retract fully, it remains in constant contact with the spinning rotor or drum, generating excessive heat and wearing down prematurely. You must service or replace the binding hardware to resolve this.
Is it safe to ride with a slightly loose brake torque arm or mounting bolt?
No, riding with any play in your structural brake mounting hardware is extremely dangerous. Under braking, the torque arm or caliper bracket experiences high rotational forces. If a mounting bolt is loose, the entire brake assembly can shift, rotate, or lock up the wheel unexpectedly. This can lead to catastrophic component failure, severed brake lines, or a sudden loss of vehicle control. Stop riding immediately and tighten all mounting hardware to the manufacturer’s specified torque values.
Community discussion
Share your experience or ask a question. Comments are reviewed before publication.