
Upgrading the rear grab bar on a Yamaha Mio i 125 can significantly improve passenger comfort and provide secure anchor points for cargo. However, the aftermarket accessory market is filled with options that vary widely in build quality, design, and actual chassis compatibility. Because mounting points and bodywork clearances are specific to the Mio i 125’s generation, assuming universal fitment across the broader “Mio” lineup can lead to installation failures or damaged body panels. This guide outlines the essential selection standards, fitment verification steps, and safety boundaries you need to evaluate before purchasing and installing a new grab bar, ensuring you choose an option that is both practical and structurally sound for your scooter.
In the Philippines, where scooters serve as primary daily commuters, delivery workhorses, and family transport, the rear grab bar is more than just a cosmetic accent. It is a critical touchpoint that undergoes constant stress from passengers holding on during sudden stops, or from heavy cargo strapped down for long journeys. Selecting the right accessory requires balancing your specific utility needs with the structural limits of your motorcycle.
Identifying the Right Grab Bar Style for Your Riding Needs
To choose the most suitable grab bar for your Yamaha Mio i 125, you must first define how you primarily use your scooter. The aftermarket offers several distinct styles, each tailored to different riding scenarios, passenger requirements, and cargo habits.
Products mentioned in this guide
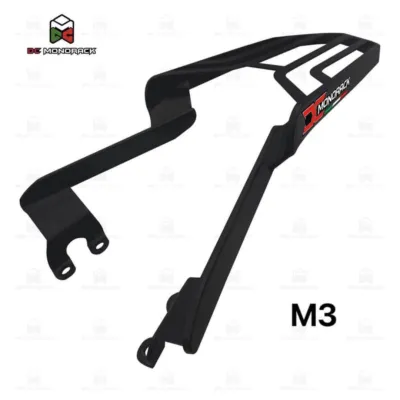
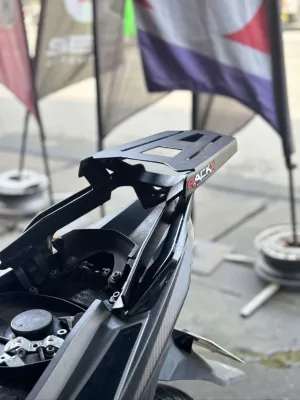
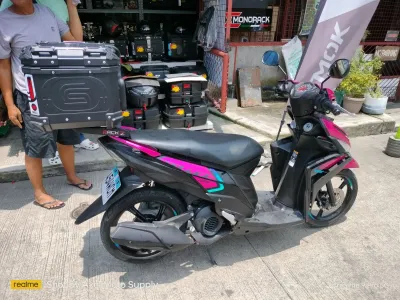
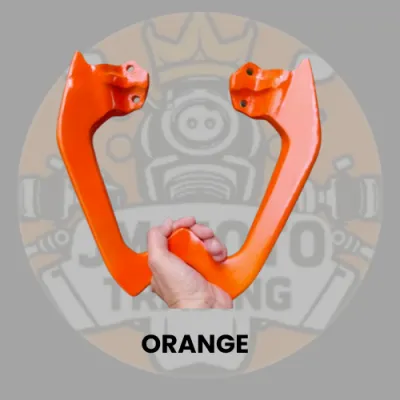

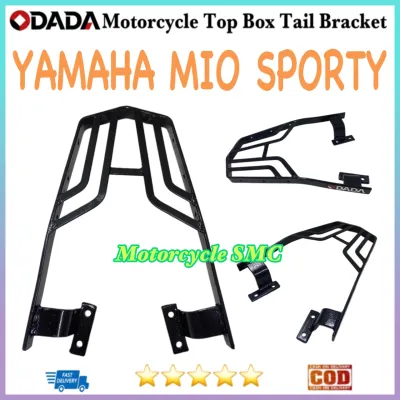
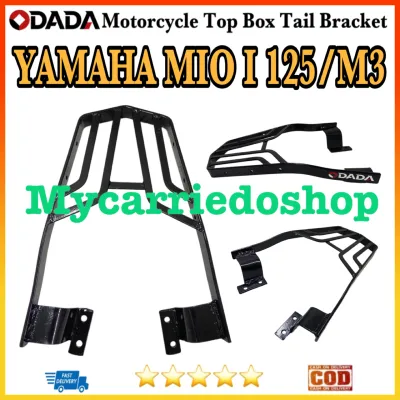
Prices are valid at publication and may change. Please refer to the product page for the latest price.
Standard rear grab rails are designed to mimic the factory profile of the scooter. These options are typically low-profile, lightweight, and follow the natural curves of the Mio i 125’s rear bodywork. They are ideal for solo riders or those who occasionally carry passengers and want to maintain a sleek, sporty aesthetic without adding unnecessary bulk to the rear end.
Extended passenger backrests feature integrated padding and a raised support structure. This style is highly beneficial for daily commuting with a regular pillion rider, such as a family member or partner. The added back support significantly reduces passenger fatigue during long, stop-and-go rides through heavy city traffic, providing a more secure and relaxed seating position. However, these backrests add height and can make mounting and dismounting slightly more challenging for the passenger.
Heavy-duty utility rails or cargo racks are engineered specifically for carrying loads. These designs extend further back over the tail light assembly and feature flat, reinforced platforms with integrated slots or hooks for bungee cords and cargo straps. If you use your Mio i 125 for delivery services or frequently travel with a top box, a utility rail is the most practical choice.
When selecting a style, you must consider the trade-offs between aesthetic appeal and functional utility. While a heavy-duty cargo rack offers maximum utility, it adds noticeable weight and bulk to the rear of the scooter. This extra weight, especially when loaded with cargo, shifts the motorcycle’s center of gravity rearward, which can alter handling characteristics and steering responsiveness. Conversely, a sleek standard rail offers minimal cargo support, requiring you to prioritize either clean styling or hauling capacity.
Verifying Chassis Fitment and Clearance for the Mio i 125
One of the most common mistakes when purchasing aftermarket motorcycle accessories is assuming that all parts labeled for a “Yamaha Mio” are interchangeable. The Mio lineup includes various models—such as the Mio Sporty, Mio Soul i 125, Mio Aerox, and Mio Gravis—each built on different chassis frames with distinct bodywork dimensions. A grab bar designed for a different Mio model will not align with the mounting points of a Mio i 125.

Before purchasing any grab bar, you must verify its explicit compatibility with the Mio i 125. Carefully read the product labels, manufacturer specifications, and seller descriptions. Avoid generic listings that claim universal fitment across all scooter models, as these often require unsafe modifications to install.
To ensure a proper fit without modifying your scooter’s chassis, you must perform a physical inspection of the mounting points. The Mio i 125 features specific rear chassis tabs located beneath the rear body panels. A compatible grab bar must have bracket holes that align perfectly with these factory tabs. If the holes are misaligned even by a few millimeters, do not attempt to force the bolts or bend the chassis tabs, as this can weaken the structural integrity of the frame.
In addition to bolt alignment, you must verify physical clearance around the entire rear assembly. Once positioned, the new grab bar must not press against or rub the tail light assembly, rear turn signals, or the plastic body panels. Constant contact combined with engine vibrations will inevitably lead to cracked plastics, scuffed paint, or damaged lighting lenses over time. Furthermore, ensure there is adequate clearance between the grab bar structure and the exhaust heat shield to prevent heat transfer or rattling during operation.
Evaluating Material Quality and Weight Capacity
The durability and safety of a grab bar depend heavily on the materials used in its construction and the quality of its manufacturing. Because the grab bar is exposed to the elements and subjected to constant physical stress, evaluating these factors before installation is essential.
Start by closely observing the physical build quality of the grab bar. Inspect the thickness of the metal tubing or plates; thin, flimsy metal is prone to bending under pressure. Examine the weld consistency at all joints and brackets. High-quality welds should be smooth, uniform, and free of visible gaps, cracks, or porous pockets. Poorly welded joints are major failure points that can snap unexpectedly under the weight of a passenger or heavy cargo.
The choice of material also dictates how well the grab bar will withstand the humid, tropical climate of the Philippines. Stainless steel is an excellent option for long-term durability, offering high strength and natural resistance to rust and corrosion caused by rain and road salt. However, stainless steel components can be heavier than other options.
Powder-coated steel provides robust structural strength at a generally lower cost, but its longevity depends on the integrity of the coating. If the powder coat chips or scratches during installation or daily use, moisture can penetrate the metal underneath, leading to rapid rust formation that weakens the structure from within. Aluminum alloys offer a lightweight alternative that naturally resists rust, making them highly suitable for riders who want to minimize weight, though they may have lower maximum weight capacities compared to high-grade steel.
Always check the manufacturer’s stated weight capacity limits and load warnings, which are typically printed on the packaging or included in the instruction manual. Ensure the rated capacity aligns with your intended use. If you plan to mount a heavy top box or carry substantial cargo, the grab bar and its mounting hardware must be rated to support that specific load. Exceeding these limits can lead to sudden structural failure while riding, posing a severe safety hazard.
Installation Safety Boundaries and Professional Setup
Installing a grab bar might seem like a simple bolt-on task, but it directly affects the structural safety of your motorcycle. Improper installation can lead to loose components, damaged bodywork, or even mechanical interference while riding.
When mounting the grab bar, always use the correct high-tensile hardware specified for your scooter. Standard, low-grade bolts can shear under the stress of passenger weight or cargo loads. It is crucial to tighten all mounting bolts to the manufacturer’s recommended torque specifications. Under-tightening can cause the bolts to back out due to constant engine and road vibrations, while over-tightening can strip the threads in the chassis tabs or crack the surrounding plastic body panels. Applying a medium-strength thread-locking compound to the bolt threads is highly recommended to prevent loosening over time.
During the installation process, you must actively check for any interference with other critical motorcycle systems. Ensure that the grab bar, its mounting brackets, and the installed cargo do not restrict the travel of the rear suspension. There must be no contact with brake lines, cables, or the electrical wiring harness that routes power to the tail lights and turn signals. Any pinching or rubbing of electrical wires can cause a short circuit, leading to lighting failures or electrical damage.
Establish clear safety boundaries for when to halt your DIY efforts. If you discover that the mounting holes do not align, if the grab bar requires you to cut or modify the original body panels, or if the factory mounting tabs on your chassis are bent or damaged, stop the installation immediately. Do not attempt to force the fitment. In these situations, consult a qualified motorcycle mechanic who can assess the structural alignment and complete the installation safely.
Sourcing Reliable Options and Verifying Authenticity
Finding a high-quality grab bar for your Mio i 125 requires careful sourcing, whether you are shopping at a local motorcycle parts dealer or browsing online marketplaces. The market contains many substandard, imitation, or mislabeled products that can compromise your safety.
When shopping online, thoroughly evaluate seller credentials and customer feedback. Look closely at customer-uploaded photos in the review section to verify that the product delivered matches the listing and has been successfully installed on actual Mio i 125 models. Pay attention to reviews mentioning poor weld quality, misaligned bolt holes, or missing hardware. Additionally, ensure the seller offers a clear return or exchange policy in case the item arrives damaged or does not fit as advertised.
Upon receiving your grab bar, perform a thorough unboxing inspection before attempting installation. Check the packaging for official brand markings, holographic seals, or manufacturing labels that indicate authenticity. Verify that the package includes the complete hardware kit, including all necessary bolts, spacers, and washers. Inspect the product itself for any shipping damage, deep scratches, or bent brackets that may have occurred during transit.
Set a realistic budget expectation based on the material and style you choose. In the Philippine market, standard replacement grab rails typically range from ₱300 to ₱800. High-quality padded passenger backrests or heavy-duty, reinforced cargo racks generally cost between ₱1,000 and ₱2,500, depending on the brand and material grade. Be highly cautious of options priced significantly below these averages, such as those sold for under ₱200. Suspiciously cheap products often compromise on metal thickness, weld quality, and rust-resistant coatings, making them prone to premature failure.
Frequently Asked Questions (FAQ)
Can a grab bar designed for older Mio models fit the Mio i 125?
No, a grab bar designed for older or different Mio models, such as the Mio Sporty or Mio Soul, will not fit the Mio i 125. Yamaha frequently updates the chassis dimensions, bodywork shapes, and mounting point configurations between different generations and models of the Mio lineup. Attempting to install a grab bar meant for another model can result in misaligned bolt holes, damaged body panels, or insecure mounting. Always verify that the accessory is explicitly labeled and certified for the Mio i 125 before purchasing.
Does installing an aftermarket grab bar affect the motorcycle warranty?
Installing an aftermarket grab bar can potentially affect your motorcycle’s warranty, depending on how it is installed and whether it causes any damage. You should consult the official Yamaha warranty booklet provided with your scooter for specific terms. Generally, the installation of non-OEM accessories itself does not void the entire warranty, but any structural damage to the chassis, cracked body panels, or electrical issues directly caused by an improperly installed aftermarket grab bar will not be covered under the standard warranty. If you are concerned about maintaining your warranty coverage, consider having the accessory installed by an authorized service center.
Community discussion
Share your experience or ask a question. Comments are reviewed before publication.