
Replacing or upgrading your motorcycle’s front brake hose is one of the most critical maintenance tasks you can perform. The front brake provides the vast majority of your stopping power, making its hydraulic integrity paramount. While searching online marketplaces or local shops, you will frequently encounter “universal” front brake hoses. These components offer an affordable and highly accessible alternative to hard-to-find original equipment manufacturer (OEM) parts, but they are not a guaranteed, drop-in solution for every make and model.
Choosing a universal front brake hose requires a methodical approach. You must look past the generic marketing labels and focus on precise technical specifications. A mismatch in length, fitting angle, or thread pitch can lead to catastrophic brake failure on the road. By understanding how to measure your motorcycle’s physical requirements and evaluate hose materials, you can confidently select a replacement that restores or enhances your stopping power.
Verify Safety Baselines and Compatibility Limits
Before purchasing any aftermarket brake component, your first step should always be to consult your motorcycle’s official service manual. This document contains the exact specifications for your original braking system, including hose routing paths, mounting bracket locations, and torque values. Universal parts are designed to fit a wide range of motorcycles, which means they do not account for the unique frame geometry or suspension travel of your specific model.
Products mentioned in this guide
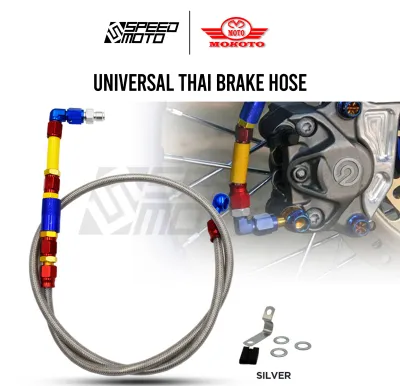
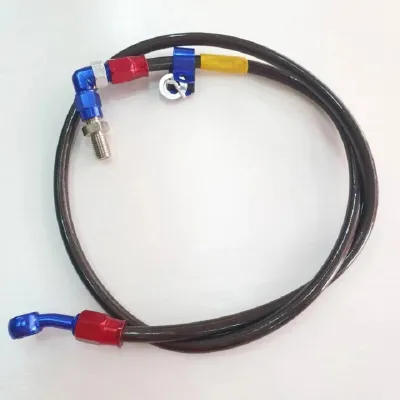
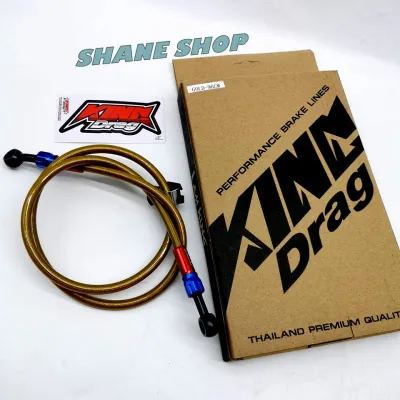
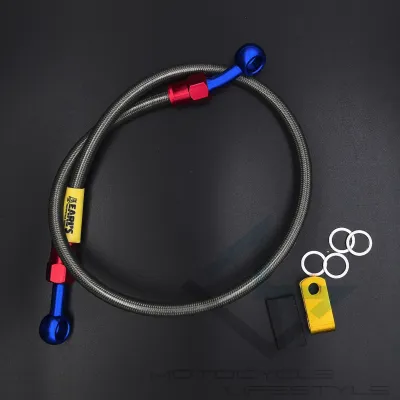
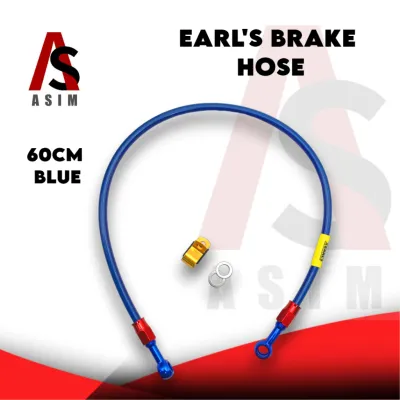
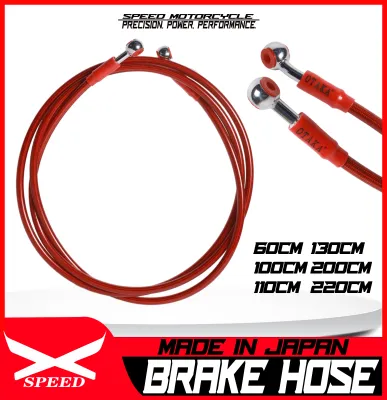
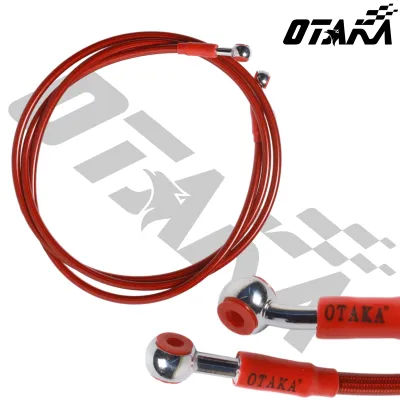
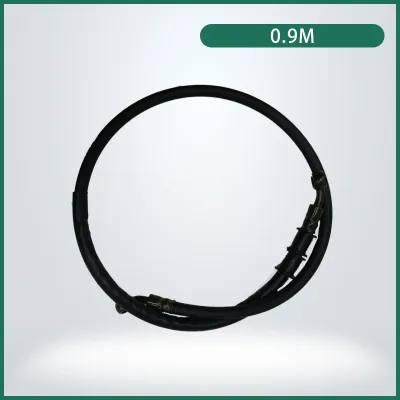
Prices are valid at publication and may change. Please refer to the product page for the latest price.
Relying solely on a product listing that claims “universal fit” is a significant safety risk. In practice, installing a universal hose often requires custom routing, aftermarket mounting brackets, or specialized adapters to ensure the line clears the frame, forks, and triple clamps. If your daily commute involves navigating congested city streets or handling sudden stops in unpredictable tropical weather, you cannot afford a brake line that pinches or rubs against moving parts.
If you plan to use your motorcycle for demanding applications like heavy touring, track days, or off-road riding, the demands on your hydraulic system increase exponentially. In these scenarios, or if you feel unsure about measuring and routing the hose yourself, stop and consult a qualified motorcycle mechanic. Professional installation ensures that the system is configured safely and complies with local road safety standards.
Measure Hose Length for Full Suspension and Steering Travel
Determining the correct length of your new front brake hose is a precise exercise that cannot be left to guesswork. A hose that is too short will stretch and pull at the fittings when the front forks fully extend, such as when riding over speed bumps or potholes. Conversely, a hose that is too long will bow outward, creating a dangerous loop that can snag on passing objects, catch on the front fender, or rub against the tire.

To find the ideal length, you must measure the distance from the master cylinder banjo bolt to the caliper banjo bolt along the exact routing path. The most reliable method is to use a flexible wire, an old piece of electrical cable, or a soft measuring tape. Route this mock-up line through all factory guides, clamps, and brackets, mimicking the path the new hose will take.
Once the mock-up is in place, turn the handlebars fully from lock to lock while observing the tension on your measuring guide. Next, compress and extend the front suspension to its physical limits. The hose must remain slack enough to prevent tension at the fittings during full extension, yet structured enough not to kink or bunch up when the forks compress. Note this measured length carefully, as universal hoses are typically sold in fixed increments, such as 90cm, 95cm, or 100cm.
Match Fitting Sizes, Angles, and Thread Pitches
The connections at either end of your brake hose are critical pressure points that must remain completely sealed under extreme hydraulic force. Most modern motorcycles use banjo fittings, which consist of a hollow bolt passing through a round metal eyelet at the end of the hose. To ensure a leak-free connection, you must match the exact diameter and thread pitch of your motorcycle’s original banjo bolts.
The most common banjo bolt size for metric motorcycles is M10, but the thread pitch can vary between M10 x 1.25 and M10 x 1.0. Using the wrong thread pitch will strip the threads in your master cylinder or brake caliper, leading to expensive repairs. Use a thread pitch gauge or a digital caliper to verify these dimensions, or cross-reference the specifications in your service manual before ordering.
Additionally, pay close attention to the angle of the banjo fittings. Universal hoses are available with straight, 28-degree, or 90-degree bends at the ends. The correct angle depends on how the hose exits the master cylinder and enters the caliper. An incorrect angle can force the hose into an awkward bend, causing stress on the fitting or forcing the line to rub against the instrument cluster, fairings, or suspension components. Always purchase new copper or aluminum crush washers to seal both sides of each banjo fitting; reusing old washers almost guarantees a slow hydraulic leak.
Evaluate Hose Materials and Internal Liner Compatibility
The material composition of your brake hose directly influences both your safety and the physical feel of your brake lever. Standard rubber hoses are highly flexible and cost-effective, providing a familiar, progressive lever feel. However, rubber naturally expands under high hydraulic pressure, which can result in a slightly spongy feel during hard braking. Over time, exposure to intense tropical sunlight, high humidity, and ozone will cause rubber to crack and degrade, requiring regular replacement.
Stainless steel braided hoses are a highly popular upgrade for riders seeking more consistent performance. These hoses feature a Teflon or PTFE inner liner wrapped in a protective stainless steel wire mesh. The metal braid prevents the inner tube from expanding under pressure, delivering a firmer, more responsive lever feel and more immediate braking feedback. If you choose a braided steel hose, ensure it has a protective vinyl or silicone outer sleeve to prevent the abrasive metal braid from scratching your motorcycle’s paint or wearing down adjacent wiring harnesses.
Regardless of the outer material, you must verify that the hose’s inner liner is compatible with the specific brake fluid required by your motorcycle’s system. Most motorcycles use glycol-ether-based fluids like DOT 3 or DOT 4, while some high-performance systems require DOT 5.1. Check the reservoir cap on your master cylinder to confirm the required fluid type, and ensure the universal hose manufacturer explicitly rates their product for compatibility with that fluid to prevent chemical degradation of the inner liner.
Plan for Routing, Installation, and System Bleeding
Once you have selected a universal hose with the correct specifications, the installation process requires meticulous attention to detail. Route the new hose along the path you measured, ensuring it is secured within the factory guide clips. Keep the hose clear of hot engine components, exhaust pipes, and any sharp edges on the frame. A hose that comes into contact with extreme heat can degrade rapidly or melt, leading to sudden brake failure.
After securing the hose and tightening the banjo bolts to the manufacturer’s specified torque, you must completely flush and bleed the hydraulic system. Introducing a new hose introduces a large volume of air into the system. Air is highly compressible, and leaving even a tiny bubble inside the line will result in a spongy brake lever that cannot generate enough pressure to stop the motorcycle safely. Use fresh brake fluid from a sealed container, as opened bottles absorb moisture from the humid air, lowering the fluid’s boiling point.
If you do not possess specialized hydraulic tools, a torque wrench, or previous experience bleeding motorcycle brakes, do not attempt this installation alone. Brakes are your primary safety mechanism on the road. Have the final installation, torque values, and system pressure tested by a certified motorcycle technician to ensure your motorcycle is completely roadworthy before your first ride.
Frequently Asked Questions (FAQ)
Can I use a universal brake hose on an ABS-equipped motorcycle?
While the physical fittings of a universal hose may match the connections on an Anti-lock Braking System (ABS), you must exercise extreme caution. ABS systems rely on precise hydraulic pressure, fluid volume, and rapid modulation to prevent wheel lockup. Many ABS-equipped motorcycles use complex, multi-section hard and soft lines routed through an ABS modulator unit. You should always verify compatibility with the hose manufacturer or use model-specific, pre-routed brake lines to ensure the ABS system functions correctly during emergency stops.
Do I need to change my brake fluid when installing a new hose?
Yes, replacing your brake hose requires a complete brake fluid change. Disconnecting the old hose drains the hydraulic system and exposes the internal components to air and atmospheric moisture. Reusing old fluid or failing to flush the system can introduce contaminants that damage the seals in your master cylinder and caliper. Always flush the entire system and fill it with fresh, clean fluid from a newly opened container that matches the DOT rating specified on your master cylinder reservoir cap.
Community discussion
Share your experience or ask a question. Comments are reviewed before publication.