
When selecting a replacement brake shoe for honda wave 110, the ideal choice depends heavily on your daily riding conditions, budget, and performance requirements. The Honda Wave 110 is a legendary workhorse on Philippine roads, and keeping its braking system in top condition is paramount for your safety.
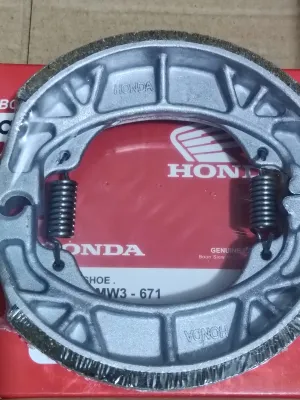
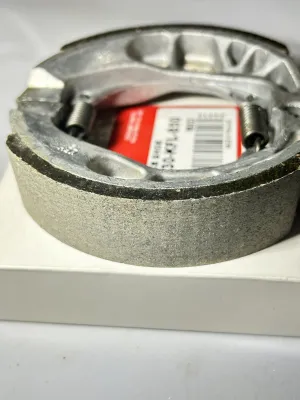
Genuine Honda OEM parts represent the gold standard for daily commuting, offering highly predictable stopping power, perfect factory fitment, and excellent drum longevity. Because these parts are engineered specifically to match the metal alloy of your motorcycle’s wheel hub, they ensure smooth, quiet operation under standard operating conditions.
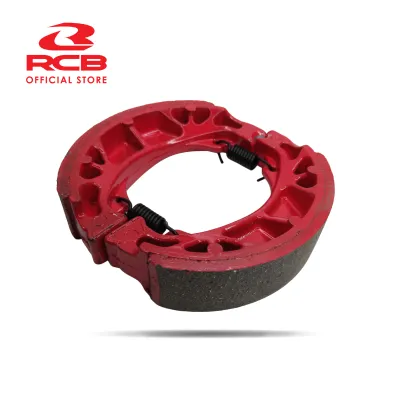
Premium aftermarket brands are excellent upgrades if you frequently carry heavy loads, navigate steep mountain roads, or ride in highly congested, stop-and-go urban areas where heat fade is a constant concern. These brands often utilize advanced organic or semi-metallic friction compounds designed to handle higher thermal loads.
Products mentioned in this guide
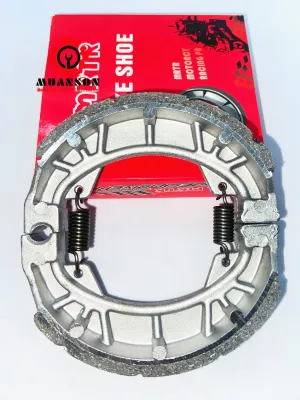
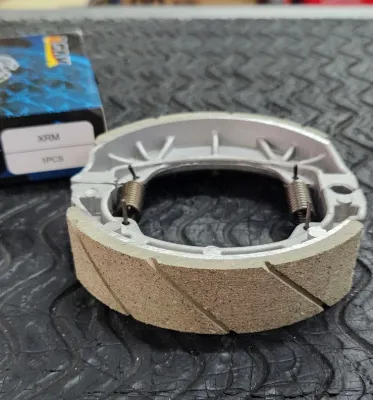
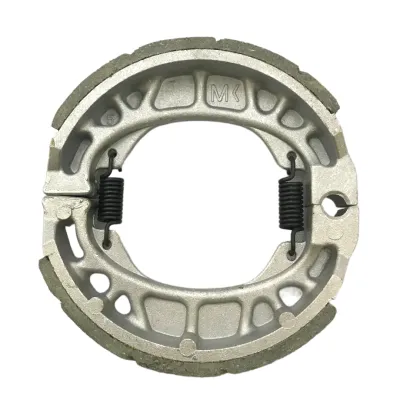
Prices are valid at publication and may change. Please refer to the product page for the latest price.
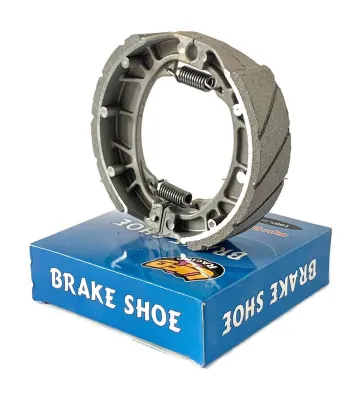
Conversely, you should strictly avoid unbranded, ultra-cheap economy brake shoes commonly found on online marketplaces. These budget alternatives often use substandard bonding adhesives, leading to lining delamination, rapid heat fade, and sudden brake failure, which poses a severe safety risk.
Safety First: Compatibility and Installation Boundaries
The Honda Wave 110 has been produced in multiple generations and variants over the years, including the Wave 110 Alpha, Wave 110 RSX, and older carbureted models. Crucially, you cannot assume all Wave 110 models use the exact same brake shoe dimensions.
Inner drum diameters, shoe widths, and anchor pin configurations can vary significantly between production years and regional variants. Before purchasing any replacement brake shoe, always verify the exact specifications from your motorcycle’s owner’s manual or official Honda parts catalogs.
Measuring the inner diameter of the brake drum and the width of the existing shoe is the most reliable way to ensure compatibility. Do not rely solely on generic product listings that claim to fit “all Wave models,” as an ill-fitting shoe can cause the brake to drag or fail to engage.
Replacing brake shoes is a safety-critical procedure that involves working with high-tension return springs, a rotating brake cam, and anchor pins. These components must align perfectly within the brake panel to function safely.
If you lack the proper tools, such as specialized spring pliers, or do not have experience working on motorcycle drum brakes, do not attempt a DIY installation. Incorrectly installed springs can snap or slip, causing the brakes to lock up or fail completely while riding.
Always have your brake shoes installed, inspected, and adjusted by a qualified mechanic at a reputable service center. Always refer to your original vehicle manufacturer’s service manual for exact torque specifications and assembly steps.
If you use a dedicated brake cleaner spray to remove accumulated dust from the drum interior during installation, ensure you use it only for label-authorized uses. Wear appropriate personal protective equipment, work in a well-ventilated area, and strictly follow the manufacturer’s safety instructions.
Decoding Stopping Power and Durability Claims
Marketing terms like “heavy-duty” or “maximum grip” are common, but real-world performance is governed by material science and mechanical engineering. Understanding these factors helps you make an informed decision.

Friction Material Formulations
The compound bonded to the metal backing plate determines how the brake shoe behaves when pressed against the spinning iron liner of the wheel hub.
- Organic (Resin-Based) Compounds: Composed of natural fibers, rubber, and binding resins, these offer smooth, quiet operation with excellent initial bite at low operating temperatures. They are gentle on the brake drum, preventing premature wear of the wheel hub. However, organic shoes wear down faster under heavy use and are highly susceptible to heat fade when riding down long hills or carrying heavy cargo.
- Semi-Metallic Compounds: Containing a mix of synthetic fibers and metallic particles (such as copper, iron, or steel), these provide significantly better heat dissipation. They maintain their stopping power under high-temperature conditions and resist wear exceptionally well. The trade-off is that they are more abrasive, which can accelerate wear on the inner drum liner, and they may produce more squealing noise when wet or dusty.
- Ceramic Compounds: Utilizing ceramic fibers combined with copper fibers and other non-ferrous materials, these offer outstanding durability, minimal brake dust, quiet operation, and excellent resistance to high-temperature fade. However, they are typically the most expensive option and require a brief warm-up period to reach their optimal operating temperature and maximum stopping power.
Always check the product packaging or manufacturer specification sheets to verify which friction material formulation is being used before making a purchase.
Hardware and Spring Quality
A brake shoe is a dynamic mechanical assembly, and the return springs are responsible for pulling the shoes away from the drum when you release the brake lever or pedal.
If these springs are made of low-grade steel, they can stretch, lose tension, or rust rapidly due to the high humidity and seasonal flooding common in the Philippines. Weak springs cause the brake shoes to drag against the drum, leading to severe overheating, glazed linings, and premature wear of both the shoe and the drum.
Additionally, the method used to attach the friction lining to the aluminum backing plate is critical. Premium brands use high-temperature, high-pressure bonding adhesives or robust rivets to ensure the lining never separates from the metal base.
Cheaply manufactured shoes often suffer from poor bonding, where the friction lining can literally peel off during hard braking, causing catastrophic rear-wheel lock-up. When purchasing, check if the package includes high-tensile, rust-resistant replacement springs, or if you must source high-quality OEM springs separately.
Brand Categories Compared: OEM vs. Premium vs. Economy Aftermarket
To help navigate the local spare parts market, it is useful to categorize brake shoes into three distinct tiers. This framework allows you to evaluate any brand you find in local motorcycle shops or online marketplaces.
| Category | Stopping Power Profile | Durability & Heat Fade | Drum Wear Impact | Best Use Case | Price Range (Approx.) |
|---|---|---|---|---|---|
| Genuine OEM (Honda) | Highly predictable, excellent cold bite, smooth modulation | Standard durability; prone to fade under extreme heat/heavy loads | Extremely low; preserves drum liner life | Daily city commuting, stock setups, standard riders | ₱200 – ₱400 |
| Premium Aftermarket | Strong, consistent bite; requires brief bedding-in | High durability; excellent resistance to thermal fade | Moderate; may cause slight wear over long periods | Heavy cargo, hilly regions, performance upgrades | ₱150 – ₱500 |
| Economy / Unbranded | Highly unpredictable; prone to sudden loss of grip | Very low; rapid wear and extreme fade under moderate heat | High; high risk of scoring or gouging the drum | Not recommended for safety-critical use | Under ₱100 |
Genuine OEM (Genuine Honda Parts)
Genuine Honda parts are engineered specifically to match the metal alloy of the Wave 110’s wheel hub. They provide a highly balanced, predictable braking feel from the moment they are installed.
Because they prioritize drum preservation, the friction material is slightly softer, meaning they will wear out before the drum does. This is the correct engineering trade-off, making them ideal for riders who want hassle-free, factory-spec safety.
Premium Aftermarket (Established Brands)
Brands in this tier often introduce specialized friction compounds, such as aramid-reinforced organic fibers or advanced semi-metallic blends. These shoes are designed to handle demanding conditions, such as the steep descents of mountainous provinces or the heavy stop-and-go traffic of metropolitan areas.
While they offer superior fade resistance, they often require a proper bedding-in period to perform optimally. They may also cause slightly accelerated wear on the inner drum over thousands of kilometers.
Economy / Unbranded
These are budget-focused parts often sold in plain packaging or under obscure brand names on e-commerce platforms. To keep costs low, manufacturers use cheap resin binders, low-grade aluminum backings, and weak return springs.
They frequently fail to maintain consistent friction coefficients, leading to a wooden or spongy pedal feel and a dangerous loss of stopping power when hot. Saving a few pesos on these components is not worth the risk of brake failure.
"Verify First" Checklist
- Packaging Integrity: Look for hologram stickers, clear manufacturing dates, and standard compliance markings on the box.
- Backing Plate Thickness: Compare the metal base of the new shoe with your old OEM part; it should be robust and free of casting defects or sharp, unfinished edges.
- Bonding Quality: Inspect the seam where the friction material meets the aluminum backing. There should be no visible gaps, cracking, or excessive pools of hardened resin.
- Friction Material Uniformity: The surface of the lining should be even, without large voids, crumbling edges, or uneven thickness.
Diagnosing Your Current Brakes: When to Replace
Before buying a new brake shoe for honda wave 110, you must determine if your current braking issues are caused by worn linings or if other components of the drum brake system are failing.
Observable and Audible Signals
- Squealing or Scraping Noises: A high-pitched squeal during braking often indicates that the friction material has worn down to its wear limit, or that dust has accumulated inside the drum. A harsh metallic scraping sound means the friction lining is entirely gone, and the aluminum backing plate or the wear indicator pin is grinding directly against the cast-iron drum liner. This requires immediate replacement to avoid destroying the wheel hub.
- Spongy or Soft Pedal Feel: If you have to press the rear brake pedal or pull the front brake lever excessively far before the brakes engage, the shoes may be heavily worn, or the linkage is out of adjustment.
- Adjuster Nut Limits: Look at the brake adjuster nut on the rear brake rod. If it has been tightened almost to the end of its threads to get a firm pedal feel, the brake shoes are near the end of their service life.
Other Drum Brake Failures
- Oil Contamination: If you notice a sudden, drastic loss of stopping power but the pedal feels firm, check for oil or grease inside the brake assembly. A leaking rear wheel bearing seal or chain lubricant can migrate into the drum, coating the friction material and rendering it useless. Contaminated shoes cannot be reliably cleaned and must be replaced.
- Glazed Friction Material: Continuous light braking or "riding" the brake pedal generates excessive heat, which crystallizes the surface of the friction lining into a shiny, glass-like state. Glazed shoes lose their grip and squeal loudly, even if they have plenty of thickness left.
- Out-of-Round or Scored Drum: Over time, heat cycles and abrasive dust can cause the inner drum liner to warp (become out-of-round) or develop deep grooves. If you install brand-new, high-quality brake shoes into a damaged or warped drum, the shoes will only contact the high spots, resulting in terrible stopping power and extremely rapid, uneven wear. In such cases, the drum must be machined by a professional or the wheel hub must be replaced entirely.
Proper Break-In (Bedding) for New Brake Shoes
Many riders make the mistake of assuming that new brake shoes will deliver maximum stopping power immediately out of the box. In reality, new shoes require a critical break-in process known as “bedding-in.”
Bedding-in is the process of mating the curved surface of the new friction lining to the unique wear patterns of your existing brake drum. During this process, a microscopic, uniform layer of friction material is transferred onto the iron drum liner, maximizing the surface contact area and optimizing friction.
Safe Bedding-In Procedure
- Find a quiet, flat road with minimal traffic.
- Accelerate your Wave 110 to a moderate speed of around 30 to 40 km/h.
- Apply the brakes smoothly with moderate pressure to slow the motorcycle down to a crawl (about 5 km/h). Do not bring the motorcycle to a complete stop with the brakes tightly applied, as this can cause uneven material transfer.
- Release the brakes and ride for a minute to allow the assembly to cool down from the airflow.
- Repeat this cycle 10 to 15 times.
What to Avoid
Avoid aggressive, emergency-style braking or dragging the brakes continuously down long hills during the first 50 to 100 kilometers of use. Subjecting fresh, unbedded friction material to extreme thermal shock will cause it to glaze, permanently reducing its stopping power and causing chronic squealing.
Frequently Asked Questions (FAQ)
How often should I replace the brake shoes on my Honda Wave 110?
There is no fixed mileage interval for replacing brake shoes, as wear rates vary dramatically based on riding habits, load weight, and environmental conditions. For instance, a rider navigating the daily stop-and-go traffic of Metro Manila or carrying heavy cargo will wear out their brakes much faster than a solo rider on open provincial highways.
Instead of relying on mileage, monitor the mechanical wear indicator located on the brake panel. When you apply the brake pedal fully, check if the pointer arrow on the wear indicator arm aligns with the reference mark on the backing plate. If they align, or if visual inspection shows the friction lining thickness is less than 2.0 mm, it is time to replace the shoes.
Can I use brake shoes from other Honda underbone models on the Wave 110?
You should never assume that brake shoes are cross-compatible across different underbone models, even if they share the same brand or engine displacement (such as the Honda XRM, Wave 125, or TMX).
While some models may appear visually identical, subtle differences in the inner drum diameter (e.g., 110mm versus 130mm), shoe width, anchor pin slots, or cam actuation shapes can prevent the shoe from seating properly. Attempting to force an incompatible brake shoe into your wheel hub can cause the brake to drag, fail to engage, or lock up unexpectedly. Always verify compatibility by matching the exact OEM part number or checking the manufacturer’s verified application guide for your specific Honda Wave 110 model year.
Community discussion
Share your experience or ask a question. Comments are reviewed before publication.