
Refreshing the look of your Honda Giorno with a full-body decal set is one of the most effective ways to restore its classic retro charm or give it a completely personalized modern edge. Whether you are riding an older model that has suffered from years of sun exposure or a newer generation scooter that you want to stand out on the road, a complete sticker kit offers a comprehensive aesthetic transformation. Unlike individual stickers that leave large areas of paint exposed, a well-designed full-body kit wraps around the scooter’s signature curved panels, providing a cohesive, factory-fresh appearance while offering a layer of protection against minor road debris and light scratches.
In tropical environments like the Philippines, where scooters are subjected to intense sunlight, high humidity, and sudden heavy downpours, choosing the right decal set requires careful consideration of materials, fitment, and application techniques. A sub-standard sticker kit can quickly fade, peel at the edges, or bubble, turning an exciting customization project into a frustrating maintenance headache. By understanding the nuances of vinyl quality, verifying your specific scooter generation, and preparing the bodywork correctly, you can achieve a professional-grade finish that keeps your ride looking pristine for years to come.
Understanding Full-Body Decal Sets for the Honda Giorno
A full-body decal set is a collection of pre-cut vinyl graphics engineered to fit the specific contours of a vehicle’s body panels. Unlike partial accent stickers or individual die-cut decals, which are designed to add small logos or localized graphics, a full-body kit is a comprehensive styling solution. It is designed to cover a significant portion of the scooter’s exterior, mimicking the look of a custom paint job or a professional color wrap without the extreme cost and permanent nature of automotive paint.
Products mentioned in this guide
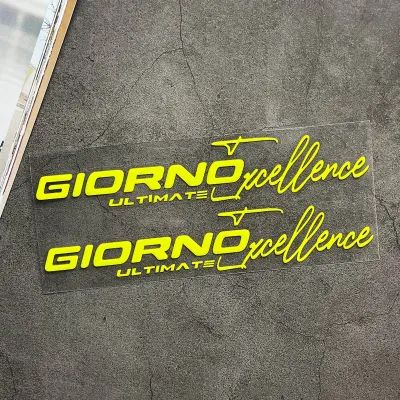
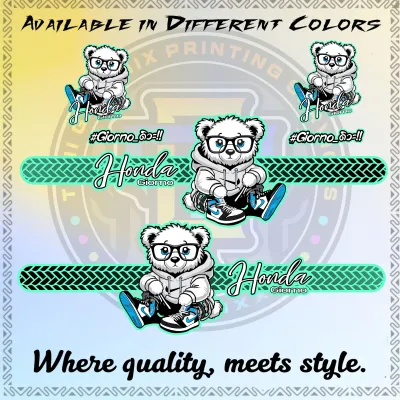
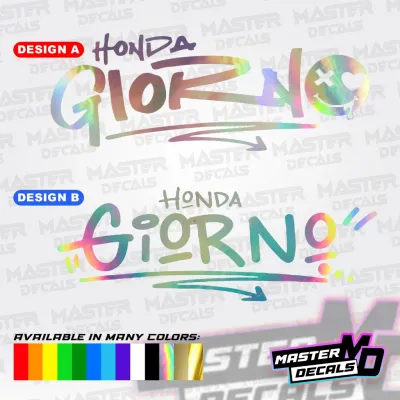
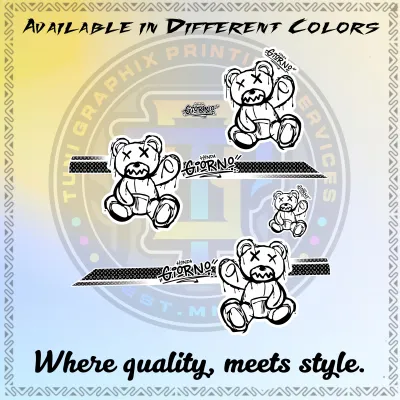
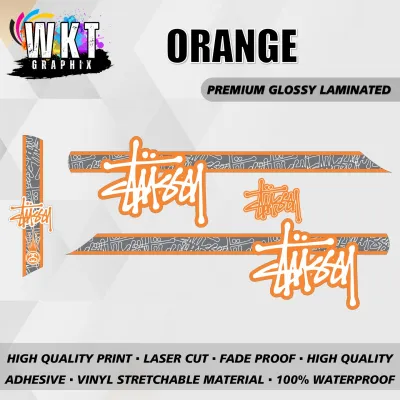
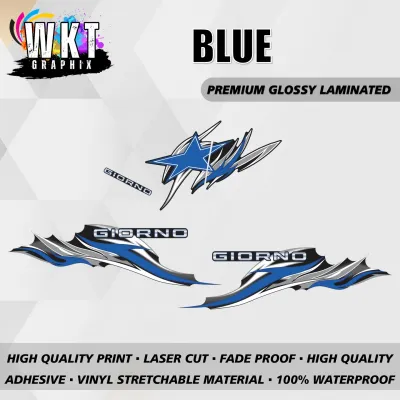
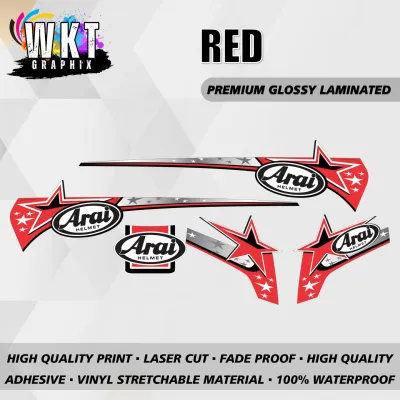
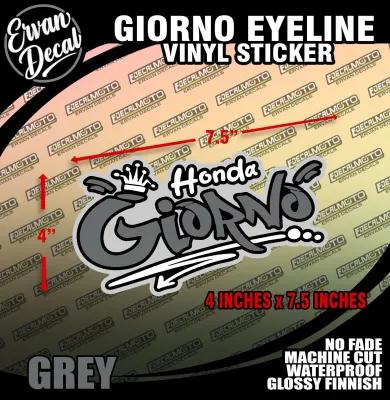
Prices are valid at publication and may change. Please refer to the product page for the latest price.
The coverage scope of a complete Honda Giorno decal kit typically includes precision-cut pieces for the front fascia or apron, the front fender, the side body panels (the rounded rear cowls), and sometimes the under-seat storage lid or handlebar cover. Because the Giorno is celebrated for its smooth, bulbous, retro-inspired lines, these decal sets must be designed with highly accurate templates. A quality kit will feature pieces that align perfectly with the panel edges, light cutouts, and emblem placements, ensuring that the original paint color either blends seamlessly with the graphic design or is completely covered where intended.
When deciding on a full-body kit, it is important to align your expectations with what vinyl graphics can realistically achieve. If your Giorno has faded, oxidized, or dull paint from years of parking outdoors, a high-quality decal set can completely revitalize its appearance, masking the cosmetic wear and giving the scooter a vibrant new look. However, decals are not a substitute for structural body repair. They will not hide deep dents, gouges, or cracked plastic panels; in fact, applying vinyl over severe surface imperfections will often highlight them, as the thin material conforms to every contour, bump, and crevice beneath it.
Key Factors When Selecting a Complete Decal Kit
The durability and final appearance of your scooter’s new look depend heavily on the quality of the vinyl material used in the kit. Vinyl graphics generally fall into two categories: cast and calendered. Cast vinyl is the premium choice for automotive and motorcycle applications; it is manufactured as a liquid and solidified into an extremely thin, flexible sheet. This allows it to conform effortlessly to the deep, complex curves of the Giorno’s body panels without shrinking or pulling back over time. Calendered vinyl, while more economical, is thicker and stiffer, making it more prone to lifting at the edges when stretched over rounded surfaces.

Adhesive technology is another critical factor that separates professional-grade decal sets from cheap alternatives. Look for kits that utilize air-release technology, which features microscopic channels in the adhesive layer. These channels allow trapped air to escape easily during installation, virtually eliminating the risk of unsightly bubbles. Additionally, high-quality adhesives should be pressure-sensitive and heat-activated, allowing you to reposition the decal during the dry-fitting phase before applying firm pressure and heat to lock the bond in place. It is equally important that the adhesive is rated for residue-free removal, ensuring that if you decide to change the design in the future, the vinyl can be peeled off without stripping the underlying factory paint.
Finally, pay close attention to the print quality and protective layers of the decal set. The graphics should be printed using high-resolution digital printers with UV-resistant inks to prevent the colors from fading under intense tropical sun exposure. To safeguard the printed design from road grime, fuel spills during fill-ups, and physical abrasion, the decals must feature a protective overlaminate layer. This laminate can come in gloss, matte, or satin finishes, providing not only the desired visual texture but also the necessary barrier to ensure the graphics remain sharp and colorful for several years.
Popular Design Styles and Themes for Giorno Customization
One of the most appealing aspects of installing a full-body decal set is the sheer variety of design directions available. For riders who appreciate the classic heritage of their scooter, OEM-style restoration kits are highly popular. These designs replicate the original factory graphics, pinstripes, and emblems of specific Giorno model years. They are ideal for restoring a vintage or older model to its showroom glory, preserving the clean, nostalgic aesthetic that made the scooter famous while replacing old, scratched, or peeling factory stickers with fresh, durable vinyl.
If you prefer a more contemporary, understated look, modern minimalist wraps offer a sophisticated alternative. These kits often feature solid, muted colors—such as matte military green, satin slate grey, or pastel cream—paired with subtle geometric accents or minimalist branding. This style emphasizes the elegant, flowing lines of the Giorno’s bodywork without overwhelming the eyes with busy patterns. Matte and satin finishes are particularly effective at hiding minor surface imperfections on the original plastic panels, giving the scooter a sleek, premium, and custom-fabricated appearance.
For those who want to make a bold statement on the road, expressive and themed decal kits provide endless creative freedom. Vintage cafe racer themes, complete with bold racing stripes, classic round number plates, and retro checkered patterns, complement the Giorno’s old-school silhouette perfectly. Alternatively, custom illustrations, vibrant abstract patterns, or tropical-themed graphics can turn your scooter into a moving piece of art. When choosing an expressive design, consider how the colors will contrast with the exposed, non-decaled parts of your scooter, such as the seat, floorboard, mirrors, and wheels, to ensure a balanced and harmonious overall look.
Essential Pre-Purchase Checks and Fitment Verification
Before purchasing a full-body decal set, verifying compatibility with your specific scooter is the most critical step. The Honda Giorno nameplate has been used across several distinct generations and regional variants over the decades. For instance, the classic two-stroke Giorno (such as the AF24), the later four-stroke models (like the AF70 or AF77), and the modern, larger-displacement Giorno+ 125cc feature completely different body shapes, panel dimensions, and indicator light placements. A decal kit designed for a modern Giorno+ will absolutely not fit an older 50cc model, and vice versa. Always check your scooter’s registration papers, chassis number, or user manual to identify the exact model code and year of manufacture.
Once you have identified your scooter’s exact model, carefully examine the product description and template layout provided by the seller. Compare the panel count and the shape of the cutouts in the decal kit against the physical panels of your Giorno. Pay close attention to details such as the presence of side reflectors, keyholes, fuel cap locations, and emblem badges. Some aftermarket kits require you to remove the physical chrome emblems from the side panels before installation, while others feature precise cutouts designed to fit around them. Knowing these details beforehand prevents the frustration of receiving a kit that does not align with your scooter’s hardware.
Because full-body kits are highly specialized products, evaluating the seller’s reputation on online marketplaces is essential. Look for listings with high ratings and, more importantly, customer reviews that include real-life photos of the installed decals. This allows you to assess the actual color accuracy, print sharpness, and fitment quality on real scooters. Additionally, check if the seller offers the option to purchase individual replacement pieces. In the event of a minor tip-over or an installation mistake on a single panel, being able to buy just the front fender or side panel decal—rather than purchasing an entirely new full-body kit—can save you a significant amount of money.
Surface Preparation and Installation Considerations
The secret to a flawless, long-lasting decal application lies almost entirely in the preparation of the surface. Any dirt, dust, wax, or oil left on the scooter’s panels will prevent the adhesive from bonding correctly, leading to premature lifting and bubbling. Begin by washing the scooter thoroughly with a wax-free car shampoo to remove road grime. Once dry, use a mild, label-authorized cleaning agent, such as a diluted isopropyl alcohol solution, to strip away any remaining polish, grease, or silicone-based detailing sprays. Always test the cleaner on a small, inconspicuous area first to ensure it does not damage or discolor the plastic panels, and avoid harsh chemical solvents like acetone, which can melt ABS plastics.
When it comes to the actual installation, you must decide between a DIY approach and hiring a professional. Applying a full-body decal set requires a high level of patience, a steady hand, and basic tools, including a soft-edged squeegee, a sharp utility knife for minor trimming, and a heat gun or high-powered hair dryer. The heat gun is essential for softening the vinyl, allowing it to stretch slightly and conform to the Giorno’s deep curves. However, you must exercise extreme caution: holding the heat gun too close or in one spot for too long can easily burn the vinyl, distort the printed graphics, or even warp the underlying plastic body panels. If you are uncomfortable working with complex curves or have no prior experience with vinyl wraps, paying a professional detailer or sticker specialist to perform the installation is highly recommended to ensure a perfect finish.
After the decals are successfully applied, proper post-installation care is vital to ensure the adhesive cures completely. Keep the scooter out of direct sunlight, heavy rain, and extreme humidity for at least 24 to 48 hours after application to allow the adhesive bond to stabilize. When washing your customized Giorno in the future, avoid using high-pressure water washers directly on the edges of the decals, as the intense pressure can force water underneath the vinyl and cause it to peel. Instead, hand-wash the scooter using a soft microfiber mitt and mild soap, and avoid applying abrasive waxes or polishes over matte-finished decals, as this can permanently alter their texture and appearance.
Frequently Asked Questions (FAQ)
Can I apply a full-body decal set over scratched or peeling original paint?
Applying a full-body decal set over damaged paint is not recommended without proper surface preparation. Vinyl decals require a completely smooth, stable, and clean surface to adhere correctly. If your Giorno has deep scratches, gouges, or peeling clear coat, the thin vinyl material will conform to these imperfections, making them visible even under the graphic design. Furthermore, areas where the original paint is actively peeling or flaking will prevent the decal’s adhesive from bonding securely to the plastic panel; the vinyl will simply stick to the loose paint chips, leading to rapid bubbling, lifting, and eventual failure of the decal. For the best results, sand down any rough edges, fill deep scratches with a suitable body filler, and ensure the surface is smooth and fully cured before attempting to apply the decals.
Will removing the decal set later damage the Honda Giorno's original paint?
If your Honda Giorno features its original, factory-cured paint in good condition, removing a high-quality decal set should not cause any damage. Premium vinyl kits are designed with specialized adhesives that can be peeled off cleanly without lifting the paint or leaving excessive residue. However, if the scooter has been repainted using low-quality aftermarket paint, or if the paint was not allowed to cure fully before the decals were applied, there is a risk that the adhesive may pull up sections of the paint during removal. To minimize the risk of damage, always use a heat gun or hair dryer on a low setting to gently warm the vinyl before peeling it off. The heat softens the adhesive, allowing you to pull the decal away slowly at a shallow angle, safely preserving the underlying surface.
Community discussion
Share your experience or ask a question. Comments are reviewed before publication.