
Finding the right brake pad for your Yamaha Mio i 125 involves looking beyond brand names to evaluate friction materials, physical specifications, and your daily riding environment. Because different manufacturers design pads for distinct riding conditions—ranging from dry city commuting to wet, hilly terrains—the ideal choice is the one that matches your specific usage pattern and budget. By understanding how to read product labels and verify physical compatibility, you can confidently select a replacement pad that ensures reliable stopping power. Making an informed decision not only protects your safety on the road but also prevents unnecessary wear on other critical braking components like the rotor and caliper.
Understanding Brake Pad Materials for Daily and Performance Riding
Brake pads are categorized by their friction compounds, which directly affect stopping power, noise levels, and how quickly your brake rotors wear down. For the Yamaha Mio i 125, riders typically choose between three primary material types: organic, semi-metallic, and sintered. Each compound offers distinct characteristics that suit different riding styles and budgets.
Organic pads, often labeled as non-asbestos organic (NAO), consist of fibers bound together with high-temperature resins. These pads are known for quiet operation and a gentle grip that preserves the life of your brake rotor. They perform reliably during typical dry-weather city commuting, though they tend to wear down faster under heavy, continuous braking. Because they are softer, they generate minimal noise and very little abrasive dust, making them a popular choice for daily urban riders who prioritize comfort and low maintenance.
Products mentioned in this guide
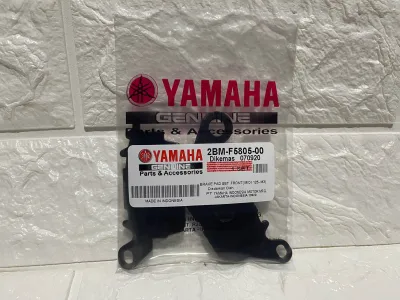
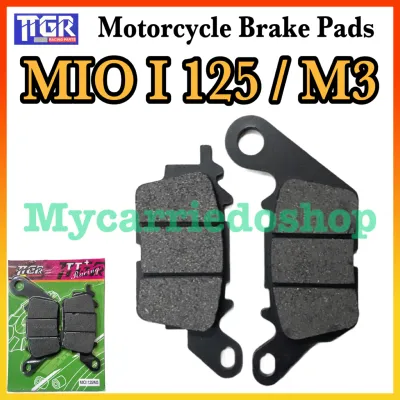
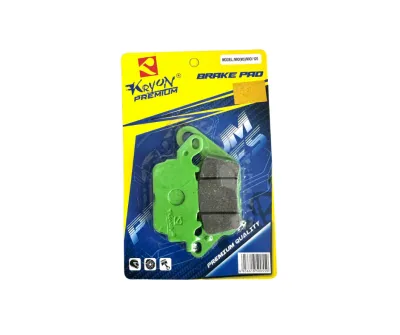
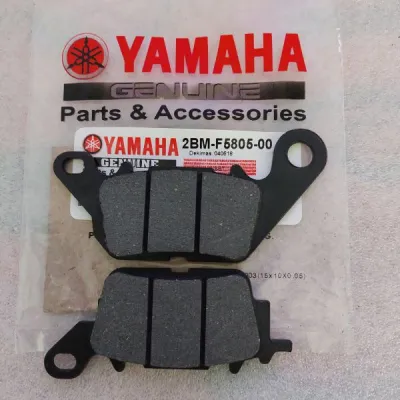
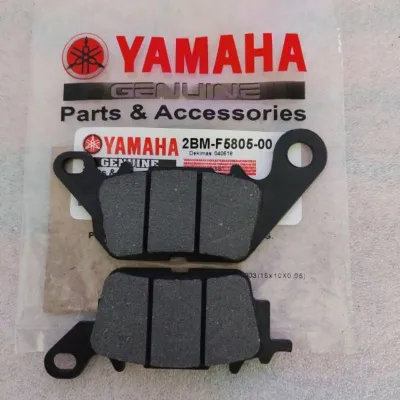
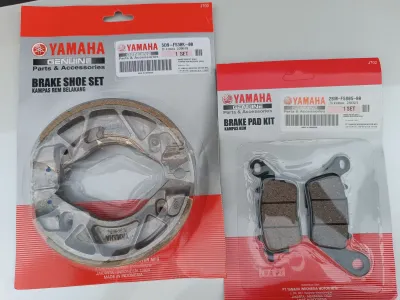
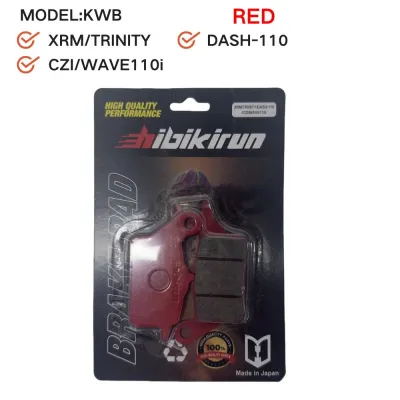
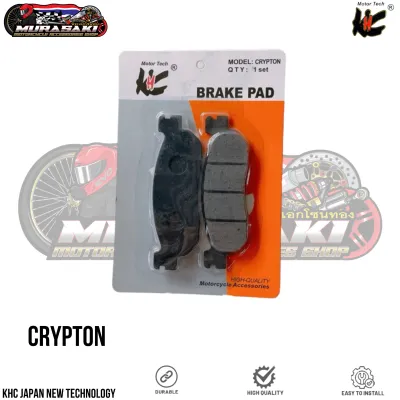
Prices are valid at publication and may change. Please refer to the product page for the latest price.
Semi-metallic pads combine synthetic fibers with metallic elements like copper, steel, or iron. This blend improves heat dissipation and provides a stronger initial bite when you pull the brake lever. While they offer consistent performance across a wider temperature range, they can generate more brake dust and may cause slightly faster rotor wear compared to organic alternatives. They represent a middle ground, offering enhanced stopping power in wet conditions without requiring specialized high-durability rotors.
Sintered or metallic pads are manufactured by fusing metallic particles under high pressure and temperature. These pads deliver exceptional heat resistance and durability, making them suitable for demanding conditions such as steep descents or carrying heavy loads. However, they require robust, compatible brake rotors to prevent premature disc wear, and they may produce noticeable noise during light braking. They are designed for high-stress environments where maintaining stopping power under extreme heat is critical.
Verifying Fitment and Specifications for the Mio i 125
Before purchasing any brake pad brand, you must verify the exact physical dimensions and mounting specifications for your specific scooter model year. Because the Yamaha Mio i 125 has undergone minor design updates over its production run, assuming compatibility based on the model name alone can lead to dangerous fitment issues. A pad that is even slightly misaligned can cause uneven wear, reduced braking efficiency, or complete caliper binding.

Start by cross-referencing the original equipment manufacturer (OEM) part number found in your scooter’s owner’s manual. If the manual is unavailable, you can often find the part number stamped on the backing plate of your existing, factory-installed brake pads. This number is the most reliable way to ensure that any aftermarket brand you purchase matches the exact specifications required by your vehicle’s braking system.
When shopping at an auto parts store or browsing an online marketplace, physically compare the replacement pad with your old unit. Pay close attention to the overall shape of the backing plate, the thickness of the friction material, and the precise placement of any pin or spring holes. Even a millimeter of variance can prevent the pad from sliding freely within the caliper, leading to brake drag or failure.
Always consult the brake pad manufacturer’s official application chart rather than relying on generic product listings. Reliable brands publish detailed compatibility lists that specify the exact model years and sub-models their pads are certified to fit.
Evaluating Brake Pad Brands and Packaging Claims
Evaluating the quality of a brake pad requires looking closely at the packaging and the physical product for standardized markings and manufacturing indicators. Reputable brands print friction coefficient codes, typically represented by a two-letter sequence like “HH” or “GG,” on the backing plate or the box. These letters indicate the material’s friction levels under cold and hot operating conditions, helping you gauge performance characteristics. Understanding these codes allows you to compare different brands objectively without relying solely on marketing claims.
Examine the physical construction of the pad for signs of high-quality manufacturing. The friction material should be uniformly molded and securely bonded to the backing plate without any visible gaps, cracks, or crumbling edges. High-quality pads also feature a consistent, corrosion-resistant finish on the metal backing plate and may include essential installation hardware such as anti-rattle shims or replacement clips. These small details often distinguish reliable, safety-certified products from cheap, unbranded alternatives.
Be cautious of products that exhibit common red flags, which often point to counterfeit or substandard parts. Avoid packages that lack clear manufacturer contact details, display poor print quality, or fail to specify the exact friction material composition. A complete absence of safety warnings or installation instructions on the packaging is another strong indicator that the product may not meet basic safety standards.
Decision Framework: Matching the Pad to Your Riding Conditions
Selecting the right brake pad involves matching the material characteristics to your daily riding environment in the Philippines. If your daily route consists primarily of flat, stop-and-go city commuting where speeds remain moderate, organic pads are highly suitable. They provide quiet, smooth stopping power and minimize wear on your brake rotor, helping you avoid premature disc replacement. This makes them an economical and comfortable choice for standard daily travel.
For riders who frequently navigate wet roads during the rainy season or travel on moderate highway stretches, semi-metallic pads offer a practical upgrade. The metallic content provides a more reliable bite in wet conditions and handles the heat of higher-speed stops better than organic compounds, though you should expect a slight increase in brake dust. This balance of durability and wet-weather performance makes them highly versatile for changing tropical weather.
If you regularly carry heavy cargo, ride with a pillion passenger, or traverse steep, mountainous terrain, sintered pads are the most durable option. Their high heat resistance prevents brake fade during prolonged downhill braking. Before installing sintered pads, however, you must verify that your brake rotor is rated for metallic compounds, as softer rotors will wear down rapidly under their abrasive grip.
Regardless of the brand or material you choose, inspect the condition of your brake rotor before installing new pads. If the rotor is deeply grooved, warped, showing heat discoloration, or worn below the minimum thickness stamped on its surface, new pads will not seat correctly. Operating new pads on a damaged rotor compromises stopping power and accelerates pad wear, making rotor replacement or resurfacing necessary.
Installation Precautions and Break-In Procedures
Because the braking system is a critical safety component of your Yamaha Mio i 125, any maintenance or replacement work must be approached with extreme care. Always refer to your scooter’s original service manual for specific torque specifications and assembly steps. If you lack the proper tools, experience, or confidence to perform this work safely, have the installation completed by a qualified motorcycle mechanic. Attempting a brake replacement without proper training can lead to severe mechanical failure.
Before installing the new pads, thoroughly clean the brake caliper, pistons, and rotor surface using a dedicated brake cleaner. Accumulations of road grime, brake dust, and old grease can cause the caliper pistons to stick, leading to uneven pad wear or dragging. Ensure all components are completely dry and free of oily residues before assembling the brake system, as any lubricant on the friction material will ruin the pads.
Once the new pads are installed, you must follow the manufacturer’s recommended break-in, or bedding, procedure. This process typically involves making a series of gentle, controlled stops from moderate speeds to gradually transfer a thin layer of friction material onto the rotor surface. Avoid sudden, hard braking during the first few kilometers, as excessive heat can glaze the new pads and permanently reduce their stopping efficiency.
Monitor your brakes closely during and immediately after the break-in period. If you experience a spongy brake lever feel, persistent brake dragging, fluid leaks around the caliper seals, or unusual metallic scraping noises, stop riding immediately. These symptoms indicate an installation error or system malfunction that requires immediate inspection by a professional mechanic.
Frequently Asked Questions (FAQ)
How often should I replace the brake pads on my Mio i 125?
Rather than relying on a fixed mileage or time interval, you should inspect your brake pads visually at regular intervals, such as during every oil change. Most pads feature a built-in wear indicator groove cut into the friction material; when this groove is no longer visible, the pads require immediate replacement. Additionally, listen for high-pitched squealing sounds from the wear tabs and pay attention to any increase in brake lever travel or a sudden loss of stopping power.
Can I use brake pads designed for other Yamaha scooters on the Mio i 125?
You should never assume that brake pads are interchangeable between different Yamaha scooter models, even if they share similar engine displacements or visual styling. Minor differences in caliper design, mounting bracket configurations, and backing plate dimensions can prevent a pad from fitting securely or operating safely. Using the wrong pad can lead to caliper binding, uneven wear, or sudden brake failure. Always consult the manufacturer’s official application chart to confirm that the specific part number is certified for the Yamaha Mio i 125.
Do I need to replace the brake rotor when changing the pads?
You do not always need to replace the brake rotor with every pad change, but you must inspect its physical condition thoroughly. Use a micrometer or caliper to measure the thickness of the disc and compare it to the minimum thickness specification stamped directly on the rotor face. If the rotor is worn below this limit, exhibits deep grooves, shows signs of warping, or has dark heat spots, it must be replaced alongside the new pads. Installing new pads on a compromised rotor will severely reduce braking efficiency and cause the new pads to wear out prematurely.
Community discussion
Share your experience or ask a question. Comments are reviewed before publication.