
Selecting the right cabin filter for your Suzuki Dzire in the Philippines requires a careful balance of filtration efficiency, airflow preservation, and exact physical compatibility. The tropical climate, characterized by intense heat, high humidity, and heavy seasonal rainfall, places a significant load on your vehicle’s air conditioning system. At the same time, navigating congested urban corridors exposes you to high concentrations of road dust, soot, and exhaust fumes. To maintain clean cabin air and protect your air conditioning components from premature wear, you must understand the available filter media, verify dimensions for your specific model year, and follow a safe inspection and replacement routine.
Many drivers overlook the cabin air filter until the air conditioning system begins to struggle or emit unpleasant odors. However, this simple consumable is your primary defense against airborne contaminants. By taking a systematic approach to choosing and maintaining this component, you can ensure a comfortable driving environment while avoiding costly repairs to your vehicle’s heating, ventilation, and air conditioning (HVAC) system.
Understanding Cabin Filter Types for Your Suzuki Dzire
When searching for a replacement cabin filter for your Suzuki Dzire, you will encounter several types of filtration media. Each type offers distinct advantages and trade-offs regarding air purity, airflow resistance, and service life. Understanding these differences allows you to choose a filter that aligns with your daily driving routes and personal health requirements.
Products mentioned in this guide
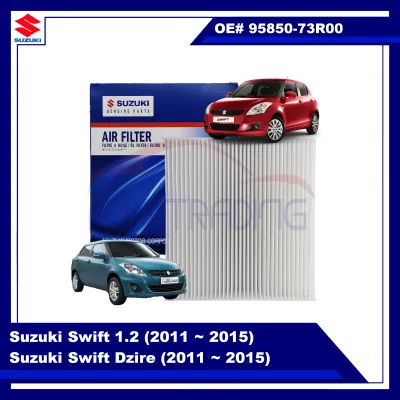
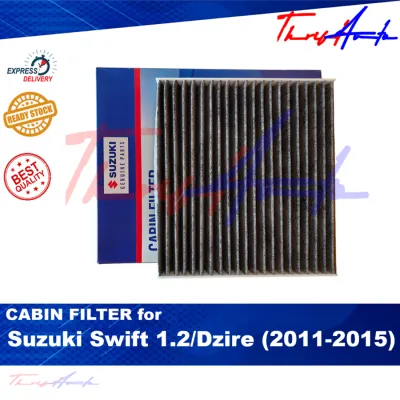
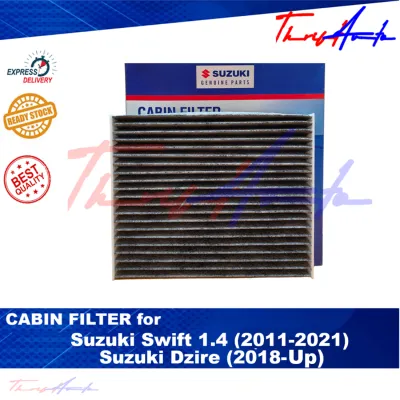
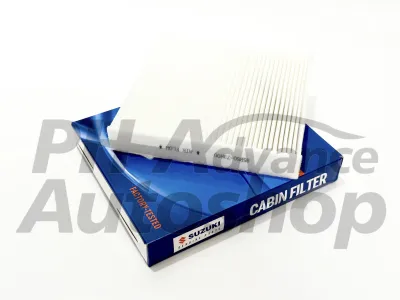
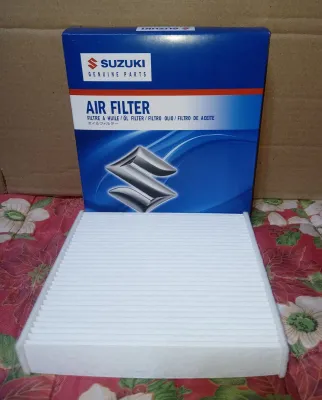
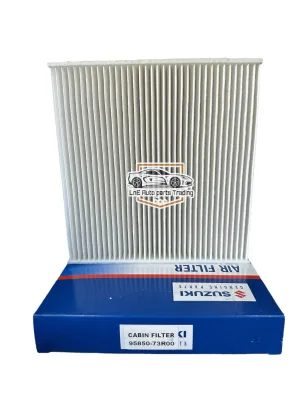
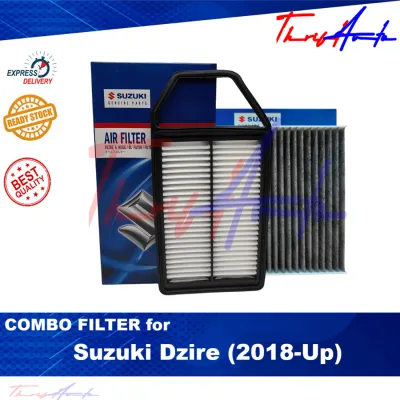
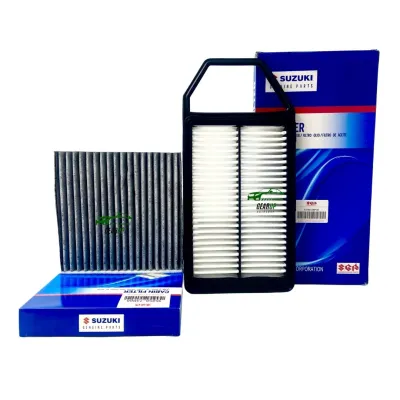
Prices are valid at publication and may change. Please refer to the product page for the latest price.
Standard particulate filters are typically constructed from high-quality paper or synthetic non-woven fibers. These filters are designed to capture larger airborne particles such as road dust, pollen, mold spores, and physical debris. Because the media is relatively open, standard filters offer excellent airflow, allowing your Suzuki Dzire’s air conditioning system to cool the cabin rapidly even on the hottest afternoons. This type is highly cost-effective and serves as an excellent baseline option for drivers who primarily travel on highways or in less congested rural areas.
Activated carbon filters feature an additional layer of charcoal treated with oxygen to open up millions of tiny pores between the carbon atoms. This structure allows the filter to adsorb gases, exhaust fumes, volatile organic compounds, and unpleasant odors that standard particulate filters cannot stop. If your daily commute involves bumper-to-bumper traffic in highly congested metropolitan areas, an activated carbon filter can significantly improve cabin air quality by neutralizing the smell of diesel exhaust and urban smog. The primary trade-off is a slight reduction in maximum airflow due to the denser, multi-layered construction.
High-Efficiency Particulate Air (HEPA) or advanced multi-layer filters represent the premium tier of cabin filtration. These filters are engineered to trap microscopic particles, including fine dust, allergens, and certain bacteria. While they provide the highest level of air purification, they also present the highest resistance to airflow. Before installing a HEPA filter in your Suzuki Dzire, check the manufacturer’s specifications to ensure it is compatible with your vehicle’s blower motor. An excessively restrictive filter can strain the fan motor, reduce cooling performance, and potentially lead to the air conditioning evaporator coil freezing up in humid conditions.
Selecting the right filter type is ultimately a decision based on your driving environment. If you suffer from respiratory sensitivities or spend hours in heavy traffic, the odor-reducing benefits of an activated carbon filter generally outweigh the minor reduction in airflow. Conversely, if your priority is maximum cooling speed and budget-friendly maintenance, a standard particulate filter remains a highly reliable choice.
How to Verify Fitment and Compatibility
One of the most common mistakes when purchasing a cabin filter for the Suzuki Dzire is assuming that a single size fits all model years. The Dzire has undergone various design updates and generational changes, which often include modifications to the HVAC housing dimensions. Installing an incorrectly sized filter can lead to air bypass, where unfiltered air flows around the edges of the filter, rendering it ineffective and allowing dust to accumulate directly on your AC evaporator coil.

To ensure a perfect fit, start by locating the Original Equipment Manufacturer (OEM) part number. This number can typically be found in your vehicle’s owner’s manual or printed on the plastic frame of the factory filter currently installed in your glove compartment. When browsing aftermarket options, cross-reference this OEM number with the manufacturer’s compatibility list to confirm that the replacement part is designed specifically for your Dzire’s model year and trim level.
If you are purchasing an aftermarket filter and cannot find a direct cross-reference, physical measurement is the most reliable verification method. Use a precise measuring tool to record the length, width, and thickness of your existing cabin filter in millimeters. Even a discrepancy of two to three millimeters can prevent the filter from sealing correctly within the housing slot or cause the housing cover to warp when snapped into place.
In addition to physical dimensions, pay close attention to the structural design of the filter frame. Some cabin filters feature a rigid plastic border, while others rely on a flexible, pleated paper edge. The Suzuki Dzire’s filter slot requires a filter that maintains its shape under the pressure of the incoming air. A flimsy filter that buckles or collapses inside the housing will create gaps, allowing dust, leaves, and insects to pass directly into the blower motor assembly.
Finally, always verify the airflow direction indicators on the replacement filter. Most filters have arrows printed on the side labeled “Air Flow” or “UP.” These indicators must align with the direction of the air moving through your vehicle’s HVAC system. Installing a filter upside down can restrict airflow and cause the filter media to collapse under pressure, as many multi-layer filters are designed to capture larger particles on the intake side and finer particles on the exhaust side.
Where to Source Reliable Cabin Filters in the Philippines
Sourcing a high-quality cabin filter in the Philippines requires identifying reputable sellers and avoiding counterfeit products that can compromise your vehicle’s HVAC system. Because cabin filters are high-volume consumables, the market contains various substandard imitations that lack proper filtration media or structural integrity.
Authorized Suzuki dealerships remain the most reliable source for genuine OEM cabin filters. Purchasing directly from a dealership guarantees that the part meets the exact specifications of your Suzuki Dzire and preserves your vehicle’s manufacturer warranty. While OEM filters purchased at a dealership generally carry a premium price, often ranging from ₱600 to ₱1,500, they offer peace of mind regarding fitment, material quality, and structural durability.
For those seeking aftermarket alternatives, established automotive parts supply stores in major cities are excellent options. Many of these physical retail shops are authorized distributors for reputable global filtration brands. When buying from a physical store, you have the advantage of inspecting the filter’s build quality, checking the rigidity of the frame, and verifying the density of the pleats before making a purchase.
If you prefer the convenience of online marketplaces, you must exercise caution to avoid counterfeit goods. Look for official brand stores or highly rated sellers with verified buyer reviews. Carefully read the feedback from other Suzuki Dzire owners to confirm that the filter delivered matches the advertised dimensions and fits their vehicles perfectly. Avoid listings that feature generic, unbranded packaging or prices that seem too good to be true, such as premium carbon filters sold for under ₱150, as these often use cheap paper that restricts airflow without providing real filtration.
When evaluating any seller, look for clear return policies and responsive customer service. A reputable seller should be able to answer specific questions regarding compatibility with your Dzire’s model year and provide accurate dimensions of the product. If a seller cannot confirm these details or if the packaging lacks clear brand markings and manufacturing origins, it is best to look elsewhere.
Signs You Need a Cabin Filter Replacement
Recognizing when your cabin filter has reached the end of its service life is crucial for maintaining both your health and your vehicle’s air conditioning performance. Because the filter is hidden behind the dashboard, it is easy to forget until noticeable symptoms arise. Monitoring these common indicators will help you determine when an immediate inspection or replacement is necessary.
A primary sign of a clogged cabin filter is a noticeable reduction in airflow from your dashboard vents. If you find yourself constantly increasing the fan speed to the maximum setting just to maintain a comfortable temperature, the filter media is likely saturated with dust and debris. This restriction forces the blower motor to work harder, which can lead to premature motor failure and increased electrical load on your vehicle’s alternator.
Persistent, unpleasant odors inside the cabin are another clear indicator that the filter needs attention. In the humid Philippine climate, moisture from the AC system can settle on the accumulated dust and organic matter trapped in the filter. This creates an ideal breeding ground for mold, mildew, and bacteria, resulting in a musty, damp, or sour smell whenever you turn on the ventilation system. If you experience a sudden onset of sneezing or watery eyes while driving, the filter may no longer be effectively capturing allergens.
Visible debris and discoloration during a physical inspection confirm that a replacement is overdue. A fresh filter is typically white or light gray (in the case of carbon filters). If you pull out the filter and find it covered in dark soot, leaves, insects, or a thick layer of gray dust, the media has lost its holding capacity. Continuing to use a saturated filter can cause the trapped debris to spill over into the blower motor housing, leading to mechanical noise or damage.
Finally, frequent or persistent window fogging during rainy days can indicate poor air circulation caused by a restricted cabin filter. When the filter is clogged, the HVAC system cannot efficiently draw in fresh air or dehumidify the cabin atmosphere. This causes moisture from your breath and wet clothing to condense rapidly on the cold glass surfaces, compromising your visibility and driving safety.
Inspecting and Replacing the Cabin Filter
Replacing the cabin filter in your Suzuki Dzire is a straightforward, reversible maintenance task that you can easily perform at home with minimal tools. By following a careful, step-by-step process, you can inspect the current filter’s condition and install a new one safely without damaging the delicate plastic components of your dashboard.
To begin, ensure your vehicle is parked on a level surface, the engine is turned off, and the ignition key is removed. Open the front passenger door to access the glove compartment, which houses the cabin filter assembly. Empty the contents of the glove box completely to prevent items from falling behind the dashboard during the removal process.
Locate the plastic stop tabs on the inner left and right sides of the glove box door. Gently squeeze the sides of the glove box inward to disengage these tabs from the dashboard frame. Once released, lower the glove box door completely, then gently pull it toward you to slide it off its bottom hinges. Set the glove box aside in a clean, safe place.
Behind the glove box opening, you will see a rectangular black plastic cover, which is the lid of the cabin filter housing. Locate the release clips on the sides of this cover. Gently press the clips inward to unlock the cover, then pull it straight off. Be careful not to apply excessive force, as these plastic clips can become brittle over time due to exposure to cabin heat.
Slowly slide the old cabin filter out of the housing slot. Keep the filter horizontal as you extract it to prevent loose leaves, twigs, or heavy dust from falling into the blower motor fan directly below. If any loose debris does fall into the fan chamber, it can cause a persistent ticking noise when the AC is running. If necessary, use a small vacuum attachment or a clean cloth to gently wipe away any dust inside the empty housing slot.
Before installing the new filter, compare it side-by-side with the old one to verify that the dimensions and pleat count are identical. Locate the airflow direction arrow printed on the side of the new filter. In the Suzuki Dzire, the air flows downward from the intake vents toward the blower motor. Align the filter so that the arrow points downward, then gently slide it into the slot. The filter should slide in smoothly without buckling, bending, or requiring force.
Once the filter is seated flat inside the housing, align the tabs of the plastic cover and snap it back into place until you hear a distinct click, indicating that the clips are fully engaged. Reattach the glove box door to its bottom hinges, squeeze the sides inward to clear the dashboard frame, and close the glove box to ensure it latches properly. Turn on your vehicle’s ignition and run the air conditioning on various fan speeds to verify that the airflow is strong, consistent, and free of unusual noises.
If you encounter any resistance during this process, or if you discover that the housing cover clips are already broken or missing, stop immediately. Do not attempt to secure the cover with adhesive tape or non-standard fasteners, as this can cause air leaks or prevent future access. Instead, consult a qualified automotive technician to replace the damaged housing components and ensure a proper seal.
Frequently Asked Questions (FAQ)
Can I wash and reuse a standard cabin filter?
No, you should not attempt to wash and reuse a standard paper or activated carbon cabin filter. These filters are constructed from specialized, non-woven fibers that rely on electrostatic charges and precise pore sizes to capture microscopic particles. Exposing the filter media to water, soap, or cleaning solvents dissolves the structural bonding of the fibers, causing them to swell and lose their filtration efficiency. Additionally, a wet filter is highly susceptible to mold and mildew growth, which will introduce harmful spores and foul odors into your cabin once reinstalled. Always replace a dirty filter with a new, dry unit to ensure proper air quality and system performance.
Will an aftermarket filter void my Suzuki Dzire warranty?
Using a high-quality aftermarket cabin filter that meets or exceeds OEM specifications generally does not void your Suzuki Dzire’s manufacturer warranty. Under standard consumer protection guidelines, a manufacturer cannot void a warranty simply because an aftermarket consumable part was used, provided the part was installed correctly and did not cause direct damage to the vehicle. However, to protect yourself, always keep the purchase receipts and maintenance records showing when the filter was replaced. If an incorrectly sized or poorly constructed aftermarket filter collapses, blocks airflow, or causes the blower motor to burn out, the repair costs for those specific components may not be covered under your warranty.
How often should I check the cabin filter in heavy traffic?
If you frequently drive your Suzuki Dzire in heavy urban traffic, near construction sites, or on unpaved roads in the Philippines, you should perform a visual inspection of your cabin filter every 5,000 kilometers or every six months. The high concentration of diesel particulate matter, road dust, and industrial emissions in congested areas accelerates the clogging process significantly compared to standard driving conditions. Regular visual checks allow you to shake out loose debris and determine if the filter needs to be replaced ahead of the standard 10,000-kilometer service interval recommended in your owner’s manual.

Community discussion
Share your experience or ask a question. Comments are reviewed before publication.