
Finding the right racing plate sticker for your motorcycle in the Philippines requires balancing personal style with durability and strict legal compliance. Because motorcycles face extreme tropical weather—ranging from intense summer heat to torrential monsoon rains—a sticker must be more than just visually appealing. It needs to withstand constant UV exposure, road grime, and high-pressure washes without peeling or fading. The ideal choice depends on your specific riding conditions, your motorcycle’s design, and how well the sticker material adheres to your bike’s surfaces while keeping your official license plate fully visible and unobstructed.
Key Factors When Choosing a Racing Plate Sticker
To select a sticker that lasts, you must first understand the differences in vinyl materials. Standard monomeric vinyl is highly affordable but prone to shrinking and cracking when exposed to the intense heat of the Philippine sun. For automotive and motorcycle applications, polymeric or cast vinyl is highly recommended. Cast vinyl is exceptionally thin, flexible, and conforms easily to the curved surfaces of motorcycle fenders and fairings, ensuring the edges do not lift over time.
Reflective and holographic materials offer distinct functional and aesthetic benefits. Reflective vinyl utilizes retroreflective technology, which bounces light back to its source, significantly improving your motorcycle’s visibility during night rides on poorly lit provincial roads or dark city streets. Holographic vinyl, on the other hand, features a multi-layered structure that shifts colors depending on the angle of light, providing a striking, modern look during the day. However, holographic films are often thicker and less flexible than standard vinyl, requiring careful application on flat or gently curved surfaces to prevent lifting.
Products mentioned in this guide
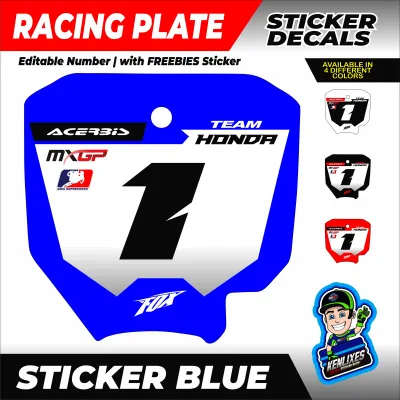
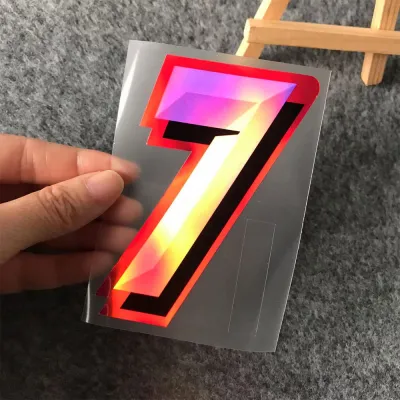

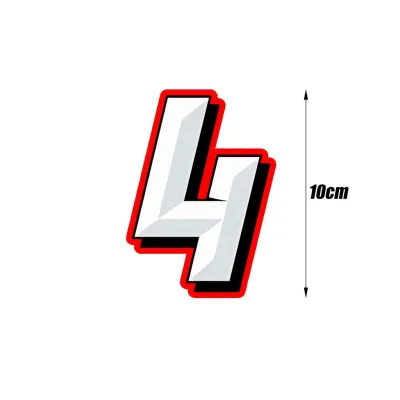
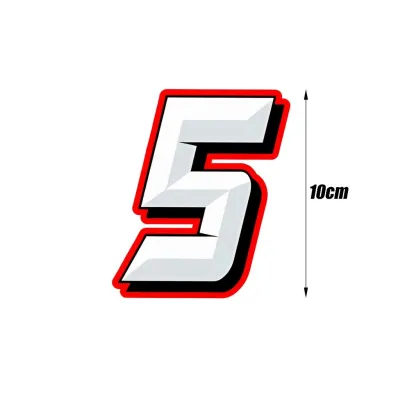
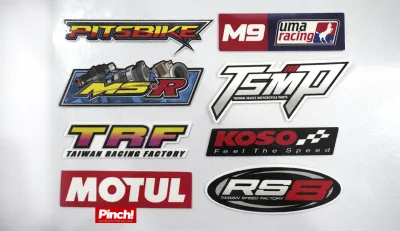
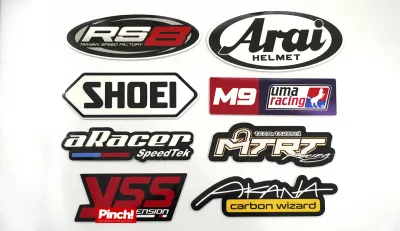
Prices are valid at publication and may change. Please refer to the product page for the latest price.
Adhesive quality is another critical factor that determines the lifespan of your sticker. High-quality racing plate stickers feature solvent-based acrylic adhesives that form a strong, permanent bond with plastic and metal surfaces over time. When browsing product specifications, look for indicators like “air-release technology” or “micro-channels” on the adhesive backing. This feature allows trapped air to escape during installation, preventing unsightly bubbles and ensuring a completely flat, secure bond.
UV protection and weatherproofing are essential for surviving the local climate. Unprotected inks will quickly fade under direct sunlight, turning vibrant reds and blues into dull, washed-out colors within a few months. To prevent this, ensure the sticker has a dedicated protective over-laminate layer, which can be matte or gloss. This laminate acts as a shield against UV radiation, road salt, rain, and minor abrasions. Check the manufacturer’s specifications for waterproof ratings and temperature tolerance, ensuring the material can handle temperatures up to 80°C, which fairings can easily reach when parked under the midday sun.
Matching Sticker Designs to Your Motorcycle Style
The visual design of your racing plate sticker should complement your motorcycle’s existing lines and overall aesthetic. For modern scooters and classic or retro-styled motorcycles, minimalist typography is often the most cohesive choice. Clean, sans-serif fonts, subtle borders, and solid, neutral colors preserve the elegant look of these bikes without cluttering their design. This style is particularly popular for daily commuters who want a clean, professional appearance.

Conversely, aggressive racing graphics are ideal for sportbikes, underbones, and dual-sport motorcycles. These designs often feature bold, angular shapes, neon accents, and simulated sponsor logos that mimic the look of professional track bikes. When choosing these graphics, consider how the sticker’s lines align with the natural contours of your motorcycle’s fairings. A well-placed graphic should look like an integrated part of the bike’s factory design rather than an afterthought.
Color contrast and finish play a major role in how the sticker looks under different lighting conditions. A matte finish absorbs light, reducing glare and giving the sticker a stealthy, premium appearance that pairs well with matte-painted fairings. A gloss finish reflects light, creating a vibrant, wet-look shine that enhances bright colors and matches glossy factory paint schemes. Metallic and chrome finishes add a high-end, mechanical touch, but they should be used sparingly to avoid creating distracting reflections for other motorists.
You must also weigh the trade-offs between pre-designed catalog options and custom-printed alternatives. Catalog options are highly convenient, cost-effective, and pre-sized for common motorcycle models, making them an easy choice for quick upgrades. Custom-printed stickers allow you to personalize the design with your name, riding number, or specific color matches. However, custom prints require high-resolution vector files to avoid pixelation, and their durability depends heavily on the quality of the local print shop’s inks and laminating equipment.
Sizing, Fitment, and Legal Considerations
Before purchasing any sticker, accurate measurement of your motorcycle’s mounting area is crucial. Use a flexible measuring tape to determine the exact width and height of the space where you plan to apply the sticker, such as the front fender, windshield, or rear mudguard. Take note of any physical obstructions, including mounting bolts, brackets, license plate frames, or body creases. If the sticker must fit around mounting holes, measure the distance between the holes to ensure the design elements or text are not cut off during installation.
Placement is not just about aesthetics; it is a critical safety factor. Ensure the sticker does not block or encroach upon essential safety components, such as turn signals, taillights, headlights, or rear reflectors. If your motorcycle is equipped with advanced rider assistance systems, such as rear-facing radar or parking sensors, verify that the sticker placement does not interfere with their field of view or sensor functionality.
In the Philippines, compliance with Land Transportation Office (LTO) regulations is paramount. Racing plate stickers or personalized temporary plates must never replace, cover, or mimic official LTO-issued physical plates or official temporary plates. Under Republic Act No. 11235 (the Motorcycle Crime Prevention Act) and existing LTO guidelines, altering, obscuring, or failing to display the official license plate carries severe penalties, including heavy fines and potential vehicle impoundment. Racing plate stickers are strictly decorative accessories and must only be applied to non-regulated areas of the motorcycle, such as the front fender or windshield. They must never obscure the official registration numbers, security holograms, or validation decals on your official plate. Always consult the latest LTO administrative orders to ensure your motorcycle’s plate area remains fully compliant.
Building Your Condition-Based Sticker Shortlist
To find the best sticker for your needs, build a shortlist based on your typical riding environment. Daily city commuters who navigate heavy traffic, pollution, and night roads should prioritize high-durability, reflective stickers that enhance safety and withstand daily wear. Weekend touring riders, who frequently encounter high-speed wind, dust, and sudden downpours on provincial highways, should look for premium cast vinyl with thick UV-blocking laminates. Track-day enthusiasts can focus entirely on lightweight, aggressive designs, as road-legality constraints do not apply on closed circuits.
Establish a realistic budget to guide your selection. Entry-level stickers, often priced under ₱100, are typically made of basic monomeric vinyl without UV lamination, making them suitable only for short-term use or temporary events. Mid-range options, ranging from ₱150 to ₱300, generally feature polymeric vinyl, basic reflective properties, and a protective gloss or matte laminate, offering a good balance of cost and durability. Premium tiers, priced from ₱350 to ₱600 or more, utilize high-grade retroreflective materials, custom designs, heavy-duty UV-blocking laminates, and advanced air-release adhesives that ensure a long-lasting, professional finish.
When purchasing stickers from online marketplaces, verifying seller reputation is essential to avoid low-quality counterfeits. Look for sellers with high ratings, positive feedback, and actual customer photos showing the sticker’s thickness and color accuracy. Check if the seller explicitly states the brand of vinyl used, such as 3M, Oracal, or Avery Dennison, as these brands are known for manufacturing reliable automotive-grade materials. Additionally, review the seller’s return policies regarding printing defects or shipping damage to protect your investment.
Installation and Care for Maximum Adhesion
Proper surface preparation is the single most important step in ensuring your racing plate sticker adheres securely and lasts for years. Begin by washing the application area with clean water to remove loose dirt and dust. Next, clean the surface thoroughly using 70% isopropyl alcohol and a lint-free microfiber cloth to strip away grease, wax, road grime, and oil. Avoid using dishwashing liquids with built-in moisturizers, glass cleaners containing ammonia, or oily detailing sprays, as these products leave a microscopic residue that prevents the sticker’s adhesive from forming a strong bond.
The application technique you choose depends on the size and complexity of the sticker. For small stickers, the dry method is highly effective. Peel a small portion of the backing paper, align the sticker carefully with your reference marks, and press the exposed adhesive onto the surface. Using a squeegee or a felt-wrapped plastic card, slowly apply the rest of the sticker while peeling away the remaining backing, working from the center outward to push out any air bubbles. For larger decals, a light mist of soapy water (the wet method) can be sprayed onto the adhesive side and the motorcycle surface, allowing you to slide and reposition the sticker easily before squeegeeing out the water and letting it dry completely.
To maintain the sticker’s appearance and prevent premature peeling, follow strict care guidelines. Avoid washing your motorcycle, exposing it to heavy rain, or riding in wet conditions for at least 24 to 48 hours after installation to allow the adhesive to cure fully. When washing your bike in the future, never point high-pressure washer nozzles directly at the edges of the sticker, as the intense water pressure can lift the vinyl. For safe, residue-free removal of an old sticker, apply gentle heat with a hair dryer to soften the adhesive, then peel the vinyl slowly at a 45-degree angle. Clean any remaining adhesive residue using a dedicated, paint-safe adhesive remover or eucalyptus oil, verifying compatibility on an inconspicuous area first.
Frequently Asked Questions (FAQ)
Will a racing plate sticker fade or peel under direct sunlight?
Yes, prolonged exposure to direct sunlight can cause low-quality stickers to fade and peel due to UV degradation. To prevent this, look for stickers made from UV-stabilized inks and protected by a dedicated gloss or matte over-laminate layer. High-quality automotive-grade vinyls are designed to resist UV rays, ensuring the colors remain vibrant and the adhesive stays secure even when parked outdoors in tropical heat.
Can I apply a racing plate sticker over an existing license plate cover?
While you can physically apply a sticker to a plastic or acrylic license plate cover, doing so may cause adhesion issues on highly curved surfaces and can create distracting glare for other motorists. More importantly, you must ensure that any cover or sticker does not violate LTO guidelines regarding license plate visibility. Covering or obscuring any part of the official license plate, even with a clear cover or decorative sticker, is generally prohibited and can result in fines.
How do I safely remove an old sticker without scratching the plate?
To safely remove an old sticker, apply gentle heat using a hair dryer to soften the adhesive backing. Once warmed, slowly peel the sticker back at a sharp 45-degree angle, using your fingers or a plastic scraper designed for vinyl removal. Avoid using metal blades, screwdrivers, or abrasive scrubbers, as these will scratch the underlying paint or plastic. Clean any remaining sticky residue with a mild, paint-safe adhesive remover or isopropyl alcohol on a soft microfiber cloth.

Community discussion
Share your experience or ask a question. Comments are reviewed before publication.