
Selecting the perfect tiger sticker for your motorcycle involves balancing visual style with material durability. For aggressive sportbikes, sharp geometric or tribal tiger patterns complement the aerodynamic fairings. Cruisers and adventure bikes benefit from realistic, detailed wildlife portraits on larger, flat panels, while classic cafe racers and scooters look best with minimalist line-art accents.
In the tropical climate of the Philippines, where intense sunlight and heavy monsoon rains are common, material choice is critical. Opt for high-quality polymeric or cast vinyl with a UV-resistant overlaminate to prevent premature fading and cracking. To ensure a successful upgrade, always measure your motorcycle’s surfaces, verify the adhesive’s compatibility with your paint, and confirm that the placement does not block essential safety lights or reflectors.
Exploring Tiger Sticker Design Aesthetics
The design of your tiger decal sets the tone for your motorcycle’s entire aesthetic. Because a motorcycle is a highly visual machine with distinct body lines, matching the artwork to your bike’s category creates a cohesive, intentional look rather than a cluttered appearance.
Products mentioned in this guide
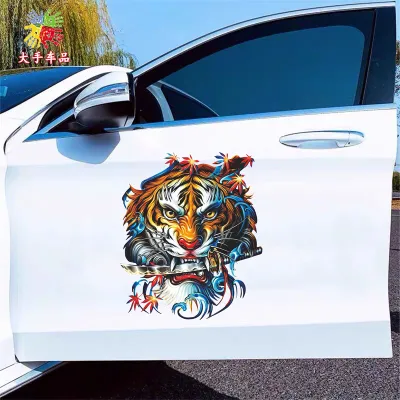
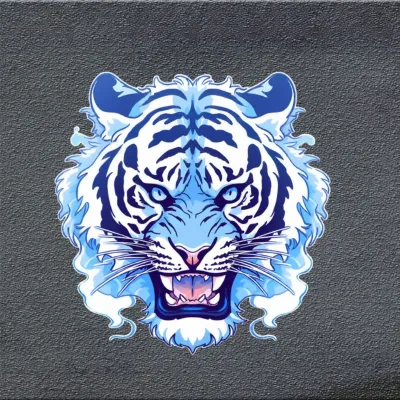
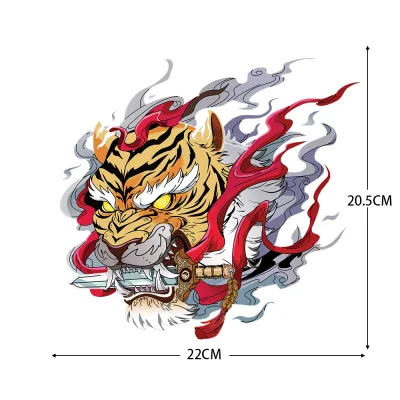
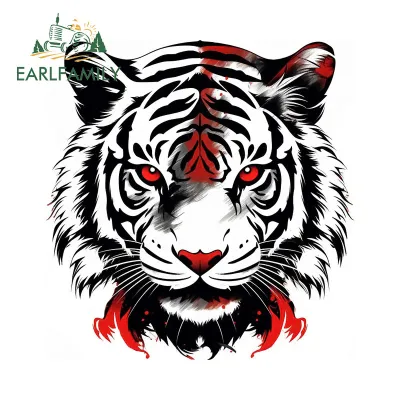
Prices are valid at publication and may change. Please refer to the product page for the latest price.
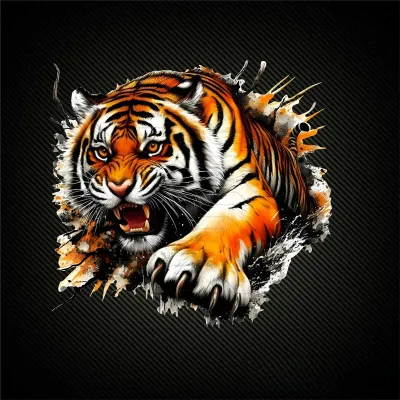
Realistic and Wildlife Portraits Realistic tiger portraits capture the intricate details of the animal’s fur, eyes, and powerful expression. These designs are highly detailed and require a relatively large, flat surface to be appreciated fully. They are exceptionally well-suited for the broad side fairings of adventure touring bikes, the fuel tanks of large cruisers, or the flat side panels of modern maxi-scooters. When choosing a realistic design, look for high-resolution prints; low-quality images can appear pixelated or blurry when scaled up to fit a motorcycle panel.
Tribal, Geometric, and Abstract Patterns If you ride a sportbike or a modern naked motorcycle, tribal or geometric tiger designs are an excellent match. These styles use sharp angles, bold black lines, and stylized stripes to convey speed and aggression. Instead of a literal representation of a tiger, these patterns use abstract shapes to mimic the muscular structure and fierce energy of the predator. They align naturally with the sharp, angular fairings and forward-leaning stance of sport motorcycles, enhancing the bike’s aerodynamic silhouette.
Minimalist and Line-Art Designs For riders who prefer a subtle, sophisticated look, minimalist tiger line art is the ideal choice. These decals use clean, single-stroke lines to outline a tiger’s face or stalking silhouette. They do not overwhelm the motorcycle’s original paint job, making them perfect for classic cafe racers, retro scramblers, or compact urban scooters. Minimalist stickers work beautifully on smaller areas, such as the front fender, the side covers, or even the rear cowl, providing a tasteful accent without dominating the vehicle’s design.
Japanese-Style and Traditional Irezumi Motifs Traditional Japanese art, or irezumi, frequently features the tiger as a symbol of strength, courage, and wind. These designs are characterized by bold outlines, vibrant colors, and classic background elements like swirling wind, cherry blossoms, or stylized waves. If you own a custom chopper, a retro cruiser, or a customized underbone motorcycle, an irezumi-style tiger decal adds a rich, artistic narrative. These designs often look best when wrapped around curved surfaces like the fuel tank or custom fenders, giving the impression of a hand-painted masterpiece.
Evaluating Sticker Materials for Outdoor Durability
The tropical environment of the Philippines presents unique challenges for motorcycle decals. High ambient temperatures, intense ultraviolet (UV) radiation, high humidity, and sudden, heavy downpours can quickly degrade low-quality stickers. Understanding the materials used in decal manufacturing helps you select a product that will withstand these harsh conditions.

Standard Vinyl and the Importance of Overlaminates Most motorcycle stickers are made from vinyl, but not all vinyl is created equal. Monomeric vinyl is inexpensive but prone to shrinking, cracking, and peeling at the edges when exposed to heat and sun. For automotive applications, polymeric or cast vinyl is highly recommended. Cast vinyl is thinner, highly conformable to complex curves, and does not shrink over time. Regardless of the vinyl type, always check the manufacturer’s product description for a UV-resistant overlaminate. This clear protective layer shields the printed ink from fading under the sun and prevents scratches during routine washing.
Reflective Materials for Enhanced Night Visibility Reflective tiger stickers offer both aesthetic appeal and a significant safety benefit. These decals incorporate tiny glass beads or microprisms that reflect light back toward its source, making your motorcycle highly visible to other motorists at night. This is particularly valuable on poorly lit provincial roads or during heavy rainstorms. When purchasing reflective decals, verify that the material meets standard reflectivity guidelines. Keep in mind that reflective vinyl is generally thicker and stiffer than standard vinyl, making it slightly more challenging to apply to highly curved surfaces.
Holographic and Color-Shifting Films Holographic and color-shifting stickers change color and intensity depending on the angle of the light and the viewer’s perspective. They create a striking, futuristic effect that stands out under city streetlights. However, these specialty films require careful evaluation before purchase. Check the manufacturer’s specifications to ensure the adhesive is compatible with automotive clear coats. Some budget holographic stickers use aggressive adhesives that can leave a stubborn residue or even damage the paint upon removal. Additionally, these films can be sensitive to prolonged UV exposure, so look for options specifically rated for outdoor or automotive use.
Clear and Transparent Backings Clear-backed stickers allow your motorcycle’s original paint color to serve as the background for the tiger design, eliminating the visible border often seen on solid-backed decals. This creates a clean, integrated look. However, when choosing transparent decals, you must verify if the manufacturer uses white-ink printing technology. Standard digital printers do not print white ink; they rely on the white background of the vinyl. If a transparent sticker lacks a white ink base layer under the colored portions, the design will appear translucent and will virtually disappear when applied to a dark-colored motorcycle.
Sizing, Placement, and Surface Compatibility
A beautiful design and high-quality material will still look poor if the sticker is the wrong size or applied to an incompatible surface. Proper planning prevents wasted purchases and potential damage to your motorcycle’s finish.
Measuring Curved vs. Flat Surfaces Motorcycle bodywork is rarely flat. Fuel tanks, fairings, and fenders feature complex, multi-directional curves. A common mistake is measuring these areas with a stiff, flat ruler, which underestimates the actual surface area. Instead, use a flexible tailor’s measuring tape to follow the contours of the panel. Alternatively, you can cut a piece of paper to the dimensions of the sticker you plan to buy and hold it against the motorcycle. This simple test allows you to visualize how the decal will sit on the curves and whether it will crease or distort.
Understanding Adhesive Types Decal adhesives generally fall into three categories: permanent, removable, and static cling. For motorcycles, permanent or high-tack removable acrylic adhesives are the standard. They provide the necessary grip to withstand high speeds, wind resistance, and high-pressure washing. Avoid static cling decals entirely, as they rely on static electricity and will quickly fly off a moving vehicle. When reviewing product specifications, look for “air-release” or “bubble-free” adhesive technology, which features tiny micro-channels in the adhesive layer that allow trapped air to escape easily during installation.
Material Safety and Paint Compatibility Before applying any adhesive product to your motorcycle, consider the condition of your paint and clear coat. Factory-applied paint is baked on at high temperatures and is highly durable, making it safe for most automotive-grade adhesives. However, aftermarket paint jobs, custom airbrushing, or older, sun-damaged clear coats are much more vulnerable. If your motorcycle has been recently repainted, wait at least 30 days for the paint to fully cure and outgas before applying a decal. Applying a sticker too soon can trap solvents, leading to bubbling, paint softening, or peeling when you eventually remove the decal.
Legal and Visibility Checks While customizing your ride is a great way to express your personality, safety and road legality must always come first. Ensure that your chosen tiger sticker does not obscure any safety equipment. Decals must never cover or partially block the headlight, taillight, turn signals, or side reflectors. Additionally, avoid placing stickers on or directly adjacent to your license plate, as local traffic regulations strictly prohibit any modification or obstruction of official registration plates.
Purchasing Channels and Pre-Purchase Verification
Finding the right tiger sticker involves choosing between online convenience and in-person quality checks. Both purchasing routes have distinct advantages, depending on your budget and customization needs.
Online Marketplaces and Specialized Decal Shops Online marketplaces offer an unparalleled variety of tiger designs, ranging from budget-friendly mass-produced stickers to unique creations from independent artists. When shopping online, read customer reviews carefully, paying close attention to photos uploaded by previous buyers to verify color accuracy and material thickness. For a more premium experience, specialized online decal shops often allow you to customize the size, color scheme, and material type. These specialized sellers are more likely to use high-grade automotive vinyl and offer reliable customer support.
Local Print Shops and Accessory Stores If you prefer a hands-on approach, visiting a local print shop or motorcycle accessory store in your area is highly beneficial. Many local shops can print custom designs on demand, allowing you to bring in your own tiger artwork. The primary advantage of local purchasing is the ability to inspect physical material samples before buying. You can feel the thickness of the vinyl, test the reflectivity of reflective films under your phone’s flashlight, and get professional advice on sizing directly from the printer.
Your Pre-Purchase Checklist Before finalizing your order, run through this quick checklist to ensure a perfect fit and long-lasting results:
- Dimensions: Double-check the width and height against your physical measurements of the motorcycle.
- Material Type: Confirm the product is made from polymeric or cast vinyl, not cheap paper or monomeric film.
- UV Protection: Verify that the sticker includes a clear protective overlaminate layer.
- Adhesive: Ensure the description specifies automotive-grade, bubble-free adhesive.
- Application Tools: Check if the seller includes a squeegee or transfer tape, which are essential for a smooth installation.
Application and Basic Maintenance Guidelines
Proper application is just as important as material quality. Even the most expensive cast vinyl sticker will peel and bubble if applied to a poorly prepared surface. Following a systematic installation process ensures your tiger decal remains securely bonded to your motorcycle.
Thorough Surface Preparation The key to a long-lasting bond is a surgically clean surface. Start by washing the application area with mild dishwashing soap and water to remove dirt, mud, and road grime. Avoid using specialized motorcycle washes that contain waxes or gloss enhancers, as these leave a slick residue that prevents the adhesive from bonding. Once the area is dry, wipe it down thoroughly with isopropyl alcohol and a clean microfiber cloth. This step removes stubborn grease, finger oils, and any leftover wax or polish. Allow the alcohol to evaporate completely before proceeding.
Ideal Application Conditions Environmental conditions play a significant role in how well the adhesive cures. Avoid applying decals in direct sunlight, on hot metal surfaces, or during periods of high humidity. High heat can cause the vinyl to stretch and distort, while high humidity can trap moisture under the film, leading to bubbles. Work in a clean, shaded, and wind-free environment, such as a garage or carport, to prevent dust and airborne debris from getting trapped under the sticker during application.
Washing and Long-Term Care Once your tiger sticker is applied, allow the adhesive to cure for at least 24 to 48 hours before riding in the rain or washing the motorcycle. When washing your bike, use gentle hand-washing methods with a soft sponge or microfiber mitt. If you use a high-pressure washer, exercise extreme caution. Keep the spray nozzle at least 30 centimeters away from the decal and avoid spraying directly at the edges of the sticker at a sharp angle, as the high pressure can easily lift the vinyl and ruin the bond.
When to Seek Professional Help If your motorcycle has complex body lines, deep recesses, or if you are working with a very large, expensive decal, consider professional installation. Many local wrap shops and motorcycle detailers offer decal application services. If your motorcycle’s paint is already showing signs of damage, cracking, or peeling, do not attempt to apply a sticker to cover it up. Consult a professional painter or detailer to address the underlying paint issues first, ensuring a stable foundation for any future customization.
Frequently Asked Questions (FAQ)
Can I apply a tiger sticker over existing scratches or peeling clear coat?
Applying a tiger sticker over existing scratches or peeling clear coat is not recommended. Vinyl decals are thin and flexible, meaning they will conform to the shape of any underlying imperfections rather than hiding them. Deep scratches will still appear as visible ridges or indentations beneath the sticker. Furthermore, if the clear coat is already peeling, the sticker’s adhesive will bond to the loose paint layer rather than the solid bodywork. This will cause the sticker to lift and peel away prematurely, often taking more of the damaged paint with it. It is best to repair the surface before application.
Will removing a motorcycle decal damage the original paint?
Removing a decal from a factory-painted motorcycle generally will not damage the original paint, provided the paint is in good condition and the removal is done carefully. Factory paint is baked on and highly durable. However, aftermarket paint jobs or older, sun-damaged clear coats are more vulnerable to lifting. To remove a decal safely, use a hair dryer or a heat gun on a low setting to gently warm the vinyl. This softens the adhesive, allowing you to slowly peel the sticker back at a sharp, 180-degree angle. If you feel excessive resistance or notice paint lifting, stop immediately and consult a professional.
Community discussion
Share your experience or ask a question. Comments are reviewed before publication.