
When upgrading or replacing the front brake rotor on your Yamaha Mio Sporty, choosing a 260mm disc requires looking beyond brand names and marketing hype. Because independent safety certifications and standardized performance rankings for aftermarket motorcycle rotors are rarely published, there is no single “safest” brand on the market. Instead, true braking safety is a direct result of precise physical fitment, verified material quality, and correct mechanical installation.
Upgrading to a larger 260mm rotor from the stock size changes the braking dynamics of your scooter. This modification increases leverage, which provides stronger stopping power, but it also introduces new mechanical variables. To ensure your safety on the road, you must evaluate any potential replacement disc using objective, measurable criteria rather than relying on unverified manufacturer claims.
Understanding Safety and Fitment for the Mio Sporty 260mm Rotor
The Yamaha Mio Sporty originally comes equipped with a smaller front brake disc. Upgrading to a 260mm rotor is a popular modification to improve stopping power, but this change requires absolute precision. The primary safety factor in any braking system is exact fitment, which ensures that the rotor rotates perfectly true without any lateral runout or binding.
Products mentioned in this guide
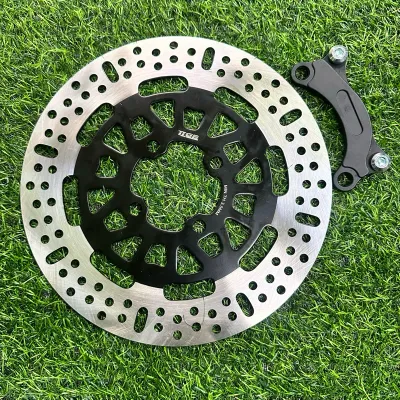
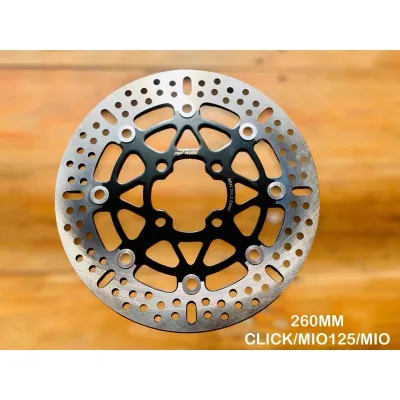
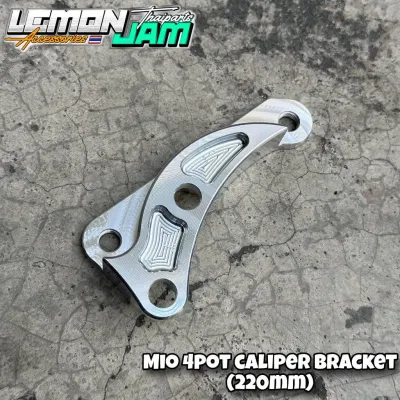
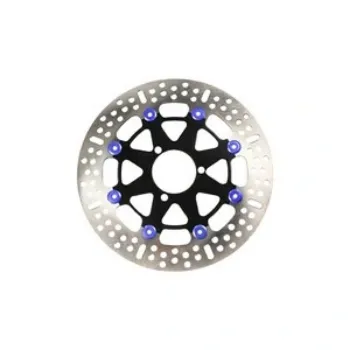
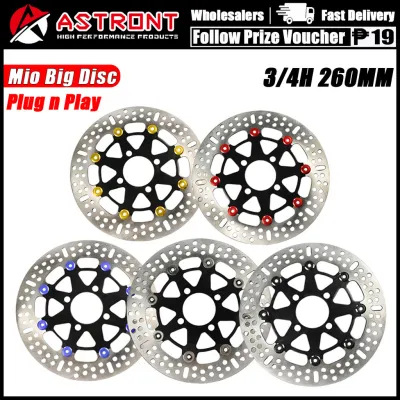
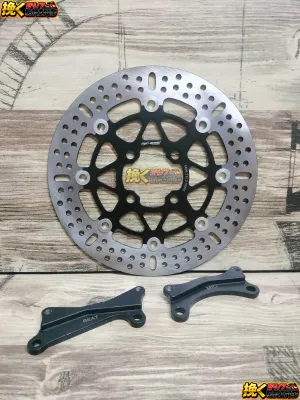
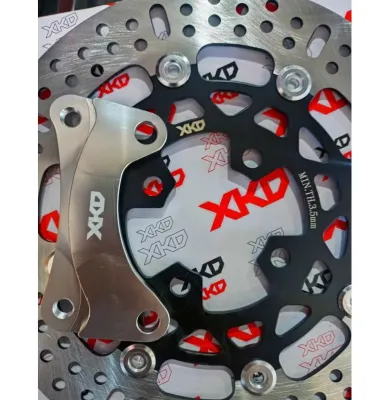
Prices are valid at publication and may change. Please refer to the product page for the latest price.
Before purchasing any aftermarket disc, you must verify the physical interface specifications against your specific Mio Sporty model year. The key dimensions include the bolt hole count, the bolt circle diameter (BCD), and the center hub hole diameter. The Mio Sporty hub has specific mounting configurations that must match the rotor exactly; even a fraction of a millimeter of misalignment can cause the mounting bolts to experience severe shear stress, leading to catastrophic failure under hard braking.
Using a mismatched, warped, or poorly toleranced rotor on your scooter introduces severe mechanical risks. A rotor that does not sit perfectly flat against the wheel hub will cause brake pulsation, where the brake lever vibrates rapidly during deceleration. This pulsation reduces the contact patch between the brake pads and the disc, significantly increasing your stopping distance. In worst-case scenarios, an off-spec rotor can rub against the caliper body, leading to sudden wheel lockups or brake system overheating.
To establish a safe baseline, always consult your owner’s manual or official Yamaha service documentation to confirm the original wheel hub specifications. While the manual details the stock rotor dimensions, you must ensure that any aftermarket 260mm kit you purchase includes a high-quality, model-specific caliper relocation bracket. This bracket must position the stock caliper at the correct height and angle to achieve full brake pad contact with the new, larger rotor surface.
Verifiable Specifications to Compare Across Brands
When comparing different aftermarket brands for a 260mm rotor, rely on physical measurements and observable manufacturing details. The first specification to check is the nominal thickness of the disc, which should have a minimum thickness limit (often marked as “Min. Th.”) stamped directly onto the metal surface.

Use a digital micrometer or vernier caliper to measure the rotor thickness before installation. A standard aftermarket 260mm disc typically ranges between 3.0mm and 4.0mm. Ensure the disc meets or exceeds the thickness of your original rotor, and never install a disc that lacks a permanently stamped minimum thickness safety limit.
Next, inspect the mounting holes and machining quality. The bolt holes should have clean, chamfered edges to prevent stress risers that lead to cracking. The braking surface must exhibit a consistent, finely ground finish with cross-grinding patterns to help the brake pads bed in quickly. Avoid rotors with visible machining marks, rough edges, or uneven anodizing.
Weight is another critical factor. While a lighter rotor reduces unsprung weight and improves handling, an excessively thin or hollowed-out disc compromises structural integrity and heat capacity. A rotor that feels unusually light compared to others of the same size may have thin braking tracks prone to warping under high temperatures.
Evaluating Material Quality and Manufacturing Claims
Aftermarket brands often make broad claims about superior stopping power and aerospace-grade materials. To separate marketing hype from actual safety, look for verifiable material markings on the product or its official packaging. High-quality brake discs are typically manufactured from specific grades of stainless steel, such as SUS420, which offers an optimal balance of hardness, friction coefficient, and corrosion resistance.
If a brand claims to use premium alloys or specialized heat treatments, check their official documentation or website for recognized manufacturing certifications. Certifications such as ISO 9001 indicate that the manufacturer adheres to strict quality management systems during production. Be skeptical of brands that make grand performance claims but fail to provide basic technical specifications or material safety data sheets.
Counterfeit and substandard motorcycle parts are common in online marketplaces and unauthorized physical shops. You can protect yourself by recognizing key red flags during your purchase. Substandard rotors often feature poorly printed packaging, missing or misspelled brand names, and lack any traceable manufacturer contact information. If the price of a 260mm rotor kit seems unusually low compared to established, authorized dealer rates, it is highly likely that the product is made from inferior cast iron or low-grade steel that cannot withstand the thermal stresses of daily riding.
Additionally, inspect the physical construction of the rotor. If you are opting for a floating two-piece rotor, examine the rivets or “buttons” that connect the outer stainless steel braking band to the inner aluminum carrier. These rivets must allow for slight lateral expansion under heat but must have zero radial play. Loose, poorly machined, or rattling rivets are a major safety hazard that can lead to sudden rotor separation.
Matching Rotor Features to Your Riding Conditions
Rather than searching for a single brand, select a 260mm rotor design that matches your daily riding conditions. For daily city commuting in heavy traffic, a standard solid or mildly drilled rotor is often the most reliable choice. Solid rotors provide maximum surface area for pad contact, resulting in consistent, predictable stopping power and minimal pad wear.
If you frequently carry heavy loads, ride with a pillion, or navigate steep terrain, heat management is your primary safety concern. Look for rotors with advanced heat dissipation features, such as deep slots or wave-cut outer profiles. These designs increase the surface area exposed to air, cooling the disc quickly and preventing brake fade where the brake fluid overheats and the lever goes soft.
For wet, muddy, or dusty road conditions, especially during the tropical monsoon season, self-cleaning rotor designs are highly beneficial. Slotted rotors act as a scraper, clearing water and road grime from the brake pads with every rotation. Ensure your chosen rotor design is compatible with your brake pad compound; highly slotted rotors pair best with high-quality organic or semi-metallic pads that can handle the scraping action.
Installation Safety and Break-In Procedures
Because the braking system is the most critical safety component on your Mio Sporty, any modification must be approached with extreme caution. Always have all brake system installations, modifications, and major maintenance performed by a qualified professional mechanic. Incorrect torque on mounting bolts, misaligned calipers, or contaminated brake pads can lead to complete brake failure.
During installation, the mechanic must inspect the entire front brake assembly. This includes checking the brake fluid, which should be replaced if dark or contaminated, using only the manufacturer-specified DOT 3 or DOT 4 fluid. The caliper slide pins must be cleaned and lubricated with specialized silicone brake grease to ensure the caliper moves freely and does not cause the new rotor to drag.
Once the new rotor and caliper bracket are securely mounted, a proper bedding-in procedure is essential to ensure optimal friction. Bedding-in mates the flat surface of the new brake pads to the fresh surface of the rotor. To do this safely, find a quiet, flat stretch of road. Accelerate to a moderate speed, then apply the front brake firmly but smoothly to slow down to a walking pace; do not bring the scooter to a complete stop, as doing so can transfer uneven patches of pad material to the hot rotor, causing permanent brake pulsation.
Repeat this deceleration process approximately 10 to 15 times, allowing the brakes to cool slightly between runs. This controlled heating transfers a microscopic, uniform layer of brake pad material onto the rotor surface, which is necessary to achieve full stopping power. Avoid sudden, aggressive emergency braking for the first 100 kilometers of riding to allow the new components to settle completely.
Frequently Asked Questions (FAQ)
Can I use a larger brake disc than 260mm on my Mio Sporty?
While it is mechanically possible to install rotors larger than 260mm, doing so requires a highly specialized caliper relocation bracket and can introduce significant safety risks. Larger rotors increase the unsprung weight of the front wheel, which can negatively affect your scooter’s suspension performance and steering responsiveness. Additionally, excessively large rotors may interfere with the front fender or speedometer cable routing, and they can make the front brake overly sensitive, increasing the risk of front-wheel lockup on slippery roads. Always consult a professional mechanic before attempting to install any rotor larger than the recommended 260mm upgrade size.
How often should I replace the 260mm brake disc?
There is no fixed mileage interval for replacing a brake disc, as wear rates depend heavily on your riding style, load, and environmental conditions. Instead, you must regularly inspect the rotor for physical signs of wear, such as deep grooves, scoring, warping, or a pronounced wear lip at the outer edge of the braking track. Use a micrometer to measure the thickness of the disc at several points; if any measurement falls below the minimum thickness limit stamped on the rotor, it must be replaced immediately. You should also replace the disc if you experience persistent brake pulsation, spongy lever feel, or reduced responsiveness that cannot be resolved by bleeding the brake lines or replacing the pads.
Do I need to change my brake pads when installing a new disc?
Yes, it is highly recommended to install a fresh set of high-quality brake pads whenever you replace or upgrade your brake disc. Old brake pads develop wear patterns, grooves, and heat glazing that match the surface of the old rotor. If you reuse these worn pads on a flat, new 260mm disc, they will not make full contact with the surface, severely reducing your initial stopping power and potentially scoring or warping your new rotor. When installing new pads, ensure that the pad compound is fully compatible with the rotor material, and take the opportunity to thoroughly clean the caliper pistons and slide pins to ensure smooth, even brake application.
Community discussion
Share your experience or ask a question. Comments are reviewed before publication.