
A complete Continuously Variable Transmission (CVT) full set for a Honda Beat FI must include a drive belt (V-belt), roller weights, clutch shoes, a clutch bell, a drive face (variator), a driven face (torque drive), slide pieces, and rubber O-rings. Replacing these parts as a unified system restores the scooter’s acceleration, eliminates transmission drag, and prevents premature belt failure. Because the Honda Beat FI is a staple of daily commuting in the Philippines, maintaining its transmission is vital for navigating heavy urban traffic and humid tropical conditions.
Before purchasing any replacement kit, you must verify your scooter’s exact model year, engine generation (such as the early FI models versus the later eSP variants), and specific parts documentation. Never assume a generic CVT kit will fit your specific vehicle. Checking these details beforehand ensures the components match your engine’s dimensions and mounting positions perfectly.
What to Expect in a Complete CVT Full Set
When you purchase a CVT full set, the package should contain all the primary wear-and-tear components responsible for transferring power from the engine to the rear wheel. A standard comprehensive kit includes the drive belt, a set of six roller weights, the clutch assembly (comprising the clutch shoes and springs), the clutch bell, the front variator pulley (drive face), the rear pulley assembly (driven face or torque drive), plastic slide pieces for the ramp plate, and the necessary sealing O-rings.
Products mentioned in this guide
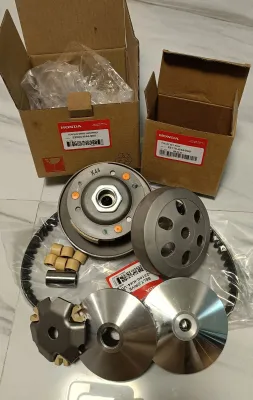
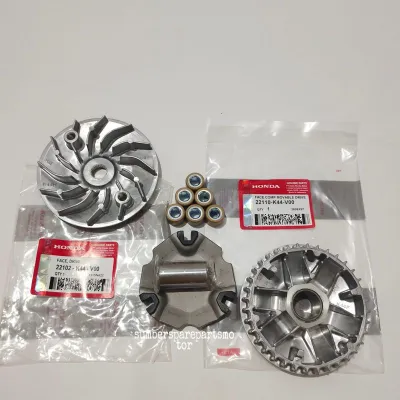
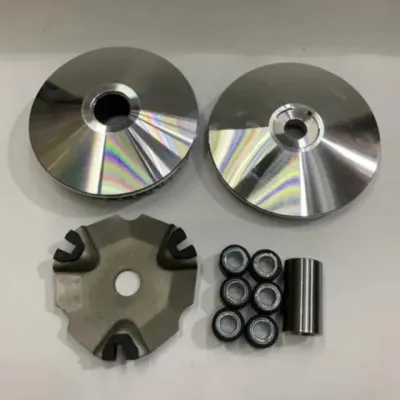
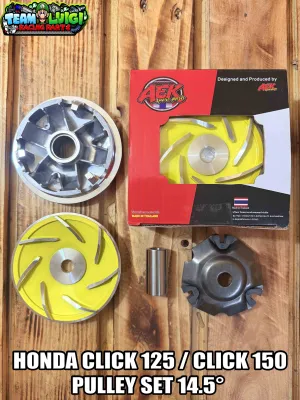
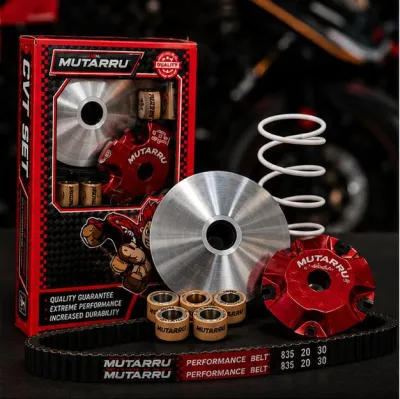
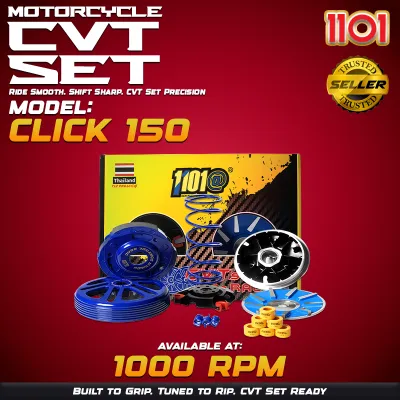
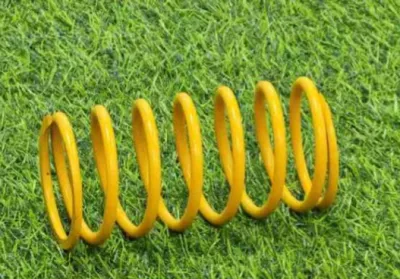
Prices are valid at publication and may change. Please refer to the product page for the latest price.
However, the definition of a “full set” varies widely among local motorcycle parts physical shops and online marketplaces. Some sellers package only the front pulley and roller weights as a “front set,” while others bundle only the rear clutch components. To protect your investment, always cross-reference the seller’s packing list with the official Honda Beat FI service manual.
Ensure that minor but crucial hardware items are not omitted from the kit. Items such as the specific collar spacer, specialized washers, and the ramp plate itself are sometimes excluded from budget bundles. Missing a single washer or using an old, worn collar spacer can cause misalignment, leading to rapid belt wear or severe vibration during acceleration.
How to Check Specifications and Quality for Each Component
Verifying the physical quality and technical specifications of each component before installation prevents premature failures on the road. High humidity and dusty environments in the Philippines subject CVT components to intense thermal and physical stress, making detailed quality checks essential.

Drive Belt and Roller Weights
The drive belt is the most critical link in your scooter’s transmission. Inspect the belt’s outer surface to ensure the correct part number is clearly molded into the rubber compound. Examine the sides of the belt for clean, uniform cuts, and check that the internal reinforced cords—typically made of aramid or fiberglass—are completely embedded with no visible fraying or loose threads.
For the roller weights, check the exact gram rating specified in your Honda Beat FI service manual. Roller weights directly dictate the engine speed at which your transmission shifts, directly impacting acceleration and top-end speed. Avoid guessing or copying the roller weight setups of different scooter models, as incorrect weights can leave your scooter sluggish on steep inclines.
Keep in mind that installing heavier rollers does not automatically translate to better performance or higher top speed. Heavier rollers simply shift the engine’s power band, causing the transmission to upshift at lower engine speeds. This can reduce your low-end acceleration, which is highly disadvantageous when filtering through stop-and-go city traffic.
Clutch Shoes, Bell, and Springs
Examine the clutch shoes to verify that the friction material is of uniform thickness across all pads and is securely bonded to the metal backing plates. Any signs of lifting, cracking, or uneven lining application can lead to clutch slippage and erratic power delivery.
Inspect the clutch bell’s inner contact surface for deep scoring, grooves, or heat discoloration, which often manifests as a dark blue tint. Heat-damaged or warped bells prevent the clutch shoes from gripping evenly, resulting in a distinct shuddering sensation when you accelerate from a complete stop.
Verify that the clutch springs match the tension rating required for daily riding. While stiffer aftermarket springs delay clutch engagement to provide a punchier launch, they are generally not recommended for daily commuting. Stiffer springs force the engine to run at higher revolutions before moving, increasing fuel consumption and accelerating wear on the clutch lining.
Pulley Faces and Slide Pieces
Run your fingers along the smooth contact faces of both the drive pulley and the torque drive. The machining on these aluminum and steel faces must be completely smooth and free of pitting, ridges, or deep grooves. Any surface imperfections on these faces will act like sandpaper, rapidly wearing down the sides of your new drive belt.
Inspect the plastic slide pieces on the ramp plate to ensure they are free of hairline cracks and fit snugly without excessive play. Additionally, check that the rubber O-rings for the torque drive guide pins are supple and sit perfectly in their grooves. These seals prevent grease from escaping onto the pulley faces and stop clutch dust or rainwater from entering the internal mechanical assembly.
OEM vs. Aftermarket: How to Read Labels and Verify Authenticity
Choosing between Original Equipment Manufacturer (OEM) parts and aftermarket upgrades requires careful inspection of the packaging and product labels. Counterfeit parts are common in the motorcycle industry, and installing them poses a severe safety risk.
Genuine Honda OEM parts feature specific authenticity markers. Look for clean, high-quality packaging complete with a holographic security sticker that shifts color under direct light. The part numbers must follow the standard Honda formatting (typically a five-digit basic part number, a three-character product code, and a design/supplier suffix) and match the codes listed in the official Honda Beat FI parts catalog. The package should also display a clear, legible manufacturing date code.
If you decide on aftermarket alternatives, prioritize brands that clearly state their material standards on the label, such as the use of high-temperature synthetic rubber or reinforced fiber cords. Reliable aftermarket manufacturers provide clear warranty terms and accessible customer support information. Avoid products packaged in generic boxes with vague, hyped claims like “racing grade” or “unbreakable” if they lack basic technical specifications, physical dimensions, or manufacturer contact details.
Installation Safety and Professional Service Boundaries
Working on your scooter’s CVT system involves high-tension springs and components that spin at thousands of revolutions per minute. Because of the safety risks and the potential for severe engine or transmission damage, you must prioritize proper tools and recognize when a task requires a professional mechanic.
Using the correct tools is non-negotiable. You must use a dedicated clutch holding tool (universal holder or fly key) to secure the pulleys and a calibrated torque wrench to tighten the fasteners. Tightening the variator nut or clutch bell nut using an impact wrench without verifying the torque can easily strip the crankshaft threads or cause the nuts to back off while riding, leading to catastrophic transmission failure.
Stop the installation immediately and consult a qualified motorcycle mechanic if you encounter seized casing bolts, stripped threads on the crankshaft, or if you do not have access to the manufacturer’s exact torque specifications. Attempting to force a damaged fastener can ruin the engine casing, resulting in incredibly expensive repairs.
Before putting the CVT cover back on, thoroughly clean the inside of the transmission casing. Use a dedicated brake and parts cleaner authorized for motorcycle use to wash away old belt dust and debris, taking care not to spray harsh chemical solvents directly onto sensitive rubber oil seals. A clean environment ensures your new components operate efficiently and reach their full service life.
Frequently Asked Questions (FAQ)
How often should the CVT components be replaced?
While the official Honda service manual provides general mileage intervals for inspecting and replacing transmission parts, the actual lifespan of your CVT components depends heavily on your daily riding conditions. In the Philippines, the combination of tropical heat, high humidity, road dust, and constant stop-and-go city riding accelerates wear significantly.
Instead of relying solely on mileage, perform visual inspections of the belt, rollers, and slide pieces during your routine oil changes or every 8,000 to 10,000 kilometers. If you notice cracks in the belt valleys, flat spots on the roller weights, or deep grooves in the pulley faces, replace those parts immediately regardless of the current odometer reading.
Can I mix OEM and aftermarket parts in a CVT set?
It is highly recommended to avoid mixing OEM and aftermarket components within the same CVT assembly. Different manufacturers design their parts to work within specific tolerances, utilizing distinct friction coefficients for clutch shoes and specialized rubber compounds for drive belts.
Mixing mismatched brands can disrupt the balance of the system, leading to belt slippage, inconsistent power delivery, or accelerated wear on the more expensive components. To maintain smooth acceleration and ensure long-term reliability, install a uniform, fully compatible set from a single reputable source.
Community discussion
Share your experience or ask a question. Comments are reviewed before publication.