
Finding the best sticker sets for your Honda Click V4 in the Philippines requires matching the precise panel contours of the V4 generation, verifying material resistance to intense tropical heat and heavy monsoon rains, and selecting high-quality adhesives that protect the factory clear coat. Because the Click V4 features sharper, more aggressive body lines than its predecessors, generic decals will not align correctly. Customizing your scooter with decals is a popular way to express your personal style while adding a layer of protection against daily wear, road debris, and UV exposure. However, choosing the wrong sticker set can lead to peeling edges, faded colors, or even damage to your scooter’s original paint.
To make an informed decision, you must understand the specific design of your scooter’s panels, evaluate the durability of different vinyl materials, and know how to verify the quality of a seller’s product before making a purchase. This guide provides a comprehensive framework to help you navigate the selection process, compare popular aesthetic themes, check material specifications, and prepare your scooter for a flawless installation. By focusing on practical verification steps and proper surface preparation, you can ensure your new decals look professional and last for years on local roads.
Understanding Fitment and Panel Coverage for the Click V4
The Honda Click V4 features a highly distinct aerodynamic design characterized by sharp angles, deep recesses, and layered fairings. Unlike older generations of the Honda Click, the V4 has a redesigned front cowl, updated side panels, and a unique tail section. Consequently, any sticker set you consider must be explicitly patterned for the V4 model year. Attempting to force a decal kit designed for a V2 or V3 onto a V4 will result in misaligned graphics, exposed paint gaps, and overlapping edges that quickly collect dirt and peel away.
Products mentioned in this guide
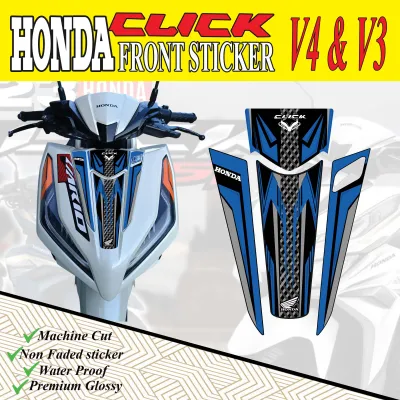
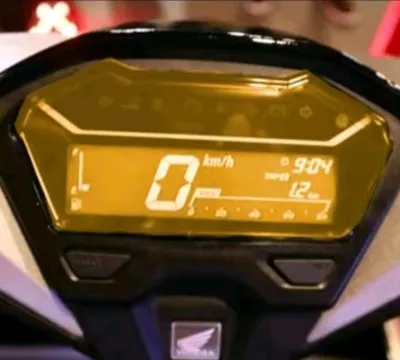
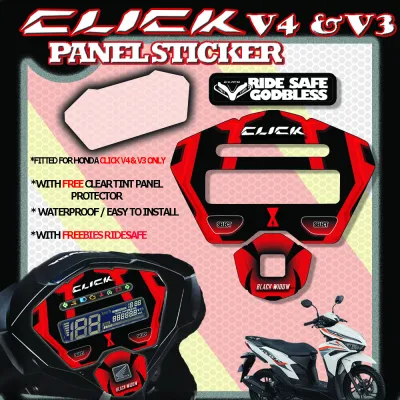
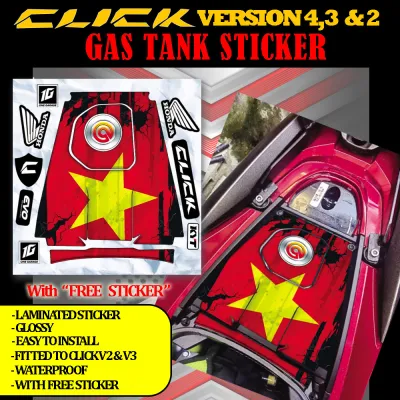
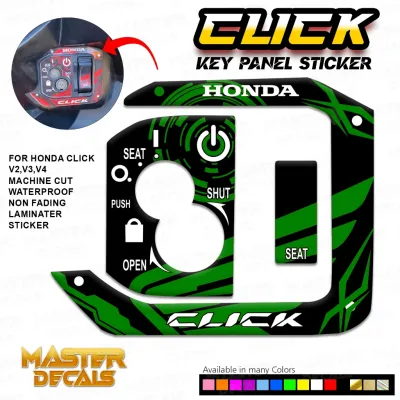
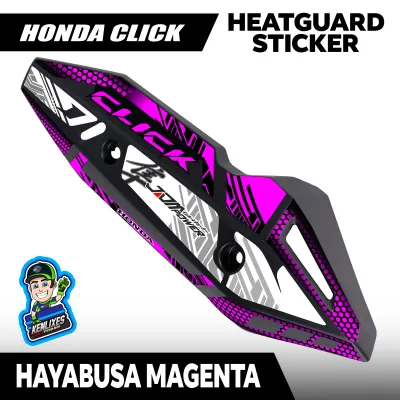
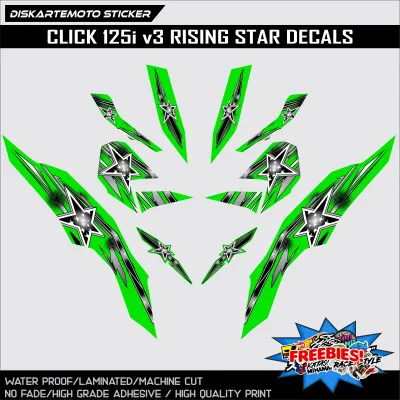
Prices are valid at publication and may change. Please refer to the product page for the latest price.
When planning your scooter’s new look, you must first decide on the scope of coverage you want to achieve. Decal kits generally fall into two main categories: full-body wrap kits and partial accent decals. Full-body wrap kits are comprehensive packages designed to cover almost every visible plastic panel on the scooter. These kits require a high level of precision during installation because they must align perfectly with panel seams, headlight borders, and indicator cutouts. Partial accent decals, on the other hand, focus on specific areas such as the front fender, side fairing stripes, wheel rims, or headlight eyelids. Accent decals are excellent for adding a subtle touch of color without undergoing a complete visual overhaul.
Before purchasing any sticker set, it is crucial to verify the model-year specificity of the template used by the manufacturer. The Click V4 has specific mounting points, panel gaps, and ventilation grilles that must remain unobstructed. For instance, the front radiator area and the side engine vents require precise cutouts to ensure proper airflow and prevent overheating. Additionally, decals must not cover moving parts, hinges, or the seat lock mechanism. When browsing options, ask the seller for a flat layout diagram of the sticker set. This diagram allows you to count the individual pieces and visually match them to the corresponding panels on your actual scooter, ensuring no critical sections are missing or incorrectly shaped.
Popular Design Styles and Aesthetic Themes
Selecting the right design style for your Honda Click V4 is a matter of personal taste, but it should also complement the scooter’s natural body lines and base paint color. The aggressive stance of the V4 makes it an ideal canvas for several popular aesthetic themes. One of the most common choices is the OEM-inspired replica graphic style. These decals mimic the factory graphics found on special edition models or variants released in other Southeast Asian markets. OEM-inspired designs are perfect for riders who prefer a clean, professional, and factory-fresh appearance while still standing out slightly from standard local models.

For those seeking a more dramatic transformation, aftermarket racing and custom livery styles offer bold, high-energy designs. These kits often feature geometric patterns, sharp speed lines, and simulated sponsor logos that emphasize the sporty, performance-oriented character of the Click V4. Alternatively, minimalist and stealth themes have gained significant popularity among urban riders. Minimalist designs utilize subtle accents, such as matte black overlays, carbon fiber textures, or thin, single-color pinstripes. These subtle additions highlight the scooter’s sharp creases and muscular contours without overwhelming the overall look with busy graphics.
Regardless of the style you choose, color coordination is essential for achieving a cohesive look. You must balance the colors of the decal set with the base paint of your specific Click V4 variant. If your scooter has a matte black or dark grey finish, high-contrast accent colors like neon green, bright orange, or reflective yellow can create a striking, modern appearance. For glossy white or red variants, complementary tones such as deep grey, metallic silver, or subtle black graphics often work best. Before committing to a color scheme, visualize how the decals will look under different lighting conditions, such as direct tropical sunlight and nighttime streetlights, to ensure the contrast remains appealing.
Material Quality and Weather Resistance Checks
The climate in the Philippines presents unique challenges for motorcycle decals. Intense UV radiation from the sun can rapidly fade printed inks, while high humidity, heavy monsoon rains, and road grime can weaken adhesives and cause edges to lift. Therefore, assessing the material quality and weather resistance of a sticker set is critical to ensuring long-term durability. You should never rely solely on generic marketing claims like “heavy-duty” or “premium quality.” Instead, look for specific material characteristics and technical details on the product label or specification sheet.
High-quality motorcycle decals are typically constructed from specialized vinyl films designed for outdoor automotive use. When reviewing product specifications, check if the vinyl is rated as UV-resistant and waterproof. Polymeric or cast vinyl films are generally superior to monomeric films, as they are more stable, flexible, and less prone to shrinking or cracking when exposed to extreme temperature fluctuations. Additionally, the thickness of the vinyl plays a role in its durability; thicker films offer better protection against minor scratches and stone chips, but they can be more challenging to conform to deep panel curves.
The type of adhesive used on the sticker set is equally important for protecting your scooter’s factory finish. The adhesive must form a strong, durable bond with the plastic fairings to prevent peeling, yet it must remain safe for automotive clear coats. High-quality kits use pressure-sensitive adhesives that allow for slight repositioning during the installation process before curing fully. Crucially, these adhesives should be designed for clean removal, meaning they can be peeled off in the future without stripping the original paint or leaving behind a thick, gummy residue that requires aggressive scrubbing or harsh solvents to clean.
Finally, look for sticker sets that feature a protective lamination layer, often referred to as an overlaminate. This clear top layer is laminated over the printed graphics to seal the ink and protect it from physical abrasion, chemical exposure (such as accidental gasoline spills during refueling), and UV degradation. Lamination is available in various finishes, including high-gloss, matte, and textured patterns. A well-laminated decal set not only retains its vibrant colors much longer but also provides a smooth edge that resists dirt accumulation and moisture intrusion, significantly extending the lifespan of your customization.
Where to Source and Verify Authentic Decal Kits
Sourcing a high-quality sticker set for your Honda Click V4 requires careful comparison of different purchasing channels and diligent verification of product authenticity. In the Philippines, riders have access to both physical motorcycle accessory shops and various online marketplaces. Each channel has its advantages and trade-offs, and understanding how to navigate them will help you avoid poorly fitted, low-quality, or counterfeit products that do not match your expectations.
Physical motorcycle accessory shops and specialized decal printing boutiques allow you to inspect the product firsthand before spending your money. Visiting a local shop gives you the opportunity to feel the thickness of the vinyl, check the clarity and color accuracy of the print, and verify the flexibility of the material. Many specialized shops also offer professional installation services, which can save you time and ensure a perfect application. However, physical shops may have a more limited selection of designs immediately available in stock compared to online platforms.
Online marketplaces and e-commerce platforms offer an extensive variety of designs, colorways, and price points from both local and international sellers. Kits can range from budget-friendly options under ₱500 to premium, full-body custom wraps costing several thousand pesos. When shopping online, you must exercise extra caution to verify the quality of the sticker set. Start by thoroughly reviewing the seller’s ratings and customer feedback. Pay close attention to customer photo proofs included in the reviews. These real-world photos are invaluable for verifying how the decals actually look when installed on a Honda Click V4, allowing you to check for color accuracy, print sharpness, and fitment alignment.
Before finalizing your online purchase, communicate directly with the seller to confirm critical details. Request the exact dimensions of the decal kit and ask if they can provide a detailed layout sheet or a small material sample. A reputable seller should be willing to answer your questions and confirm that the kit is specifically cut for the Click V4 model. Additionally, always check the seller’s return and exchange policies. Ensure they offer clear terms for returning the product if it arrives with manufacturing defects, misprints, or if the cutouts do not align with your scooter’s panels as promised.
Installation Preparation and Surface Care
Proper installation preparation is the single most important factor in determining how long your new sticker set will last. Even the highest-quality vinyl decals will peel, bubble, or lift if they are applied to a poorly prepared surface. Preparing your Honda Click V4’s panels requires patience, the right cleaning agents, and a clean, controlled environment to prevent dust and debris from ruining the adhesive bond.
The first step is to clean the body panels thoroughly to remove all traces of dirt, road grime, wax, and grease. You should use an automotive-grade degreaser or isopropyl alcohol (70% concentration is generally safe for clear coats) to prep the surface. Avoid using harsh household chemicals, dishwashing liquids that contain moisturizers, or petroleum-based solvents like gasoline or kerosene. These substances can leave a microscopic film on the plastic fairings that severely compromises the adhesive’s ability to bond, leading to premature peeling along the edges of your new decals.
After cleaning, ensure the entire surface of the scooter is completely dry. Inspect the panels carefully for any existing paint defects, deep scratches, rust, or peeling clear coat. If your scooter has deep gouges or peeling paint, applying a decal over these areas can trap moisture, accelerate corrosion, or cause the remaining paint to lift when you eventually decide to remove or replace the stickers. If you discover significant panel damage, it is best to address those repairs before proceeding with the decal installation.
When you are ready to apply the stickers, choose a clean, dust-free, and well-ventilated work area out of direct sunlight. Direct tropical sunlight can heat the scooter’s panels excessively, causing the vinyl to become overly soft, stretchy, and difficult to manage. For complex, multi-piece full-body kits that require wrapping around deep curves and sharp angles, you may need to use a heat gun or a hair dryer to gently warm the vinyl and make it more pliable. However, excessive heat can easily distort the printed graphics or melt the plastic fairings. If you feel uncomfortable with the complexity of the installation, do not hesitate to stop and consult a professional wrap installer who has the specialized tools and experience to deliver a flawless finish.
Frequently Asked Questions (FAQ)
Will applying aftermarket stickers void my Honda warranty?
Applying cosmetic aftermarket stickers, decals, or vinyl wraps to your Honda Click V4 typically does not void the manufacturer’s mechanical, transmission, or electrical warranties. Cosmetic modifications are generally considered non-invasive because they do not alter the engine performance or the electrical wiring of the scooter. However, if the installation process requires you to disassemble electrical components, such as indicators or headlights, and those parts are damaged during the process, the warranty for those specific components may be affected. Additionally, if an unapproved adhesive causes damage to the factory paint or plastic fairings, that damage will not be covered under warranty. To be absolutely certain, always consult your specific dealership or refer to your official warranty booklet for the exact terms and conditions regarding cosmetic modifications.
How do I safely remove old decals without damaging the paint?
To safely remove old decals from your Honda Click V4 without damaging the factory paint or clear coat, you should use gentle, controlled heat to soften the adhesive. Use a hair dryer or a heat gun on a low setting to warm the surface of the sticker until it becomes pliable. Once warmed, carefully lift one corner of the decal and slowly peel it back at a shallow angle, keeping it as close to the panel surface as possible rather than pulling straight up. This technique minimizes stress on the underlying paint. Once the vinyl is removed, clean up any remaining sticky residue using an automotive-grade adhesive remover that is explicitly labeled safe for clear coats and plastics. Avoid using metal scrapers, razor blades, or harsh solvents like acetone or lacquer thinner, as these will permanently scratch, cloud, or melt the scooter’s plastic fairings.
Community discussion
Share your experience or ask a question. Comments are reviewed before publication.