
Finding the correct caliper bolt size and grade for your Yamaha Aerox V2 is a vital step in maintaining your motorcycle’s stopping power and overall road safety. Because the front brake caliper is responsible for clamping the brake pads onto the spinning rotor, the bolts securing this assembly are subjected to immense mechanical stress every time you pull the brake lever. To ensure a perfect fit and prevent catastrophic failure, you must verify the exact thread diameter, thread pitch, length, and strength grade directly through the official Yamaha parts catalog, an authorized dealer, or by carefully measuring an undamaged original equipment manufacturer (OEM) bolt. Using incorrect hardware can lead to loose calipers, stripped threads, or sudden bolt breakage while riding.
In the Philippines, where motorcycles face demanding road conditions ranging from intense tropical heat to sudden heavy downpours and flooded streets, brake system integrity is even more critical. Moisture and road grime can accelerate corrosion, making the choice of bolt material and grade a matter of survival rather than just simple maintenance. Before purchasing any replacement fasteners from local shops or online marketplaces, you must understand how to identify the precise specifications required for your specific Aerox V2 model year and follow strict safety protocols during installation.
Why Exact Caliper Bolt Specifications Matter for Braking Safety
The braking system of the Yamaha Aerox V2 relies on hydraulic pressure to squeeze the brake pads against the rotor, creating the friction necessary to slow down the scooter. This friction generates a massive counter-rotational force that attempts to rip the brake caliper away from its mounting points on the front fork. The caliper bolts are the sole components preventing this from happening, meaning they must withstand extreme shear stress and maintain a constant, high clamping force under both normal and emergency braking scenarios.
Products mentioned in this guide
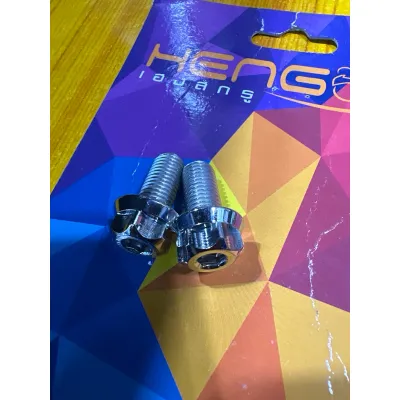
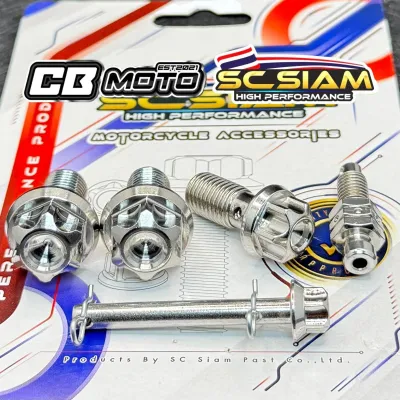
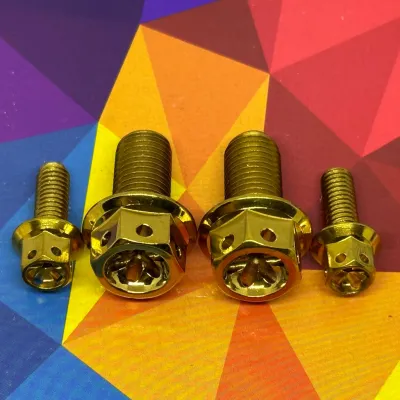
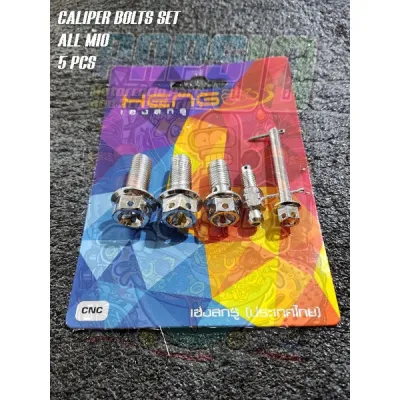
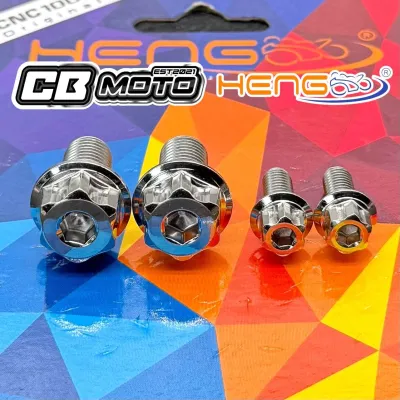
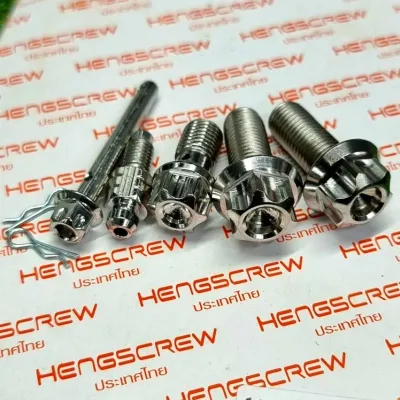
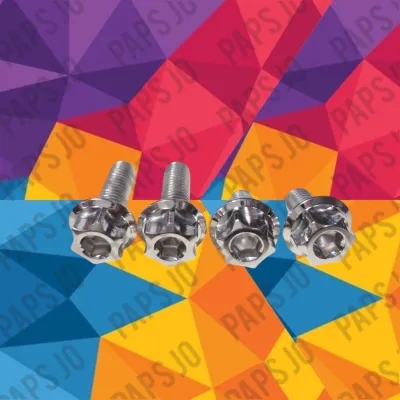
Prices are valid at publication and may change. Please refer to the product page for the latest price.
If you install a bolt with the wrong thread pitch, even by a fraction of a millimeter, you risk cross-threading the soft aluminum threads of the front fork or caliper bracket. This mismatch compromises the thread engagement, leading to a joint that may feel tight initially but will quickly strip under the vibration and load of daily riding. A stripped thread can cause the caliper to shift out of alignment, resulting in uneven brake pad wear, reduced braking efficiency, or a complete loss of front braking power if the caliper detaches entirely.
Furthermore, substituting standard, ungraded hardware store fasteners for high-tensile automotive or motorcycle-grade bolts is incredibly dangerous. Standard hardware bolts are typically made of low-grade carbon steel or soft stainless steel, which lack the tensile strength required to handle the cyclic loading of a braking system. Under heavy braking, these inferior bolts can stretch, bend, or snap cleanly in half. Motorcycle manufacturers specify high-tensile bolts—often classified under high-strength standards—specifically because they can flex slightly under load without permanently deforming or breaking.
How to Identify the Correct Size and Grade for Your Aerox V2
To find the exact caliper bolt specifications for your Yamaha Aerox V2 without relying on unverified forum rumors or social media posts, you should start by consulting official documentation. The most reliable source of truth is the official Yamaha parts catalog or the factory service manual for your specific model year. These documents contain detailed exploded diagrams of the front fork and brake assembly, complete with the exact OEM part numbers and, in many cases, the basic dimensions of the fasteners used.

If you do not have direct access to the service manual, visiting an authorized Yamaha dealer or a certified parts distributor in the Philippines is the safest next step. By providing your motorcycle’s chassis number or vehicle identification number (VIN), the dealer can look up the exact replacement part in their system. This ensures you receive genuine OEM bolts that are guaranteed to match the factory specifications for thread pitch, length, and tensile strength, eliminating any guesswork.
In situations where official documentation is unavailable and you must source aftermarket replacements, you can determine the correct dimensions by measuring an undamaged original bolt. Use a digital caliper to measure the outer diameter of the threaded portion to identify the metric bolt size (such as M8 or M10). Next, measure the length of the bolt from the underside of the head to the very tip of the threaded end. Finally, use a dedicated metric thread pitch gauge to determine the distance between the thread crests (typically 1.25mm or 1.0mm for these applications). Never attempt to guess the thread pitch by eye, as fine and coarse metric threads can look remarkably similar to the untrained eye.
Key Checks When Sourcing Replacement Caliper Bolts
When purchasing replacement caliper bolts from local motorcycle shops or online marketplaces, you must perform a strict quality check before installation. First, inspect the bolt head for proper strength grade markings. High-tensile metric bolts are marked on the head with numbers such as 8.8, 10.9, or 12.9, or Japanese Industrial Standard (JIS) markings like 7T, 9T, or 11T. For critical braking components, manufacturers typically specify a minimum of grade 8.8 or 10.9 (or equivalent JIS grades) to ensure the bolt can handle the required torque and shear forces. If a bolt head is completely blank, it is likely an ungraded, low-strength fastener that should never be used on a braking system.
Second, verify the thread pitch of the replacement bolt against your original OEM bolt using a thread pitch gauge. Even if the bolt threads easily into the caliper bracket by hand, a slight mismatch in pitch can damage the internal threads once torque is applied. The threads should be clean, well-defined, and free of any manufacturing defects or burrs that could cause binding during installation.
Third, ensure that the replacement hardware matches the specific design features of the original bolt. Many motorcycle caliper bolts feature a flange head, which distributes the clamping force over a wider surface area without the need for a separate washer. Additionally, some OEM bolts have a specific unthreaded shoulder length that aligns perfectly with the caliper mounting holes to prevent lateral movement. Replacing a shoulder bolt with a fully threaded bolt can lead to play in the caliper assembly, causing vibrations and premature wear on the mounting brackets.
Installation Safety Boundaries and Torque Requirements
Working on your motorcycle’s braking system carries significant safety responsibilities. Because improper installation can lead to brake failure and serious injury, the absolute safety boundary dictates that if you are not fully confident in your mechanical skills, you should have a qualified professional mechanic perform the installation. If you choose to proceed yourself, you must strictly follow the original vehicle manufacturer’s instructions and safety guidelines.
A calibrated torque wrench is an indispensable tool for this job. You must never tighten caliper bolts by feel or using standard hand wrenches, as this almost always results in either under-tightening or over-tightening. Under-tightened bolts can vibrate loose over time, especially on the rough roads often encountered in the Philippines, leading to a loose caliper. Over-tightening, on the other hand, can stretch the bolt past its yield point, weakening its structural integrity, or strip the threads in the aluminum fork leg, requiring expensive repairs. Always torque the bolts to the exact specification listed in the Yamaha Aerox V2 service manual.
Before inserting the new bolts, thoroughly inspect the threads inside the caliper bracket and the front fork leg. Use a clean cloth and a dedicated brake cleaner to remove any old threadlocking compound, dirt, or road grime that could interfere with the torque reading. If the service manual specifies the use of a threadlocker, apply a small drop of medium-strength (typically blue) threadlocking fluid to the bolt threads. This compound prevents the bolts from backing out due to engine and road vibrations while still allowing them to be removed with standard hand tools during future maintenance.
When to Stop and Consult a Professional Mechanic
Knowing when to step away from a DIY repair is crucial for your safety and the preservation of your motorcycle. You must stop the installation immediately if you encounter any resistance when threading the bolt by hand. A properly sized bolt should thread smoothly into the mounting bracket for several turns before requiring a wrench. If the bolt binds or feels tight after only one or two turns, it is highly likely that the thread pitch is incorrect or the bolt is cross-threading. Forcing the bolt with a wrench will permanently ruin the threads.
Another critical stopping point is if the bolt continues to spin without tightening or if you cannot reach the specified torque setting. This is a clear sign that either the bolt threads have stripped or the internal threads of the caliper bracket or fork leg have failed. Repairing stripped threads in load-bearing aluminum components requires specialized tools and techniques, such as installing high-strength thread inserts (like Helicoils). This type of repair should only be performed by a certified mechanic to ensure the structural integrity of the brake mount is not compromised.
Finally, if you cannot definitively confirm the correct OEM specifications for your replacement bolts, or if the original hardware was lost or damaged by a previous owner, do not guess. Riding a motorcycle with unverified brake hardware is an unacceptable risk. Bring your Aerox V2 to an authorized Yamaha service center or a reputable motorcycle workshop where professional mechanics can source the correct factory parts and install them safely.
Frequently Asked Questions (FAQ)
Can I use standard stainless steel bolts for the brake caliper?
No, you should not use standard stainless steel bolts (such as common 304 or A2-70 grades) for your brake calipers. While stainless steel offers excellent corrosion resistance, standard grades have significantly lower tensile and shear strength compared to the high-tensile alloy steel bolts specified by motorcycle manufacturers. Under the extreme forces of emergency braking, standard stainless steel bolts can stretch or snap. If you require corrosion resistance, look for specialized high-tensile stainless steel fasteners specifically rated for automotive braking applications, or stick to OEM zinc-plated high-tensile steel bolts.
Do I need to replace the caliper bolts every time I change brake pads?
Generally, you do not need to replace the caliper bolts during every routine brake pad change, provided the bolts are undamaged, straight, and free of corrosion. However, you must carefully inspect them for any signs of stretching, thread wear, or rust each time they are removed. If the bolts have pre-applied threadlocking compound from the factory, you must clean the threads and apply fresh medium-strength threadlocker before reinstalling them. If the service manual for your specific model year specifies that the caliper bolts are one-time-use fasteners, you must replace them with new OEM hardware every time they are loosened.
Community discussion
Share your experience or ask a question. Comments are reviewed before publication.