
Customizing a Honda Giorno with aftermarket emblems and stickers is one of the most accessible ways to express personal style while preserving the scooter’s iconic retro-modern silhouette. Achieving a professional, long-lasting look requires more than simply picking the first attractive design found online. To ensure upgrades withstand demanding tropical conditions—characterized by intense solar heat, high humidity, and sudden torrential downpours—owners must carefully evaluate material specifications, adhesive chemistry, and panel dimensions. By planning a cohesive visual theme, selecting automotive-grade materials, and executing a precise installation process, you can transform your scooter’s appearance without risking damage to its factory paintwork.
Defining Your Visual Theme Before Buying Upgrades
The Honda Giorno features a distinct, rounded body shape inspired by classic European and Japanese scooter designs. Before purchasing any decals or badges, establishing a cohesive visual theme prevents the scooter from looking cluttered or disorganized. A well-thought-out design direction ensures that every sticker or emblem you apply complements the vehicle’s natural lines rather than competing with them.
For riders who appreciate the scooter’s heritage, a classic or retro theme is an excellent choice. This aesthetic relies on vintage-style script emblems, chrome-finished 3D badges, and subtle pinstriping that echoes mid-century design. These elements highlight the Giorno’s elegant curves, giving it a sophisticated, timeless appeal that looks right at home on urban streets.
Products mentioned in this guide
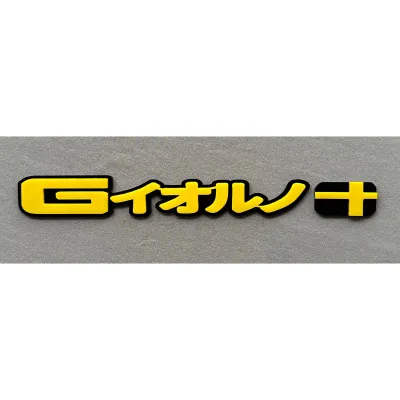
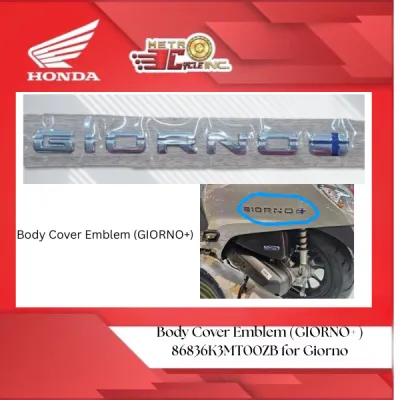
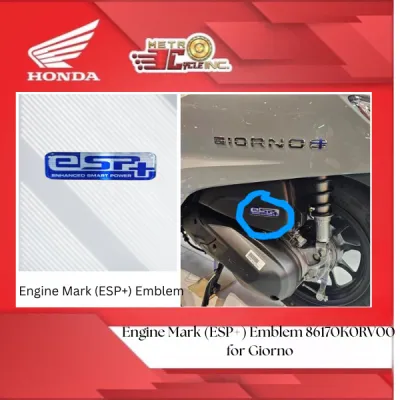
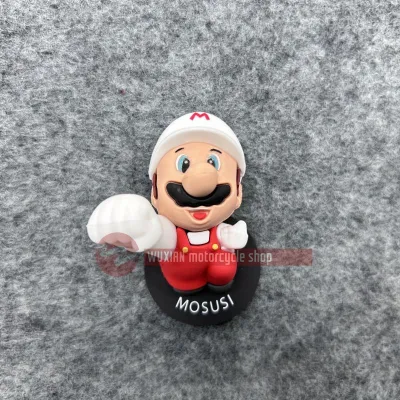
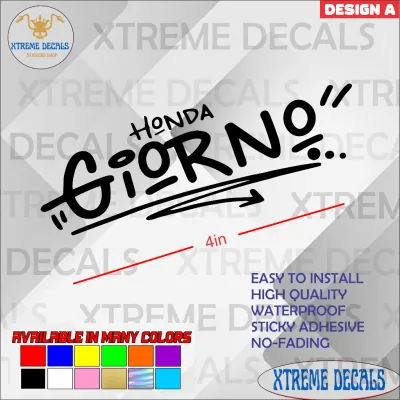
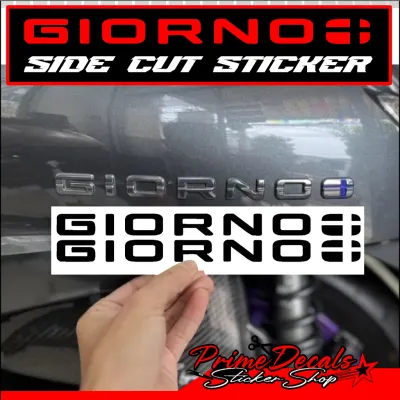
Prices are valid at publication and may change. Please refer to the product page for the latest price.
Alternatively, a minimalist or stealth aesthetic offers a modern, understated alternative. This approach often involves a badge delete—removing factory chrome emblems—and replacing them with matte black, satin, or dark grey decals that blend into the bodywork. By keeping contrasts low and lines clean, you emphasize the scooter’s pure geometric form while maintaining a sleek, low-profile presence.
If you prefer a more energetic look, a bold or JDM-inspired style allows for vibrant self-expression. This theme utilizes multi-colored graphics, asymmetrical accent stripes, and layered vinyl decals that draw inspiration from modern street culture. When executing a bold theme, select a unified color palette of two or three contrasting shades to ensure the final look remains intentional and visually balanced.
Choosing Safe and Durable Materials for Decals and Badges
The longevity of your scooter’s new look depends heavily on the physical properties of the materials you choose. In tropical climates, where vehicles are routinely exposed to extreme UV radiation and heavy rain, standard paper-based or low-grade novelty stickers will quickly fade, crack, or peel. Understanding the differences between professional-grade materials is essential for a lasting upgrade.

When comparing options, you will primarily choose between 3D resin or metal badges and high-quality automotive vinyl decals. 3D polyurethane dome emblems offer a premium, tactile feel and excellent depth, but they require a flat or gently curved surface to adhere properly. For complex curves and large-scale graphics, cast vinyl decals are the industry standard; unlike cheaper calendered vinyl, cast vinyl is incredibly thin, highly conformable, and resists shrinking over time when exposed to heat.
Before finalizing any purchase on an online marketplace, check the product specifications for explicit UV-resistant and waterproof ratings. High-quality automotive vinyl is typically rated for several years of outdoor exposure, utilizing specialized pigments that resist fading under intense sunlight. Waterproofing is equally critical, ensuring that rainwater and high-pressure washes do not compromise the edges of the decal.
The most critical safety factor for your scooter’s exterior is the adhesive backing. Ensure the product description specifies an automotive-grade acrylic adhesive. These adhesives are engineered to form a strong, semi-permanent bond with automotive clear coats without causing chemical degradation or leaving behind a hardened, unremovable residue. Using non-automotive adhesives can lead to permanent paint discoloration or require aggressive scraping that ruins the underlying plastic panels.
Mapping Placement and Sizing for Giorno Body Panels
A common mistake in scooter customization is purchasing decals that are either too large for the available surface area or too small to make a visual impact. The Honda Giorno’s bodywork consists of highly contoured plastic panels, which present unique installation challenges compared to flat car doors. Precise measurement and placement planning are necessary steps before buying.
Because the Giorno has gone through multiple generations—including the classic 50cc models and the modern Giorno+ 125—body dimensions and panel shapes vary significantly. Never assume a generic sticker kit fits your specific scooter. Always verify your vehicle’s exact model year and panel dimensions against the product documentation before purchasing.
Begin by using a flexible measuring tape to map out the flat and gently curved zones of the front shield, side panels, and rear cowl. Note the maximum width and height of these zones, keeping in mind that a decal should have a comfortable margin of empty space around it to look balanced. For instance, a large front-shield decal must fit cleanly within the main panel face without overlapping the edges or wrapping awkwardly around the front grille.
Because the Giorno’s body panels feature pronounced curves, rigid emblems made of metal or thick plastic must be sized conservatively. If a rigid badge is too wide, its stiff backing will resist the panel’s curvature, causing the edges to lift and collect dirt, which eventually destroys the adhesive bond. For highly contoured areas, stick to flexible, high-conformability vinyl decals that can be gently stretched to match the panel’s shape.
Additionally, carefully inspect your planned placement zones to avoid functional components. Never place stickers or emblems over panel gaps, moving parts, cooling vents, or factory mounting points. Applying a decal across a panel seam makes future maintenance difficult, as the vinyl will need to be cut, while covering cooling vents can restrict airflow and lead to localized overheating of internal components.
Executing Safe Installation and Damage-Free Removal
Achieving a flawless, bubble-free installation requires meticulous surface preparation, while safe removal demands patience and the right technique. Rushing either process can result in crooked decals, trapped dust particles, or permanent damage to your Giorno’s factory paint. Following a structured, step-by-step approach ensures professional results.
To prepare the application surface, wash the area thoroughly with a mild, wax-free automotive shampoo to remove road grime and dust. Once dry, wipe the surface down with a diluted isopropyl alcohol solution using a clean microfiber cloth to strip away any remaining wax, polish, or finger oils. Always check the alcohol or cleaner product label first to ensure it is authorized for use on automotive plastics and clear coats, as harsh industrial solvents can permanently cloud or melt the Giorno’s plastic body panels.
Ensure the surface is completely dry and cool to the touch; installing decals on a hot panel under direct sunlight can cause the adhesive to grab prematurely, leading to wrinkles and bubbles. Work in a shaded, wind-free area to prevent airborne dust from getting trapped under the adhesive backing during application.
When the time comes to update your style or return the scooter to its stock appearance, removing old decals requires controlled, low heat. Use a household hairdryer or a heat gun on its lowest setting to gently warm the decal, which softens the underlying adhesive. Always keep the heat source moving and maintain a safe distance; if the paint or plastic panel feels hot to the touch, stop immediately to prevent the clear coat from bubbling or the plastic panel from warping.
Once the adhesive is softened, slowly peel the decal back at a sharp angle, rather than pulling it straight up, to minimize tension on the paint. If you encounter a rigid factory emblem that is secured with heavy-duty double-sided foam tape, do not attempt to pry it off with metal tools. Instead, use a length of dental floss or nylon fishing line, sliding it gently behind the emblem in a sawing motion to slice through the foam backing. For any stubborn adhesive residue left behind, use a dedicated, paint-safe automotive adhesive remover, verifying its compatibility on a hidden area of the panel first.
Evaluating Sellers and Verifying Quality Online
With countless customization options available on various ecommerce platforms, distinguishing high-quality automotive accessories from cheap, short-lived imitations can be challenging. Because you cannot physically handle the products before purchasing, you must rely on smart online verification strategies to protect your investment and your scooter’s paint.
Start by thoroughly analyzing buyer reviews, paying close attention to user-uploaded photos. These photos provide a realistic view of the product’s actual material thickness, color accuracy under natural light, and how well it conforms to curved surfaces. Look for feedback specifically mentioning how the adhesive performs after several weeks of exposure to rain and sun, as this is a reliable indicator of long-term durability.
Next, examine the seller’s profile, return policies, and shipping origins. Reputable sellers who specialize in automotive graphics often provide detailed application instructions and offer clear return terms if the product arrives damaged or defective. Be cautious of extremely low-priced listings that bundle dozens of unrelated stickers, as these are often printed on low-grade paper or promotional vinyl that is not suitable for outdoor automotive use.
While generic, unbranded decals can be highly budget-friendly, balancing your budget against the expected lifespan of the material is crucial. Investing slightly more in decals made from recognized automotive vinyl brands ensures superior UV protection, easier installation, and clean, residue-free removal years down the road. For prominent badges, choosing established accessory manufacturers reduces the risk of the chrome finish peeling or yellowing over time.
Frequently Asked Questions (FAQ)
Will adding aftermarket emblems void my Honda Giorno warranty?
Applying cosmetic aftermarket emblems or vinyl stickers to your Honda Giorno will not void your manufacturer’s mechanical or electrical warranty. Cosmetic modifications are superficial and do not alter the vehicle’s engine, drivetrain, or electrical systems. However, if you perform invasive modifications—such as drilling holes into the body panels to mount heavy badges or using aggressive chemical solvents that damage the factory paint—any resulting structural or cosmetic damage will not be covered under warranty. Always consult your local authorized Honda dealer to clarify specific warranty terms before making any permanent alterations.
How can I safely remove the factory Honda wing emblem?
Removing the factory Honda wing emblem requires a cautious, patient approach to avoid scratching the paint or damaging the underlying panel. Begin by warming the emblem with a hairdryer on low heat for one to two minutes to soften the factory double-sided foam tape. Next, take a piece of nylon fishing line or dental floss, slip it behind the warmed emblem, and gently saw back and forth to cut through the adhesive layer. Once the emblem is free, apply a small amount of paint-safe automotive adhesive remover to a microfiber cloth to clean off the remaining foam residue. If you feel excessive resistance or notice any signs of paint lifting, stop immediately and seek assistance from a professional automotive detailer.
Community discussion
Share your experience or ask a question. Comments are reviewed before publication.