
Quick Answer: Which Brake Shoes Are Best for Your Honda Click 125i?
When it comes to maintaining your scooter, choosing the right brake shoe honda click 125i riders trust is one of the most critical safety decisions you can make. The rear drum brake of your scooter provides essential stopping power, especially when balancing front and rear braking forces in daily traffic.
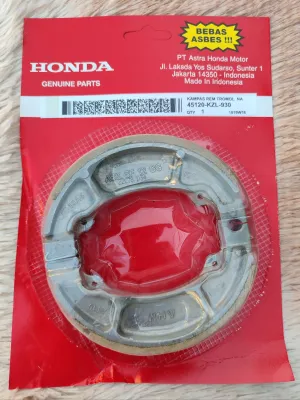
Genuine Honda OEM brake shoes are the safest, most reliable choice for the vast majority of riders. They guarantee a perfect fit, deliver predictable stopping power, and are engineered to match the exact weight and braking dynamics of your scooter. For daily commuting through unpredictable city streets, OEM shoes offer unmatched peace of mind.
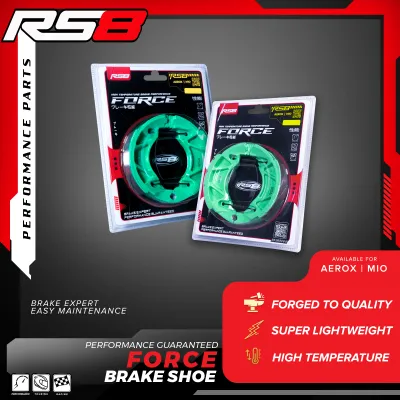
High-quality aftermarket brake shoes from reputable, established manufacturers are a viable alternative if you are budget-conscious or looking for specific performance traits, such as enhanced wet-weather grip. These premium third-party options undergo rigorous testing to ensure they meet or exceed safety standards while offering modest cost savings.
Products mentioned in this guide
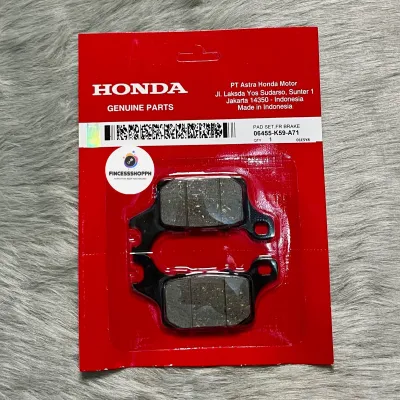
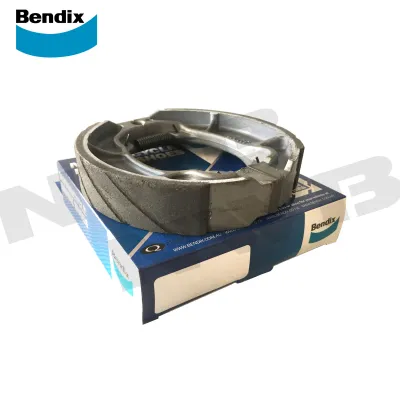
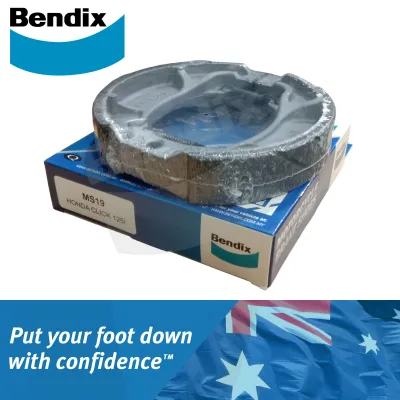
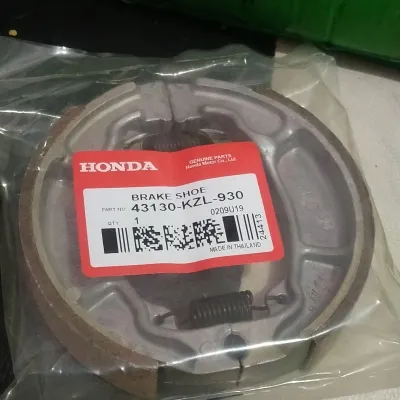
Prices are valid at publication and may change. Please refer to the product page for the latest price.
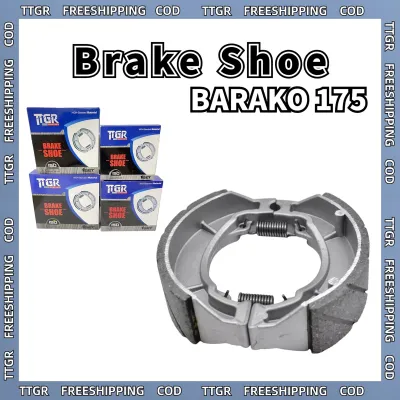
You must strongly avoid ultra-cheap, unbranded aftermarket options sold on online marketplaces. These low-tier parts pose severe safety risks, often failing under emergency braking, and can cause permanent, expensive damage to your rear brake drum. Ultimately, the best choice depends on your budget, your access to trusted suppliers, and your willingness to verify part compatibility before installation.
OEM vs Aftermarket Brake Shoes: Understanding the Core Differences
To make an informed decision, you must first understand what sets Original Equipment Manufacturer (OEM) parts apart from third-party aftermarket alternatives. This distinction is particularly important for the Honda Click 125i, which relies on a combined braking system (CBS) that links the front disc brake and the rear drum brake.

OEM Honda brake shoes are produced either directly by Honda or by their authorized component manufacturers to exact factory specifications. Every aspect of an OEM shoe—from the precise arc of the metal backing to the chemical composition of the friction material—is engineered specifically for the Click 125i. These parts undergo extensive durability, heat, and stress testing under various load conditions to ensure consistent performance throughout their lifespan.
Aftermarket brake shoes are manufactured by independent companies. These parts generally fall into two distinct categories:
- Premium Aftermarket Brands: These are produced by well-known global or regional automotive brake specialists. They invest in research and development, use high-grade non-asbestos organic (NAO) or semi-metallic friction materials, and provide clear warranty and compatibility information.
- Budget or Unbranded Aftermarket: These are low-cost, generic parts designed to fit a wide variety of scooters. They often use inferior, untested friction compounds, lack proper quality control, and rarely carry safety certifications.
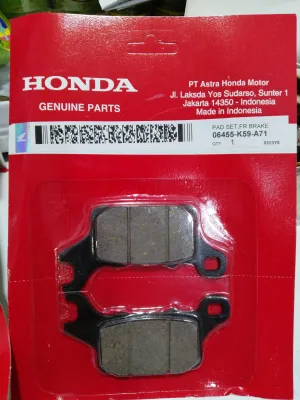
It is also important to clarify the mechanical layout of your scooter. The Honda Click 125i utilizes a front disc brake system (which uses brake pads) and a rear drum brake system (which uses brake shoes). This guide focuses exclusively on the rear drum brake shoes, which require different maintenance steps and material considerations than front brake pads.
How OEM and Aftermarket Brake Shoes Compare in Real-World Riding
Evaluating how these components perform in daily riding scenarios will help you choose the right option for your daily commute, budget, and safety requirements.
Stopping Power and Brake Feel
OEM brake shoes are engineered to deliver a progressive, highly predictable brake lever feel. When you apply the rear brake, the friction material bites smoothly against the drum, allowing you to modulate your speed easily in stop-and-go city traffic. This predictable modulation is vital for the Click 125i’s Combined Braking System, ensuring that applying the rear brake lever distributes stopping force smoothly without prematurely locking the rear wheel.
Premium aftermarket brake shoes can sometimes offer a more aggressive initial bite. Some riders prefer this sharper feedback, especially those who carry heavy loads, ride with a pillion passenger, or navigate steep, hilly terrain. Premium compounds are also designed to resist brake fade—a temporary loss of braking power caused by extreme heat buildup during prolonged braking.
In contrast, budget aftermarket options often suffer from poor friction modulation. They tend to feel either excessively spongy, requiring you to pull the lever almost to the handlebar to slow down, or overly grabby, which can cause the rear wheel to lock up unexpectedly. A locked rear wheel on wet asphalt or loose gravel can easily lead to a loss of control and a serious fall.
Durability and Drum Wear
An often-overlooked factor in brake selection is the relationship between the brake shoe’s friction material and the metal of the brake drum. The inner lining of your scooter’s rear wheel hub acts as the brake drum. If this drum wears out or becomes deeply grooved, you must replace the entire rear wheel hub, which is a highly expensive repair.
OEM Honda brake shoes utilize a carefully balanced, relatively soft non-asbestos organic (NAO) compound. This material is designed to wear down gradually over time while preserving the smooth inner surface of the brake drum. By choosing OEM, you ensure that the sacrificial component of the braking system is the easily replaceable brake shoe, not the expensive wheel hub.
While some high-performance aftermarket shoes offer excellent stopping power, their harder, semi-metallic compounds can accelerate wear on the brake drum. If you choose an aftermarket option, you must verify that the friction material is compatible with aluminum-alloy drum housings.
Cheap, unbranded aftermarket shoes present the greatest risk to your vehicle’s durability. These low-tier parts often contain unevenly distributed metallic particles or harsh bonding glues. As they wear, they can glaze over, creating a glassy, frictionless surface that squeals loudly and fails to stop the scooter. Worse, they can score deep, permanent grooves into the brake drum, ruining the wheel hub in a matter of weeks.
Price and Overall Value
Price is often the primary driver behind choosing aftermarket parts, but you must look at the long-term cost of ownership rather than just the initial purchase price.
OEM Honda brake shoes carry a price premium, typically positioning them at the higher end of the market scale. This cost reflects the extensive testing, guaranteed fitment, and peace of mind that comes with a genuine factory part. For most riders, the higher upfront cost is a worthwhile investment in personal safety and vehicle longevity.
Reputable aftermarket brands generally sit in a highly competitive mid-range price bracket, often costing significantly less than OEM parts. If you choose a trusted brand, these shoes offer exceptional value, allowing you to maintain your scooter’s safety standards while keeping your maintenance budget under control.
Unbranded aftermarket shoes are incredibly cheap, often sold for a fraction of the price of OEM parts. However, this is a false economy. The minimal upfront savings are quickly wiped out by the need for frequent replacements, poor wet-weather performance, and the looming risk of having to replace a damaged rear wheel hub. To get accurate, current pricing, always consult authorized local Honda 3S dealerships or highly trusted motorcycle spare parts shops in your area.
Safety First: Compatibility Checks and Installation Rules
Because your rear brake is a safety-critical system, you must never compromise on part verification, installation quality, or proper maintenance procedures.
Verifying Part Compatibility
Do not assume that any part labeled “Honda Click Brake Shoe” will fit your specific scooter. The Honda Click 125i has been produced in several generations, including older carburetor models, the Version 1 eSP, the Version 2, and the latest Version 3 models.
While many of these generations share engine components, the rear wheel hub dimensions, brake cam designs, and return spring configurations can vary. Before buying, you must check your scooter’s exact model year and frame number. Cross-reference this information with the manufacturer’s official parts catalog or the aftermarket brand’s verified compatibility list to ensure the dimensions and mounting interfaces match perfectly.
Professional Installation and Critical Steps
For your safety, it is highly recommended to have your new brake shoes installed by a qualified motorcycle mechanic at an authorized service center. If you choose to perform a DIY installation, you must strictly follow the official Honda service manual for your specific model year.
During installation, pay close attention to these critical steps:
- Wear Protective Gear: Brake dust can accumulate inside the drum housing. Never use compressed air to blow out this dust, as inhaling it is hazardous. Wear a protective mask and safety glasses.
- Clean the Drum Thoroughly: Use a dedicated aerosol brake cleaner to wash away all accumulated dust, grease, and road grime from the inner drum surface. Always read and follow the safety, ventilation, and application instructions on the cleaner's label.
- Inspect the Return Springs: Always inspect the brake shoe return springs for signs of rust, stretching, or fatigue. Weak springs can prevent the shoes from retracting fully, causing the brakes to drag, overheat, and wear out prematurely. Replace the springs if they do not hold tension.
- Lubricate the Pivot Points: Apply a very small amount of high-temperature brake grease to the brake cam and pivot pin. You must be extremely careful to keep grease completely away from the friction material of the shoes and the inner surface of the drum.
- Adjust the Free Play: Once the wheel is reinstalled, turn the rear brake adjuster nut until you achieve the factory-specified free play at the left handlebar lever (typically between 10 mm and 20 mm). Spin the rear wheel by hand to ensure it rotates freely without dragging.
The Bedding-In Process
Newly installed brake shoes will not deliver 100% of their stopping power immediately. They require a brief bedding-in period to perform optimally.
For the first 50 to 100 kilometers of riding, avoid sudden, hard emergency braking whenever possible. Instead, apply the rear brake gently and progressively to slow down. This process allows the microscopic high spots on the new friction material to wear down evenly, matching the exact shape and curvature of your brake drum. Proper bedding-in prevents glazing, eliminates brake squeal, and ensures maximum contact area for optimal stopping power.
Final Decision: Which Option Matches Your Riding Style?
To choose the right brake shoes for your Honda Click 125i, evaluate your riding habits, budget, and maintenance preferences against this clear decision framework.
Choose OEM Honda Brake Shoes If:
- You use your scooter for daily commuting, delivery services, or long-distance riding and require absolute reliability.
- You want a guaranteed, perfect fit with zero installation guesswork or compatibility issues.
- You prefer a smooth, progressive brake feel that integrates seamlessly with the scooter's Combined Braking System.
- You want to maximize the lifespan of your rear wheel hub and avoid the risk of drum scoring.
Choose Reputable Aftermarket Brake Shoes If:
- You are on a tight maintenance budget but refuse to compromise on your personal safety.
- You buy from a highly trusted, authorized local motorcycle parts dealer who can verify the brand's authenticity.
- You want specific performance characteristics, such as an aftermarket compound designed for better wet-weather water evacuation or a sharper initial bite.
Avoid Unbranded or Ultra-Cheap Aftermarket Brake Shoes If:
- You ride frequently in heavy, fast-moving city traffic where emergency stops are common.
- You ride during the monsoon season, when wet roads require maximum, reliable friction.
- You want to protect your scooter from expensive, long-term mechanical damage.
Final Maintenance Tip
Whenever you or your mechanic replace the rear brake shoes, always take the time to inspect the physical condition of the rear brake drum. Check the inner metal surface for deep grooves, scoring, or bluish heat discoloration.
Use a caliper to measure the inner diameter of the drum. If the drum’s inner diameter exceeds the maximum wear limit stamped on the wheel hub or specified in your Honda service manual, installing new brake shoes will not restore proper braking performance. In this scenario, the rear wheel hub or wheel assembly must be replaced to ensure your safety on the road.
Frequently Asked Questions (FAQ)
How often should I replace the rear brake shoes on my Honda Click 125i?
There is no fixed mileage interval for replacing brake shoes, as wear depends heavily on your riding style, payload, and traffic conditions. Instead of relying on mileage, monitor the mechanical wear indicator on your rear wheel hub. When you apply the rear brake lever fully, check the position of the indicator arrow on the brake arm. If the arrow aligns with the wear limit mark on the brake panel, your brake shoes have reached their wear limit and must be replaced immediately.
Can I use front brake pads on the rear wheel of the Click 125i?
No, you cannot use front brake pads on the rear wheel. The front and rear braking systems of the Honda Click 125i are completely different mechanical designs and use entirely non-interchangeable parts. The front wheel utilizes a hydraulic disc brake system, which clamps brake pads against a spinning metal rotor. The rear wheel utilizes a mechanical drum brake system, which forces curved brake shoes outward against the inside of the wheel hub. Always ensure you purchase the correct part type for the specific wheel you are servicing.
Do I need to replace the brake drum when changing the brake shoes?
No, you do not need to replace the brake drum every time you change your brake shoes. Under normal operating conditions, a brake drum will outlast several sets of brake shoes. However, you must inspect the drum’s inner surface during every shoe replacement. If you feel deep ridges, see heavy scoring, or find that the drum’s inner diameter exceeds the maximum service limit specified in your scooter’s manual, the drum is worn out and the rear wheel hub must be replaced to maintain safe braking performance.
Community discussion
Share your experience or ask a question. Comments are reviewed before publication.