
When your motorcycle or scooter hesitates, vibrates, or jerks during takeoff, installing a high-quality clutch smoother can restore seamless power delivery. In the context of modern automatic and manual two-wheelers, a clutch smoother is not a single generic part, but rather a targeted combination of upgraded clutch springs, high-friction linings, or specialized clutch bells designed to eliminate drivetrain shudder. Finding the correct setup requires matching your motorcycle or scooter’s specific make, model, and engine displacement with components that address your specific riding environment.
Selecting the wrong components can lead to premature wear, excessive heat, or even drivetrain failure. Because transmission designs vary significantly between a standard underbone motorcycle and a modern continuously variable transmission (CVT) scooter, you must evaluate how individual parts interact with your engine’s power band. By understanding the mechanical causes of clutch issues and verifying the specifications of aftermarket upgrades, you can make an informed decision that enhances both ride quality and safety.
Identifying Clutch Shudder and Slippage Signals
Before purchasing any aftermarket transmission parts, you must accurately diagnose whether your motorcycle or scooter actually requires a clutch smoothing upgrade, or if the issue stems from normal wear, contamination, or unrelated drivetrain problems. Differentiating between these factors prevents you from spending money on upgrades when a simple cleaning or routine replacement is what your vehicle actually needs.
Products mentioned in this guide

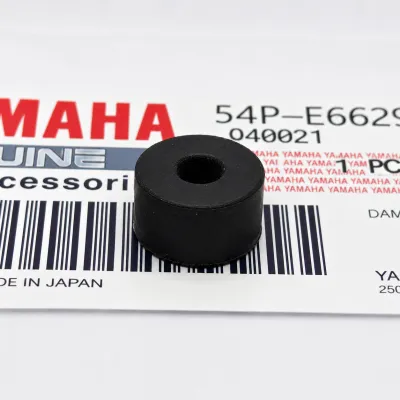
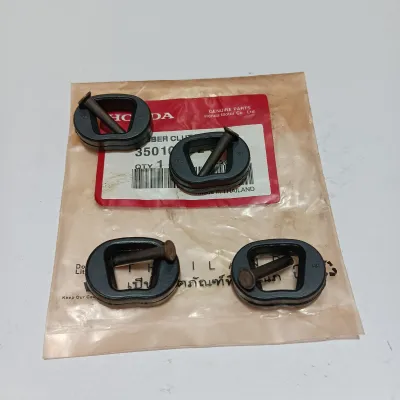
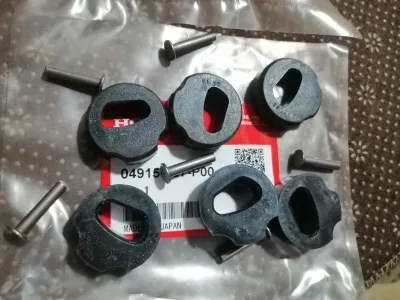
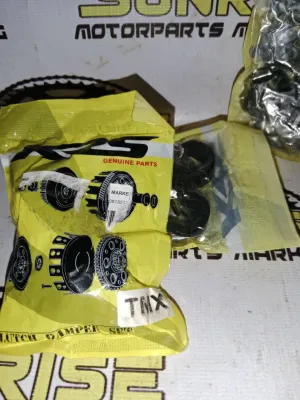
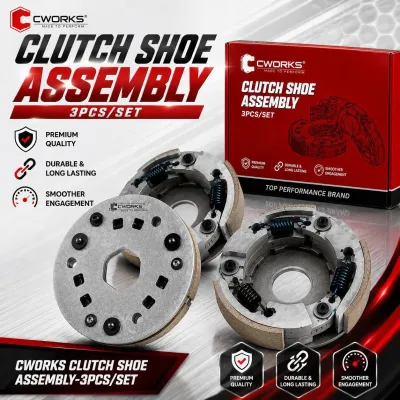
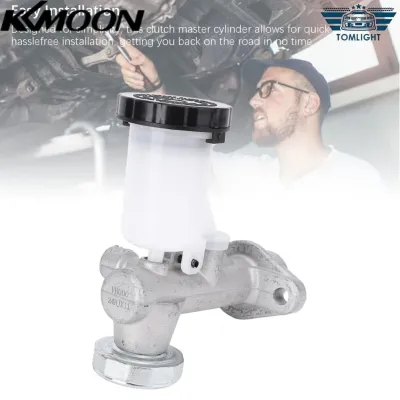
Prices are valid at publication and may change. Please refer to the product page for the latest price.
Inherent design shudder, normal friction material wear, and oil contamination present distinct symptoms. Inherent design shudder often occurs in specific scooter models where the OEM clutch shoes do not engage the clutch bell decisively at low RPMs, leading to a brief vibration during takeoff. Normal friction material wear, on the other hand, is a gradual degradation where the clutch shoes slowly lose their thickness over thousands of kilometers, resulting in a progressive loss of acceleration. Oil contamination is a sudden, severe issue caused by leaking engine seals or gearbox gaskets, which coats the friction surfaces in lubricant and causes the clutch to slip continuously without fully engaging.
To identify these issues, you should monitor your motorcycle for visual, auditory, and tactile signals. A prominent tactile signal is a violent vibration or shuddering sensation felt through the chassis when accelerating from a complete stop. Auditory signals include high-pitched squealing, chirping, or dragging noises coming from the transmission case during takeoff. Visual signals, which require removing the transmission cover, include a glazed or glass-like mirror finish on the clutch shoes, uneven wear patterns across the friction pads, or dark blue heat spots on the outer surface of the clutch bell.
These diagnostic steps are particularly critical under local riding conditions in the Philippines. The combination of intense tropical heat, high humidity, and heavy stop-and-go traffic in metropolitan areas like Metro Manila or Metro Cebu places extreme thermal stress on motorcycle transmissions. When a scooter is forced to creep forward repeatedly in congested traffic, the clutch is subjected to prolonged slipping at low speeds. This continuous friction generates intense heat that rapidly glazes the clutch linings, turning a minor engagement lag into a persistent, frustrating shudder that compromises your control over the vehicle.
Core Selection Criteria for a Clutch Smoother
Once you have determined that your transmission requires an upgrade, you must establish a reliable framework for evaluating compatibility, specifications, and material labels before purchasing any aftermarket or replacement transmission part. Treating transmission upgrades as a precise science rather than a trial-and-error process protects your engine from unnecessary strain.

- Verify OEM Specifications: Your critical first step is to check the OEM service manual for your vehicle's exact model, year, and engine displacement. Drivetrain tolerances are incredibly tight, and a clutch smoother designed for a 125cc scooter will not function correctly—and may not physically fit—on a 150cc or 160cc model.
- Evaluate Friction Material Labels: Review the friction material specifications printed on the product packaging. Common options include organic, sintered, and Kevlar-reinforced materials. Rather than accepting broad performance claims, look for specific material designations and verify if they are rated for high-temperature stability or daily street use.
- Match Clutch Spring Rates: For CVT scooters, you must match the clutch spring tension to your engine's specific power band. Springs are typically rated by RPM increments (such as 1000 RPM, 1500 RPM, or 2000 RPM), which dictate when the clutch shoes expand to grip the bell. Choosing an incorrect spring rate can worsen low-speed shudder or cause the engine to rev excessively before moving.
- Confirm Physical Dimensions: Always use a vernier caliper or refer to official manufacturer documentation to verify the physical dimensions of the aftermarket clutch shoes and the precise inner diameter of the clutch bell (e.g., 115mm, 120mm, or 125mm) before placing an order.
Recommended Clutch Solutions by Component Type
Because the term “clutch smoother” encompasses several distinct mechanical parts, you must understand how each component functions within the transmission assembly. Addressing a shudder issue might require upgrading a single component, such as the springs, or replacing the entire clutch shoe and bell assembly to ensure all mating surfaces are perfectly aligned.
Upgraded Clutch Springs for CVT Scooters
Clutch springs play a primary role in determining the exact moment your scooter’s transmission engages. By altering the tension of these springs, you change the RPM threshold at which centrifugal force pushes the clutch shoes outward to contact the clutch bell. Stiffer aftermarket springs delay this engagement to a slightly higher, more optimal RPM range where the engine produces more torque, allowing the shoes to grab the bell decisively and bypass the low-speed vibration zone entirely.
However, selecting excessively stiff springs carries significant trade-offs. If you install springs with a rating that is too high for your scooter’s displacement and variator setup, the engine will have to rev loudly and run hot before the vehicle begins to move. In heavy traffic, this excessive revving causes continuous slippage, generating extreme heat that can melt grease seals, warp the clutch face, and accelerate wear on the friction linings. For a stock commuter scooter, a mild increase of 1000 RPM to 1200 RPM over the stock spring rate is generally sufficient to smooth out takeoff without compromising daily rideability.
High-Friction Clutch Shoes and Linings
Upgrading the friction linings on your clutch shoes is one of the most direct ways to eliminate slippage and ensure linear power delivery. High-friction aftermarket linings are engineered with specialized compounds, such as carbon-Kevlar blends or semi-metallic fibers, which provide a much higher coefficient of friction than standard organic paper linings. This enhanced grip allows the shoes to bite the inner wall of the clutch bell immediately upon contact, reducing the transition time between idle and full engagement.
While these advanced materials excel at preventing slippage under load, they require careful system matching. Aggressive friction materials are harder than standard OEM linings, meaning they will apply greater abrasive force to the mating surface. If you install high-friction carbon-Kevlar shoes inside a soft, worn, or standard cast-iron OEM clutch bell, the aggressive lining can rapidly score, groove, or warp the bell. To prevent premature wear, high-friction shoes should always be paired with a high-quality, hardened aftermarket clutch bell designed to withstand the increased friction.
Clutch Bell Resurfacing and Replacement
No matter how advanced your new clutch shoes are, they cannot deliver a smooth ride if the mating surface of the clutch bell is compromised. The inner drum of the clutch bell must be perfectly round, smooth, and free of contamination to allow the shoes to engage evenly. Over time, the intense heat generated by stop-and-go riding can cause the metal of the clutch bell to warp or develop localized hard spots, which are visible as blue or dark purple discoloration on the steel.
When these heat spots or uneven wear patterns develop, the clutch shoes will slip and grab intermittently as they rotate inside the bell, creating a persistent shudder. Before installing new clutch shoes, you must thoroughly inspect the inner surface of your existing clutch bell for scoring, deep grooves, or out-of-roundness. If any of these conditions are present, you must either have the bell professionally resurfaced on a lathe—provided it remains within the manufacturer’s minimum thickness specifications—or replace it entirely with a high-quality aftermarket bell featuring cooling grooves or outer fins to help dissipate heat.
Tuning the Setup for Your Riding Style
Optimizing your transmission is not a one-size-fits-all task. A clutch configuration designed to deliver lightning-fast acceleration on a closed race track will feel incredibly jerky, loud, and unrefined during a morning commute, while a soft commuter setup will quickly fade and slip under the demands of spirited mountain riding.
Daily Commuting in Stop-and-Go Traffic
For riders who spend the majority of their time navigating congested city streets, the ideal transmission setup must prioritize low-to-mid RPM engagement, high thermal durability, and smooth, predictable power delivery. Your goal is to minimize rider fatigue by ensuring the motorcycle crawls forward smoothly at low speeds without requiring you to constantly twist the throttle to high revs just to keep pace with slow-moving traffic.
To achieve this balance, you should select clutch smoothers that utilize organic or semi-metallic linings paired with standard or slightly stiffer clutch springs (typically no higher than a 1000 RPM rating). This combination allows the clutch to engage gently and early in the rev range, keeping engine noise low and preserving fuel economy. Additionally, look for clutch bells that feature external cooling fins or machined ventilation holes, which help draw cool air into the transmission case to prevent heat buildup during prolonged idling in tropical weather.
Performance Riding and Long-Distance Touring
If your riding style involves weekend touring, tackling steep mountain inclines, or carrying heavy passenger loads over long distances, your transmission needs to resist fade under sustained stress. On long climbs, a standard clutch can easily overheat as it struggles to maintain a solid connection under load, leading to severe slippage and a noticeable loss of climbing momentum.
For these demanding scenarios, you should configure a setup that utilizes higher RPM engagement points, stiffer clutch springs (such as 1500 RPM ratings), and highly aggressive friction materials like sintered metal or carbon-Kevlar blends. This setup ensures that once the clutch engages, it locks onto the bell with maximum force, preventing any micro-slippage that could generate heat during high-speed cruising or steep ascents. Keep in mind that this high-friction setup requires more deliberate, aggressive throttle application to engage smoothly, and it will feel noticeably less forgiving when trying to maneuver at walking speeds in tight spaces.
Installation Safety and Break-In Guidelines
Modifying or replacing motorcycle transmission components carries inherent mechanical risks that can affect both your personal safety and the structural integrity of your vehicle. Working on a clutch assembly involves managing high-tension springs and high-torque fasteners, meaning that a single mistake during assembly can lead to catastrophic drivetrain failure while riding at high speeds.
Before beginning any disassembly, you must understand the safety boundaries of the task. Clutch compression springs are held under significant tension; attempting to remove the large clutch retaining nut without a dedicated clutch spring compressor tool can cause the spring to release violently, potentially causing severe personal injury or damaging surrounding components. Furthermore, securing the clutch bell and variator nuts requires precise torque application. Using an impact wrench without a torque wrench can easily strip the crankshaft threads or leave the nuts under-torqued, which could cause the entire clutch assembly to spin off inside the transmission case while the engine is running.
Because of these technical complexities, you should check your original-vehicle instructions and strongly consider consulting a qualified motorcycle mechanic for any complex CVT disassembly or manual transmission clutch pack replacements. A professional workshop possesses the specialized holding tools, pullers, and calibrated torque wrenches required to perform the installation safely and in strict accordance with your motorcycle’s OEM service manual. If you choose to perform the work yourself, always cross-reference every step with both the aftermarket manufacturer’s instructions and your vehicle’s official workshop manual.
Once the new clutch smoother components are successfully installed, you must perform a proper bedding-in (break-in) procedure to ensure long-term reliability and performance. New friction linings and clutch bells do not have perfectly matching micro-surfaces out of the box; they require a brief period of controlled contact to wear down microscopic high spots and establish full surface contact.
To bed in your new clutch, observe the following guidelines during the first 50 to 100 kilometers of riding:
- Apply Moderate Acceleration: Accelerate gently and progressively from a stop, allowing the clutch shoes to engage smoothly without sudden shocks.
- Avoid Full-Throttle Takeoffs: Refrain from wide-open throttle starts, drag launches, or rapid revving from a standstill, which can cause the unaligned surfaces to slip excessively.
- Prevent Prolonged Slipping: Do not hold the motorcycle stationary on an incline using only the throttle, as this generates extreme localized heat that will glaze the new friction material before it has fully bedded in.
- Vary Your Riding Speed: Ride on quiet, flat roads where you can safely perform repeated, gentle stop-and-go cycles to gradually seat the friction pads across the entire inner surface of the clutch bell.
Community discussion
Share your experience or ask a question. Comments are reviewed before publication.