
Choosing the right CRP clutch spring requires balancing two competing mechanical forces: the clamping pressure needed to prevent clutch slippage and the physical effort your hand must exert on the clutch lever. If your motorcycle’s clutch slips under acceleration, or if you are preparing your bike for heavy cargo deliveries or high-RPM performance, upgrading your clutch springs is a highly effective solution. However, selecting a spring that is too stiff for daily commuting can lead to severe hand fatigue, while a spring that is too soft will fail to transfer your engine’s power efficiently. Matching the spring rate to your specific riding style ensures optimal power transfer, smooth gear transitions, and a comfortable riding experience.
Why Clutch Springs Matter and When to Upgrade
Inside your motorcycle’s wet clutch system, the clutch pack consists of alternating friction plates and steel plates. The primary job of the clutch springs is to exert continuous, even clamping force on the pressure plate, squeezing these friction and steel plates together. When the plates are clamped tightly, they lock the engine’s crankshaft to the transmission input shaft, transferring power directly to the rear wheel. Pulling the clutch lever overcomes this spring tension, separating the plates and temporarily interrupting power delivery so you can change gears.
There is a direct mechanical trade-off between clutch lever pull weight and clamping pressure. Stiffer springs apply more force to the clutch pack, which increases torque capacity and prevents slippage, but they also require more physical hand effort to pull the lever. Conversely, softer springs offer a light, comfortable lever pull but may allow the clutch plates to slip under heavy loads or rapid acceleration, wasting power and generating destructive heat.
Products mentioned in this guide
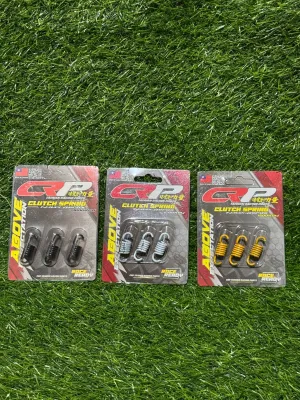
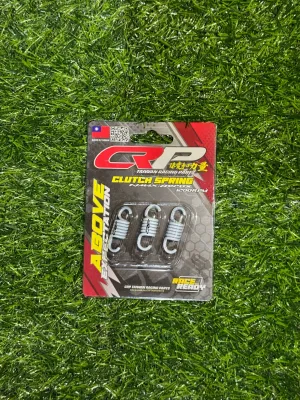
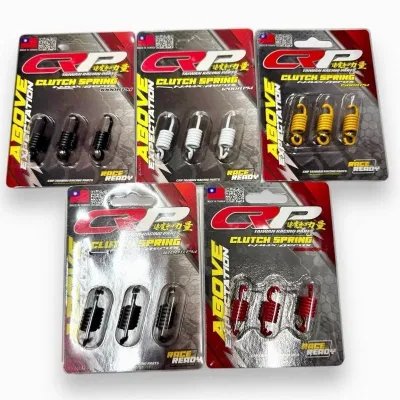
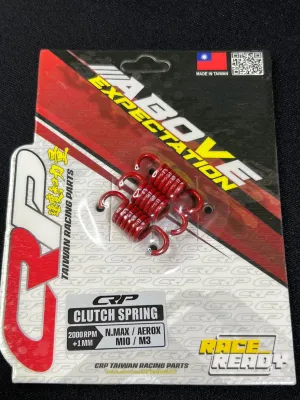
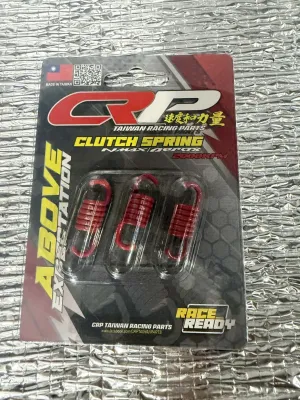
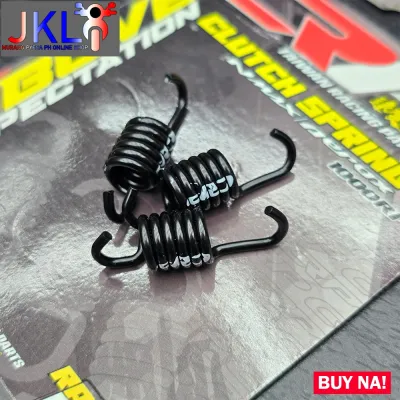
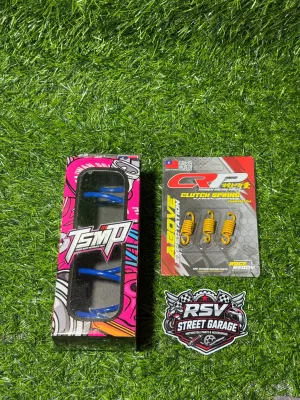
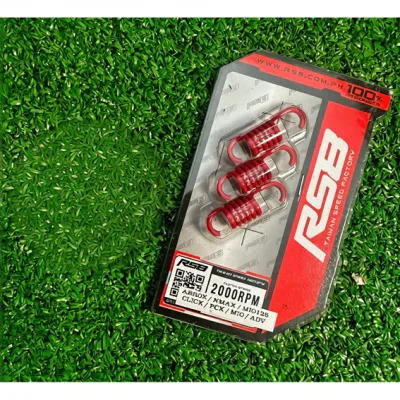
Prices are valid at publication and may change. Please refer to the product page for the latest price.
Over time, heat cycles and constant compression cause clutch springs to fatigue, lose their tension, and shorten in length. Common symptoms of worn or inadequate clutch springs include a clutch that slips when you accelerate hard—where the engine RPMs rise rapidly but the motorcycle’s actual speed does not increase—especially in higher gears. You might also notice a spongy or excessively soft lever feel, or find it increasingly difficult to select neutral when the motorcycle is stationary, as weakened springs can prevent the pressure plate from lifting and releasing cleanly.
Installing an aftermarket CRP clutch spring set is a reliable way to address these issues. Whether you need to restore your motorcycle to its original factory performance or upgrade the clamping force to match modified engine components or demanding riding conditions, selecting the correct spring rate is essential to protect your transmission and optimize your ride.
Matching CRP Clutch Springs to Your Riding Style
Selecting the correct spring stiffness depends entirely on how you use your motorcycle daily. Because riding conditions vary from congested urban streets to open highways and steep mountain passes, CRP offers different spring rates designed to optimize performance for specific scenarios.

Daily Commuting and Stop-and-Go Traffic
For riders navigating congested urban areas like Metro Manila or Cebu, the primary riding challenge is constant stop-and-go traffic. In these environments, you are constantly pulling and releasing the clutch lever to modulate low-speed movement. Under these conditions, rider comfort and minimizing physical fatigue are the top priorities.
If you use your motorcycle primarily for daily commuting, standard or OEM-equivalent CRP clutch springs are the most suitable choice. These springs are engineered to match the original factory specifications of your motorcycle, providing sufficient clamping force to handle a stock engine’s power while maintaining a light, comfortable lever pull.
Standard springs prevent hand pump and cramping during long hours in traffic. They are designed to work seamlessly with stock friction plates and standard engine configurations, ensuring smooth, predictable engagement without putting unnecessary strain on your left hand or your clutch cable.
Delivery Work and Heavy Load Carrying
Delivery riders, couriers, and those who frequently carry heavy cargo or pillion passengers face a completely different set of mechanical demands. Operating under heavy loads forces the clutch to work much harder, particularly when pulling away from a complete stop or climbing steep inclines.
When a motorcycle is heavily loaded, the clutch must slip slightly during engagement to prevent the engine from stalling. This extended slipping period generates extreme friction and heat, which can quickly overwhelm standard clutch springs. Once the springs get too hot, they lose clamping efficiency, leading to chronic clutch slip, rapid wear of the friction plates, and eventual clutch failure.
To prevent this, riders who carry heavy loads should opt for medium-stiffness or heavy-duty CRP clutch springs. These springs typically provide a 10% to 20% increase in clamping force over stock components. This extra pressure ensures that the friction plates lock together quickly and securely, minimizing unnecessary slippage and significantly extending the lifespan of your clutch pack.
While heavy-duty springs do result in a slightly firmer lever pull, the trade-off is highly beneficial. The added stiffness prevents costly mid-shift slippage, keeps operating temperatures lower, and ensures your motorcycle remains reliable under the daily grind of commercial use.
Performance Riding and High-RPM Use
For performance-oriented riders, weekend tourers, or track-day enthusiasts, the main goal is absolute power transfer. When an engine is modified with aftermarket parts or ridden aggressively at high RPMs, the stock clutch assembly often cannot handle the increased torque, resulting in power loss through clutch slippage.
To address this, high-performance applications require racing or high-stiffness CRP clutch springs. These springs exert maximum clamping pressure on the clutch pack, ensuring that every bit of engine torque is transferred directly to the transmission without any energy-robbing slip, even during hard upshifts and high-RPM acceleration.
However, installing high-stiffness racing springs comes with a significant usability trade-off. The lever pull will become noticeably heavier, which can quickly tire your hand during casual riding. Additionally, the increased tension puts substantially more stress on the entire clutch actuation system.
Before installing racing-spec springs, you must verify the condition of your clutch cable, lever, and actuator arm. To maintain comfortable control and prevent premature component failure, you may need to upgrade to a high-quality, low-friction aftermarket clutch cable, install a high-leverage clutch perch, or convert to a hydraulic clutch actuator system.
How to Verify Compatibility with Your Motorcycle
Never purchase clutch springs based solely on engine displacement or a generic category description. Assuming that a spring will fit simply because your motorcycle is a “150cc model” is a common mistake that can lead to severe engine damage. Clutch hub designs, pressure plate dimensions, and spring pocket depths vary significantly between manufacturers, models, and even different model years of the same bike.
To ensure a perfect fit, always cross-reference your motorcycle’s exact make, model, and year of manufacture with the official CRP application catalog. This is the most reliable way to identify the specific part number designated for your machine.
If you are unable to find a direct catalog match, or if you are working with a modified or hybrid clutch assembly, you must physically measure your stock components. Use a precise vernier caliper to measure the following critical dimensions of your original springs:
- Free Length: The total height of the spring when it is completely uncompressed.
- Outer Diameter (OD): The width of the spring at its widest point, ensuring it will fit inside the pressure plate's spring pockets.
- Inner Diameter (ID): The internal clearance of the spring, ensuring it fits over the mounting posts or bolts.
- Wire Diameter: The thickness of the spring wire itself, which directly influences the spring rate.
Even a single millimeter of variance in these dimensions can prevent the spring from seating correctly. If a spring is too long, it may bind before the clutch lever is fully pulled; if it is too wide, it will rub against the walls of the pressure plate pocket, creating metallic debris and causing erratic clutch engagement.
Additionally, before installing new springs, take the time to inspect the surrounding components. Examine the clutch basket and inner hub for deep ridges or grooves worn into the aluminum slots by the tabs of the friction plates. Check the pressure plate for signs of warping or uneven wear. If these parts are damaged, installing new springs will not restore smooth operation, and the worn components must be replaced.
Step-by-Step Guide to Inspecting and Replacing Clutch Springs
Replacing clutch springs is a straightforward mechanical task, but it requires precision and strict adherence to safety limits. If you lack the proper tools, such as a calibrated torque wrench, or do not feel comfortable working inside your engine, always seek assistance from a qualified motorcycle mechanic.
Required Tools and Materials
- Calibrated torque wrench (capable of low-torque measurements, typically 8 to 15 Nm)
- Vernier caliper
- New clutch cover gasket
- Fresh, motorcycle-specific engine oil
- Basic hand tools (sockets, extension bars, and a gasket scraper)
- Clean rags and parts cleaner
Step 1: Preparation and Oil Draining
Secure your motorcycle on its center stand or a stable paddock stand on level ground. Ensure the engine is completely cool to the touch. Place a drain pan underneath the engine, remove the oil drain bolt, and allow the engine oil to drain completely. If your motorcycle’s design allows you to lean it far enough to the opposite side to keep oil away from the clutch cavity, you may skip draining, though draining is highly recommended to inspect the oil for clutch debris.
Step 2: Clutch Cover Removal
Loosen and remove the clutch cover bolts in a progressive, diagonal pattern to prevent warping the aluminum cover. Carefully pull the cover away from the engine case. If it is stuck, gently tap it with a plastic mallet—never pry it with a screwdriver, as this will scratch the aluminum mating surfaces and cause permanent oil leaks. Carefully peel off the old gasket and use a plastic scraper to clean all remaining gasket material from the engine case and cover surfaces.
Step 3: Measuring and Removing Old Springs
Locate the clutch pressure plate and the bolts securing the clutch springs. Loosen these bolts in a progressive, diagonal (criss-cross) pattern, turning each bolt two to three turns at a time. This prevents the spring tension from cocking the pressure plate, which can crack or warp the delicate aluminum component. Once the bolts are free, remove them along with their washers, the old springs, and the pressure plate.
Use your vernier caliper to measure the free length of each old spring. Compare these measurements to the service limit specified in your motorcycle’s factory service manual. If any spring is shorter than the wear limit, or if the lengths vary significantly between springs, the set is fatigued and must be replaced.
Step 4: Installing the New CRP Springs
Clean the spring pockets on the pressure plate and the mounting posts on the clutch hub. Place the new CRP clutch springs into their designated pockets, ensuring they seat completely flat. Reinstall the pressure plate over the springs.
Step 5: Torque and Reassembly
Hand-thread the pressure plate bolts and washers into place. Using your torque wrench, tighten the bolts in a progressive, diagonal pattern until they reach the exact torque specification listed in your motorcycle’s service manual. For most small-displacement motorcycles, this torque value is quite low, typically between 8 and 12 Nm.
Safety Boundary: Never guess these torque values or tighten the bolts by feel. Over-tightening can easily strip the soft aluminum threads of the clutch hub or snap the small bolts, while under-tightening can cause the bolts to back out during operation, resulting in catastrophic engine failure. Additionally, never mix old and new springs, and never mix springs of different stiffness levels in the same clutch pack. Doing so causes uneven pressure plate lift, leading to rapid clutch wear, severe clutch chatter, and slipping.
Post-Installation Testing and Clutch Adjustments
Once the clutch assembly is securely bolted back together, you must perform a series of checks and adjustments before taking the motorcycle out onto public roads.
First, install the new clutch cover gasket onto the clean mating surfaces. Reinstall the clutch cover, tightening the bolts in a diagonal pattern to the manufacturer’s specified torque. Reinstall the oil drain bolt and refill the engine with fresh, high-quality engine oil.
Ensure the oil is specifically formulated for motorcycles with wet clutches, carrying a JASO MA or JASO MA2 certification. Never use passenger car engine oils; automotive oils contain friction modifiers designed to reduce friction, which will coat your motorcycle’s friction plates and cause immediate, severe, and irreversible clutch slippage.
Next, adjust your clutch cable free play. Because new springs can slightly alter the resting position of the pressure plate, you must recalibrate the cable tension. There should be approximately 10mm to 15mm of free play at the tip of the handlebar clutch lever before you feel the cable begin to pull the clutch actuator arm. Adjust this tension using the main adjuster bracket near the engine case first, then use the barrel adjuster at the handlebar lever for fine-tuning.
Before starting the engine, perform a static test. With the engine off, pull the clutch lever in and shift the transmission through all the gears. Ensure you can spin the rear wheel freely by hand when the clutch lever is pulled, and that the wheel locks in place when the lever is released. This confirms that the clutch is disengaging and engaging fully.
Finally, conduct a dynamic road test in a safe, open area free of traffic. Start the engine and slowly engage the clutch in first gear to check the engagement point. Once riding, accelerate moderately in a higher gear (such as third or fourth gear) from a low speed. If the engine RPMs rise smoothly in direct proportion to your road speed, your new CRP clutch springs are clamping effectively and your upgrade is complete.
Frequently Asked Questions (FAQ)
Can I mix CRP clutch springs with my stock springs?
No, you should never mix different types or ages of clutch springs in the same clutch pack. Mixing springs with different stiffness levels or pairing old, fatigued springs with new CRP springs causes uneven pressure distribution across the pressure plate. This uneven clamping force prevents the friction plates from mating flatly against the steel plates, leading to severe clutch chatter, rapid localized wear, and premature clutch slippage. Always replace clutch springs as a complete, matching set.
Will a stiffer clutch spring damage my clutch cable?
Stiffer clutch springs exert higher tension, which naturally increases the load on your clutch cable, hand lever, and actuator pivot points. While a high-quality, well-maintained cable can handle the extra load of medium-stiffness springs, very stiff racing springs can accelerate cable stretch and wear. To prevent damage, regularly inspect your clutch cable for fraying near the barrel ends, ensure the inner cable is properly lubricated with a dedicated cable lubricant, and consider upgrading to a heavy-duty, low-friction aftermarket cable if the lever pull feels excessively heavy or sticky.
Community discussion
Share your experience or ask a question. Comments are reviewed before publication.