
Selecting the correct oil filter for your motorcycle is one of the most critical maintenance decisions you can make to protect your engine. In the tropical climate of the Philippines, where high ambient temperatures, heavy traffic congestion, and dusty road conditions put extreme stress on engines, a reliable filtration system is indispensable. To choose the right oil filter, you must match the exact physical dimensions, thread pitch, media type, and internal valve specifications required by your motorcycle manufacturer. Relying on a filter that simply “looks like it fits” can lead to oil starvation, rapid engine wear, or catastrophic mechanical failure.
Why the Correct Oil Filter is Critical for Engine Longevity
A motorcycle engine operates under demanding conditions, often revving much higher than a typical passenger car engine. The primary job of an oil filter is to continuously clean the engine oil as it circulates, trapping microscopic contaminants before they can abrasive-wear critical moving parts. These contaminants include metallic particles shed during normal gear shifts, carbon soot from the combustion chamber, and airborne dust that bypasses the air filter.
Unlike most cars, many motorcycles utilize a shared sump system. This means the same oil lubricates the engine, the transmission, and the wet clutch. Consequently, the oil is heavily loaded with clutch friction material and sheared metallic debris from the gearbox. If the filter fails to capture these particles, they act as an abrasive slurry, scoring cylinder walls, damaging piston rings, and wearing down crankshaft bearings.
Products mentioned in this guide
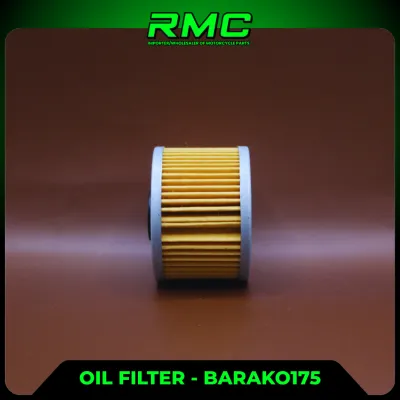
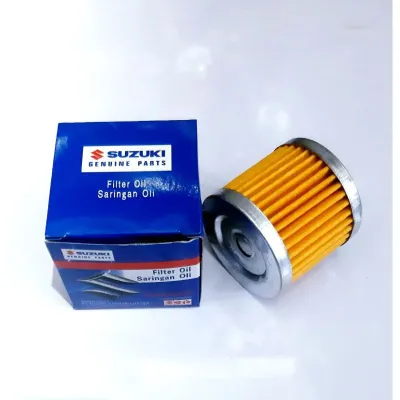
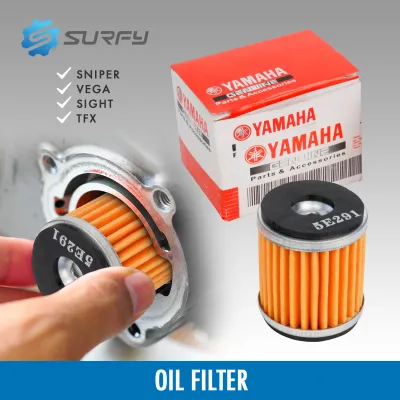
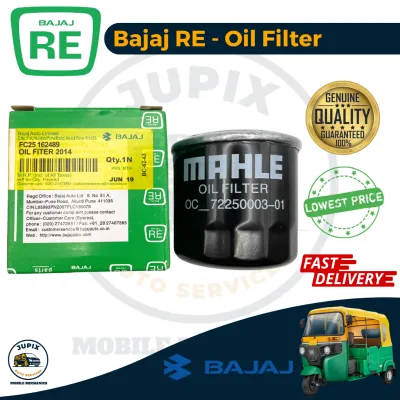
Prices are valid at publication and may change. Please refer to the product page for the latest price.
Furthermore, an incorrect or low-quality filter can cause severe internal pressure imbalances. If a filter restricts oil flow because of poor media design or incorrect bypass valve pressure, the engine will experience oil starvation. In high-revving motorcycle engines, even a few seconds of oil starvation can cause immediate, irreversible, and catastrophic engine damage.
Core Selection Criteria: Matching Specs to Your Engine
Finding a compatible oil filter requires looking beyond the brand name on the box. You must verify the technical specifications of the filter against your motorcycle’s original equipment manufacturer (OEM) requirements.

Fitment, Thread Size, and Gasket Diameter
Physical compatibility is the first barrier to entry. For spin-on filters, the thread size and pitch must match the engine’s mounting stud perfectly. Even a minor discrepancy, such as attempting to thread a metric filter onto an imperial stud, can strip the threads or leave the filter loose.
Additionally, the outer gasket diameter and seating area must align precisely with the engine block’s mating surface. If the gasket is too wide or too narrow, it will fail to seal under pressure. This mismatch can result in a sudden, high-pressure oil blowout while riding, coating your rear tire in oil, causing a severe safety hazard, and draining the engine of oil within seconds. Always verify the exact outer diameter and thread pitch before mounting a new unit.
Filter Type: Spin-On vs. Cartridge
Motorcycles generally use one of two physical designs: spin-on filters or cartridge filters.
Spin-on filters are self-contained steel canisters containing both the filtration media and the necessary internal valves. They screw directly onto the exterior of the engine block. They are highly popular due to their ease of replacement and robust, sealed construction.
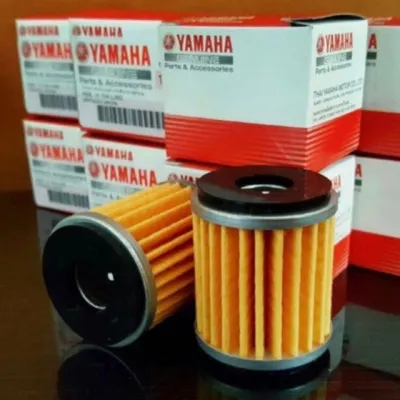
Cartridge filters consist of a bare, replaceable paper or synthetic media element that is inserted into a permanent housing built into the motorcycle’s engine case. Replacing a cartridge filter requires removing a cover plate, replacing the inner element, and installing a new rubber O-ring seal. You must consult your vehicle’s documentation to confirm which format your engine uses, as they are entirely non-interchangeable.
Filtration Media and Micron Rating
The internal filtration media dictates how clean your oil remains and how easily the oil flows. Media types generally fall into three categories: cellulose, synthetic blend, and full synthetic.
Cellulose (paper) is the most common and economical option. Cellulose filters are excellent for standard commuting but have larger, less consistent pore sizes, typically filtering particles down to 20 to 30 microns.
Synthetic blend combines cellulose with synthetic fibers, offering better flow rates and a higher dirt-holding capacity, capturing smaller particles more efficiently.
Full synthetic or micro-glass features a dense, uniform web of glass fibers. They provide exceptional filtration efficiency (often down to 10 to 15 microns) while maintaining a high flow rate, which is crucial for high-performance engines. Because motorcycle oil must handle heavy particulate loads from the wet clutch, choosing a media that balances fine filtration with a high flow rate is essential to prevent premature clogging.
Bypass Valve and Anti-Drain Back Valve Specifications
The internal valves of an oil filter are silent engine protectors.
The bypass valve (or pressure relief valve) opens when engine oil is cold and thick (such as during a morning start) or if the filter media becomes completely clogged with debris. This allows unfiltered oil to bypass the media and flow directly to the engine. While unfiltered oil is not ideal, it is far better than no oil at all. The valve’s opening pressure (measured in PSI or kPa) must match your engine’s oil pump specifications exactly. If the bypass pressure is too high, the engine may starve for oil; if it is too low, unfiltered oil will circulate constantly.
The anti-drain back valve—typically a silicone or rubber flap—prevents oil from draining out of the filter back into the oil pan when the engine is turned off. This ensures that the filter remains full of oil, preventing a dry start (metal-on-metal contact) the next time you fire up the engine.
Recommended Filter Types and What to Look For
Selecting the right filter type depends heavily on your riding style, motorcycle type, and operational environment.
Standard Cellulose Filters for Daily Commuting
For riders navigating daily traffic in urban areas or commuting at moderate speeds on standard scooters and underbone motorcycles, standard cellulose filters are highly practical. These filters are cost-effective, typically ranging from ₱150 to ₱300 in the local market. They perform exceptionally well when paired with standard mineral or semi-synthetic oils and changed strictly according to the manufacturer’s recommended service intervals. However, cellulose fibers can degrade faster under the extreme heat of stop-and-go city traffic, meaning they are not suited for extended oil drain intervals or high-performance riding.
Synthetic and High-Flow Filters for Performance Riding
If you ride a high-displacement sportbike, adventure motorcycle, or frequently travel long distances under heavy loads in the hot Philippine climate, upgrading to a synthetic or high-flow filter is highly recommended. These premium filters (often priced from ₱600 to ₱1,200) utilize synthetic micro-glass media. They maintain structural integrity under extreme oil pressures and temperatures, offering superior flow rates that ensure rapid oil delivery to the cylinder head during high-RPM operations. They also have a significantly higher dirt-holding capacity, making them ideal companions for high-quality fully synthetic engine oils.
Magnetic Drain Plugs and Auxiliary Filtration
To supplement your primary oil filter, consider installing a magnetic drain plug or a magnetic collar around a spin-on filter. These simple, passive devices use powerful neodymium magnets to attract and capture microscopic ferrous metal shavings circulating in the oil. This auxiliary filtration is particularly beneficial during the engine break-in period of a brand-new motorcycle, or for older engines experiencing high levels of internal wear. By trapping these metal particles on the magnet, you prevent them from prematurely clogging or tearing your main filter media.
Identifying Reputable Brands and OEM Equivalents
Always prioritize OEM (Original Equipment Manufacturer) filters or established aftermarket brands that provide clear, documented testing and vehicle compatibility catalogs. The market is flooded with unbranded, unusually cheap filters that mimic the appearance of premium brands. These counterfeit or low-grade filters often lack critical internal components like the bypass valve or use cheap, brittle paper media that can tear and clog your oil passages. Purchasing from authorized dealers or reputable automotive supply shops is the safest way to protect your engine from counterfeit hazards.
Step-by-Step Compatibility Verification Before Purchase
Never buy an oil filter based solely on visual similarity or generic retail listings. To ensure safety and road legality, you must verify the vehicle model, production year, mounting position, and exact interface dimensions using official documentation. Follow this systematic verification process to guarantee a perfect match:
First, consult your motorcycle’s owner’s manual or the manufacturer’s official parts catalog to locate the exact OEM part number. This number is the ultimate source of truth for your specific engine configuration.
Second, if you are purchasing an aftermarket filter, use official cross-reference charts provided by established filter manufacturers. Input your motorcycle’s make, model, engine displacement, and model year to find the approved aftermarket equivalent. Never infer compatibility from generic category terms or broad retail descriptions.
Third, if the manual is unavailable, safely remove the old filter and perform a physical comparison. Use a caliper or precise ruler to verify that the thread diameter, thread pitch, gasket diameter, and overall canister length match the new filter exactly.
Finally, check the seal profile of the rubber gasket. Ensure it matches the original shape (flat, D-ring, or O-ring) to guarantee a proper seal against the engine block. If the instructions in your manual conflict with an aftermarket catalog, or if the filter’s specifications are unidentified, stop immediately and consult the manufacturer or a qualified professional mechanic.
Safe Installation Practices and Post-Fitment Checks
Proper installation is just as critical as selecting the correct filter. Incorrect mounting can lead to severe oil leaks, stripped engine threads, or immediate engine damage. Before starting, ensure you have the correct tools, safety gear, and a stable workspace. Always refer to your motorcycle’s original service manual for specific torque specifications and safety boundaries. If you are uncomfortable performing these steps, seek a qualified professional mechanic.
To begin, apply a thin layer of clean, fresh engine oil to the rubber gasket or O-ring of the new filter. This lubrication prevents the rubber from twisting, bunching, or tearing as you tighten the filter, ensuring a smooth, uniform seal.
Next, use a clean, lint-free cloth to wipe the engine’s filter mounting area. Ensure that the old rubber gasket did not stick to the engine block. Double-gasketing—installing a new filter on top of an old stuck gasket—will cause an immediate, catastrophic oil leak upon starting.
For spin-on filters, spin the filter on by hand until the rubber gasket makes contact with the engine mounting surface. From that point of contact, hand-tighten the filter an additional three-quarters to one full turn, or use a torque wrench to tighten it strictly to the manufacturer’s specified torque limit. Never over-tighten, as this can crush the gasket, deform the filter housing, or strip the engine threads.
Once the filter is secure and the engine is filled with the correct amount of fresh oil, start the motorcycle and let it idle in a well-ventilated area. Do not rev the engine. Visually inspect the area around the filter gasket for any signs of weeping or dripping oil. Check your instrument cluster to ensure the oil pressure warning light turns off within a few seconds of starting.
If you notice any leaks, or if the oil pressure light remains on, shut off the engine immediately. If the filter housing is damaged, the threads are stripped, or the bypass valve seems stuck, stop immediately and consult a professional mechanic. Finally, always collect your used oil and old filter in a clean, leak-proof container and take them to an authorized service station or designated hazardous waste disposal facility for environmentally safe disposal.
Frequently Asked Questions (FAQ)
Can I use a car oil filter on my motorcycle?
No, you should not use an automotive oil filter on a motorcycle engine. Although some car filters may share the same thread size and physically screw onto your motorcycle’s mounting stud, their internal specifications are vastly different. Car filters are designed for engines with separate transmissions and lower operating RPMs. They often feature different bypass valve pressure thresholds, lack appropriate anti-drain back valves, and may use media that cannot handle the high concentration of wet clutch debris found in shared-sump motorcycle engines. Using a car filter can lead to oil starvation or premature clogging.
How often should I change my motorcycle oil filter?
The safest and most effective practice is to change your oil filter every time you change your engine oil. While some motorcycle manufacturers state in their service manuals that you can alternate changes (replacing the filter every second oil change), the tropical, dusty, and high-traffic conditions in the Philippines accelerate oil contamination. Replacing the filter at every oil change prevents the dirty residual oil trapped inside the old filter from immediately contaminating your fresh oil, maximizing engine protection.
What happens if I install the oil filter backwards or cross-thread it?
Cross-threading a spin-on filter will permanently damage the delicate threads on your engine’s mounting stud or engine case, requiring expensive professional repairs. For cartridge filters, installing the element backwards or misaligning the internal seals can completely block the oil passages. This block prevents oil from circulating through the engine, resulting in severe oil starvation and catastrophic metal-on-metal engine failure within minutes of starting. Always verify the correct orientation of cartridge elements before closing the housing.
Community discussion
Share your experience or ask a question. Comments are reviewed before publication.