
Detailing your car at home is an accessible way to preserve its value, restore its shine, and protect its surfaces from harsh environmental elements. In tropical climates, vehicles are constantly exposed to intense sunlight, high humidity, heavy rain, and dusty roads. A standard quick wash might remove loose dirt, but it often leaves behind bonded contaminants and fails to provide lasting protection. Car detailing is a systematic deep-cleaning and preservation process that addresses both the interior and exterior of the vehicle.
Taking the time to detail your vehicle yourself not only saves money on professional services but also allows you to monitor the condition of your car’s paint, trim, and wheels. This guide breaks down the entire process into manageable steps, from selecting safe tools to applying final protective coatings. With a little patience and the correct approach, you can establish a routine that keeps your vehicle looking its best while shielding it from the elements.
Essential Tools and Products for Your First Detail
Before starting, gathering the correct supplies is essential to prevent accidental scratches or surface damage. For a safe and effective first detail, beginners should focus on high-quality basics rather than expensive, professional-grade machinery. The foundation of any safe wash setup includes a dedicated pH-neutral car shampoo, which cleans without stripping existing wax or damaging delicate clear coats. You will also need at least two large buckets, each equipped with a grit guard—a plastic insert that sits at the bottom of the bucket to trap dirt and prevent it from transferring back onto your wash mitt.
Products mentioned in this guide
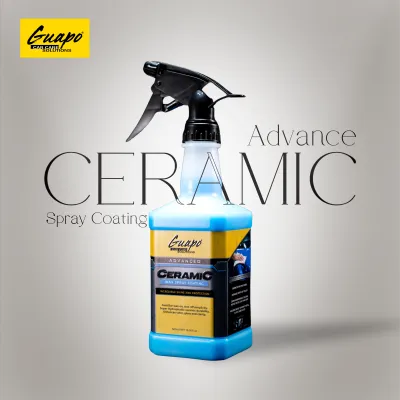
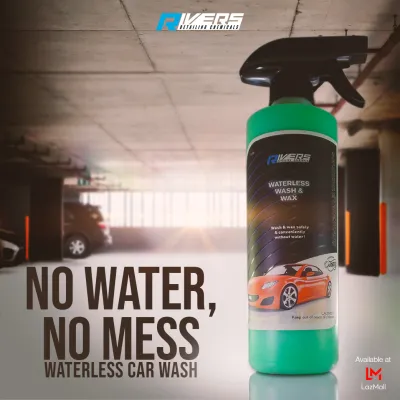
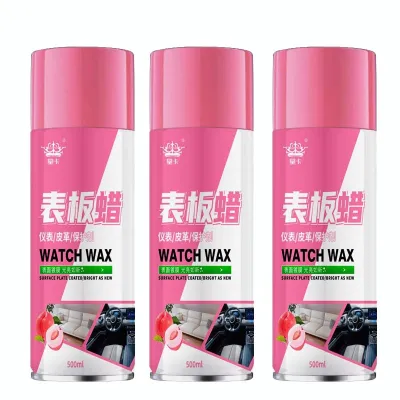
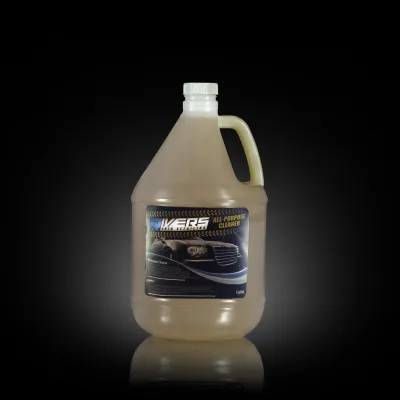

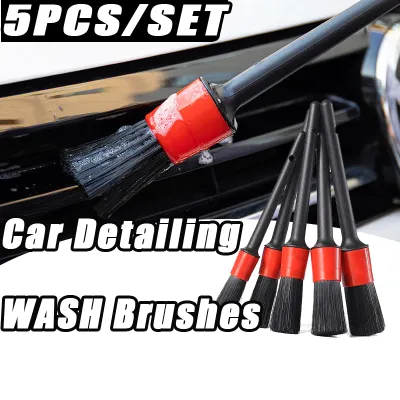
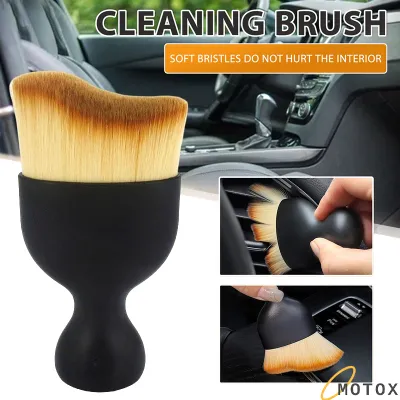
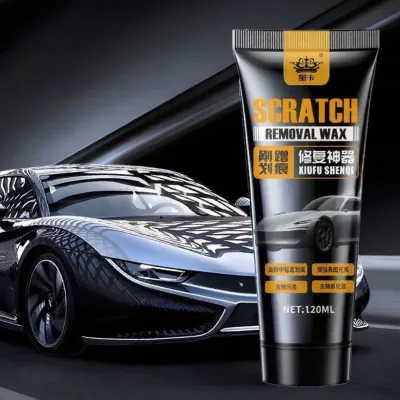
Prices are valid at publication and may change. Please refer to the product page for the latest price.
For wiping and drying, invest in a generous supply of high-quality microfiber towels. Microfiber is designed to lift and trap dirt within its fibers, unlike cotton towels which tend to drag dirt across the paint. A soft microfiber wash mitt is also highly recommended over traditional sponges, which can easily trap grit and cause swirl marks.
As you gain confidence, you can introduce optional upgrades to your kit. A foam cannon attached to a pressure washer or a foam gun for a standard garden hose can help pre-soak the vehicle, loosening dirt before you touch the paint. A clay bar or synthetic clay mitt, along with a dedicated clay lubricant, is useful for removing embedded contaminants. For those looking to correct minor paint imperfections, a dual-action (DA) polisher is a user-friendly machine option, though beginners should gain experience with hand application before moving to machine polishing. Always read product labels carefully to verify compatibility with your vehicle’s specific paint type, plastics, or leather surfaces before application.
Step 1: The Pre-Wash and Contact Wash Process
The primary goal of the washing stage is to remove dirt and grime without dragging abrasive particles across the clear coat. This process begins with a thorough pre-wash. Start by rinsing the vehicle from top to bottom with a garden hose or pressure washer to flush away loose mud, dust, and road salt. If you have a foam cannon, apply a thick layer of foam to the entire vehicle and let it dwell for a few minutes according to the product instructions. This allows the surfactants to break down road film and lift larger dirt particles off the surface. Rinse the foam off completely before proceeding to the contact wash.

For the contact wash, employ the two-bucket method. Fill one bucket with clean water for rinsing and the other with water mixed with your pH-neutral car shampoo. Dip your microfiber wash mitt into the soapy bucket, wash a section of the car, and then immediately rinse the mitt in the clean water bucket, rubbing it against the grit guard to release trapped dirt. Wring out the mitt before dipping it back into the soapy water. This simple habit keeps your wash water clean and drastically reduces the risk of creating swirl marks.
Always wash the vehicle from top to bottom, starting with the roof, then moving to the hood, trunk, upper side panels, and finally the lower panels. The lower sections of a vehicle accumulate the heaviest, most abrasive road grime, so washing them last prevents this dirt from being transferred to cleaner upper areas. Once the contact wash is complete, perform a final rinse. Dry the vehicle immediately using a clean, plush microfiber drying towel. Gently pat or glide the towel across the surface instead of rubbing vigorously, as standing water left to dry in the sun will quickly form stubborn water spots.
Step 2: Paint Decontamination and Surface Preparation
Even after a thorough wash, you may notice that the paint still feels rough to the touch. This roughness is caused by bonded contaminants such as industrial fallout, tree sap, asphalt, and brake dust that have embedded themselves into the clear coat. To remove these particles and prepare the paint for protective coatings, you must perform a paint decontamination step using a clay bar or a synthetic clay mitt.
To begin, ensure the vehicle is completely clean and parked in a shaded area. Apply a generous amount of clay lubricant or a highly lubricated car shampoo solution to a small section of the paint. Gently glide the clay bar or mitt back and forth over the lubricated area using very light pressure. Never use a clay bar on dry paint, as this will cause severe marring. As you work, you will feel the clay grabbing the contaminants; continue until the clay glides completely smoothly across the surface. Wipe the area dry with a clean microfiber towel and fold the clay bar frequently to expose a clean surface.
You can check your progress using the “plastic bag test.” Place your hand inside a thin plastic sandwich bag and gently run your fingers over the dried paint. The plastic amplifies any remaining imperfections, allowing you to feel exactly where more decontamination is needed. If the paint feels smooth like glass, it is ready for protection. However, if you observe deep scratches, severe oxidation, or clear coat failure, claying will not resolve these issues. In such cases, stop and seek professional advice, as correcting these defects requires specialized machine polishing techniques and paint depth measurements to avoid burning through the clear coat.
Step 3: Interior Deep Cleaning and Surface Care
A complete detail must address the cabin, where dust, sweat, and humidity can quickly degrade interior materials. Begin by removing all personal items, trash, and floor mats. Shake out the mats and vacuum them thoroughly outside the vehicle. Next, vacuum the interior systematically, starting from the seats and working your way down to the carpets, under-seat areas, and footwells. Use a soft-bristled detailing brush to gently agitate dust out of air vents, dashboard seams, and center console crevices while holding the vacuum nozzle nearby to capture the airborne particles.
When cleaning interior surfaces, select products formulated specifically for the materials in your cabin. Modern interiors feature a mix of vinyl, plastic, leather, and fabric, and using an incorrect cleaner can cause discoloration or cracking. Always refer to the product label and your vehicle owner’s manual for compatibility. For leather seats, use a dedicated, pH-balanced leather cleaner and a soft brush, followed by a conditioner to keep the material pliable under high-temperature conditions. For plastics and vinyl, a mild interior detailer with UV protection helps prevent fading caused by intense sunlight.
Protecting sensitive electronics and screens is critical during this stage. Never spray liquid cleaners directly onto the dashboard, infotainment screens, or instrument clusters. Moisture can easily seep behind buttons or touchscreens, causing permanent electrical damage. Instead, spray a small amount of cleaner directly onto a clean microfiber towel, wipe the surface gently, and use a second dry towel to buff away any residue.
Step 4: Applying Protection and Final Touches
With the exterior paint decontaminated and the interior clean, the next step is to apply a protective layer to seal in the results and shield the surfaces from future environmental damage. For beginners, modern spray waxes, paint sealants, or ceramic spray coatings offer excellent durability and are much easier to apply than traditional paste waxes. These products create a hydrophobic barrier that repels water, dust, and road grime, making future washes significantly easier.
Apply your chosen protective product according to the manufacturer’s instructions. Typically, this involves spraying a light mist onto a panel, spreading it evenly with a clean microfiber towel, and then using a separate dry microfiber towel to buff the surface to a high gloss. Work on one panel at a time to prevent the product from drying or flashing prematurely. Ensure you follow any specified curing times before exposing the vehicle to water or direct sunlight.
To complete the detail, apply final touches to the exterior trim and tires. Use a dedicated tire dressing and an applicator pad to restore a deep, clean look to the tire sidewalls. Apply the product sparingly and allow it to dry completely to prevent tire “sling”—where excess product is thrown onto the side panels of your car while driving. Avoid spraying harsh chemicals or dressings directly onto brake components or rotors. Finally, perform a thorough walk-around inspection using a flashlight or under bright, indirect light. Check for any leftover wax residue, streaks on the glass, or missed spots, wiping them away with a clean microfiber towel to ensure a flawless finish.
Common Beginner Mistakes and How to Avoid Them
Avoiding common pitfalls is key to developing safe detailing habits and protecting your vehicle’s finish. One of the most frequent mistakes is using household dish soap to wash a car. While dish soap is excellent at cutting grease, it is highly alkaline and will strip away protective wax coatings, dry out rubber seals, and accelerate the fading of plastic trim. Always stick to dedicated automotive shampoos.
Another critical error is reusing a microfiber towel that has been dropped on the ground. Even a brief contact with the floor allows the towel to pick up tiny, abrasive dirt particles or small pebbles. If you use this towel on your paint, those particles will act like sandpaper, leaving deep scratches and swirl marks. Always set dropped towels aside immediately and grab a fresh, clean one.
Lastly, avoid detailing your vehicle in direct sunlight or when the body panels are hot to the touch. High temperatures cause water, shampoos, and protective sprays to dry almost instantly on the surface. This rapid evaporation leaves behind stubborn mineral deposits, water spots, and chemical streaks that are difficult to remove and can damage the clear coat. Always work in a shaded area, inside a garage, or during the cooler hours of the early morning or late afternoon.
Frequently Asked Questions (FAQ)
How often should I detail my car at home?
For most vehicles, a full detail—including paint decontamination and a fresh coat of protection—should be performed every three to six months. However, regular maintenance washes should still occur every one to two weeks to prevent dirt buildup. Your detailing frequency depends heavily on your driving environment. If your car is frequently parked outdoors under trees, exposed to coastal salt air, or driven daily through heavy tropical rain and muddy roads, you may need to apply paint protection and deep-clean the interior more frequently to prevent long-term damage.
Can I use regular household towels instead of microfiber?
No, you should never use household cotton bath towels, t-shirts, or paper towels on your vehicle’s paint. Cotton fibers and paper products are relatively coarse and tend to trap dirt on their surface, dragging those abrasive particles across the clear coat and creating micro-scratches or swirl marks. High-quality microfiber towels feature split fibers that actively lift, trap, and hold dirt away from the paint surface. For the safest results, use specific microfiber towels designed for each task: plush, high-GSM towels for drying, medium-pile towels for buffing off wax, and low-pile, flat-weave towels for cleaning glass without leaving lint.
Community discussion
Share your experience or ask a question. Comments are reviewed before publication.