
A failing stator on your Rusi 125 motorcycle can quickly turn a smooth daily commute into a frustrating ordeal. Because the stator is responsible for generating the electrical power that runs your ignition system and recharges your battery, any drop in its performance will ripple through your entire electrical system. However, before you rush to purchase a replacement stator, it is essential to diagnose the issue accurately. Many riders mistakenly replace a perfectly good stator when the real culprit is a dead battery, a faulty regulator/rectifier, or a simple loose wire. By understanding how the stator works and how to test it, you can save time, avoid unnecessary expenses, and keep your motorcycle running reliably.
Diagnosing electrical issues on a motorcycle requires a systematic approach. Since the stator is located inside the engine casing and bathed in engine oil, replacing it is more labor-intensive than swapping out a battery or a fuse. Confirming the failure through physical symptoms and multimeter testing ensures you only disassemble your engine when absolutely necessary, saving you from spending ₱1,000 to ₱2,500 on parts and labor that you do not actually need.
Common Symptoms of a Failing Stator
One of the most common signs of a failing stator is a battery that continuously drains or fails to hold a charge. In the Philippines, many riders use their Rusi 125 for daily commutes or delivery services, meaning the engine spends a significant amount of time idling in heavy traffic. At idle, a weak stator cannot generate enough current to keep up with the motorcycle’s electrical demands, forcing the system to draw power directly from the battery. Even if you install a brand-new battery, a bad stator will leave it completely drained after just a few trips.
Products mentioned in this guide
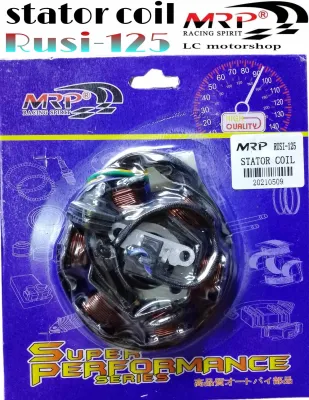
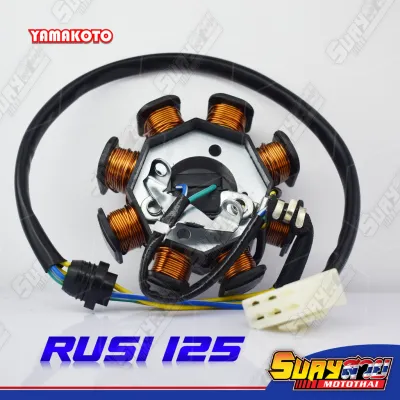
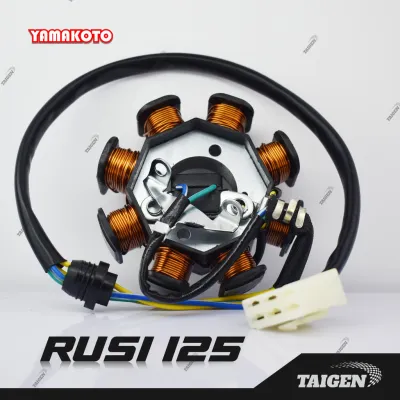
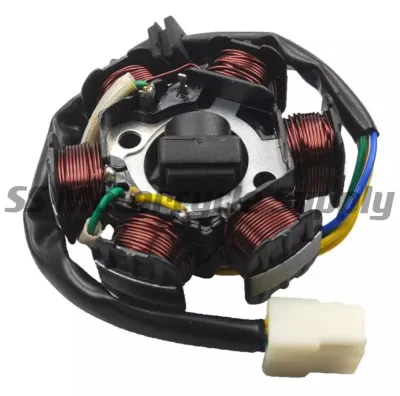
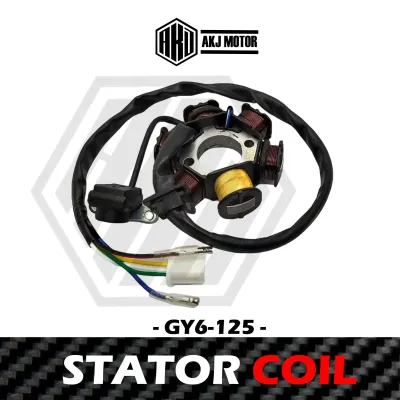
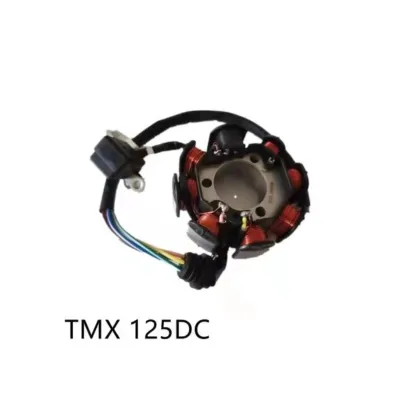
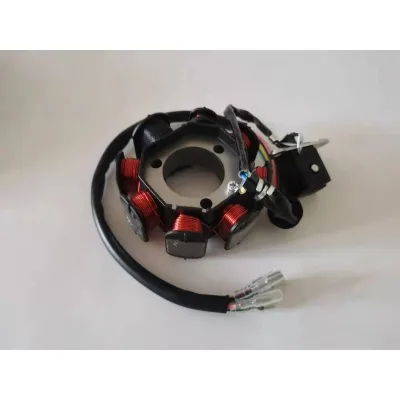
Prices are valid at publication and may change. Please refer to the product page for the latest price.
Another highly visible warning sign is the behavior of your headlights and dashboard illumination. If you notice your lights dimming significantly when the engine is idling and only brightening when you twist the throttle to increase the engine RPM, your stator’s charging output is likely insufficient. While some minor fluctuation is normal on smaller displacement motorcycles, severe dimming indicates that the electrical generation system is struggling to maintain a steady voltage supply.
Engine performance issues also point to stator trouble. A failing stator can cause hard starting, a weak spark at the spark plug, or sudden engine stalling while riding. Because the ignition system relies on a consistent electrical charge to produce a strong spark, a drop in stator output directly compromises combustion. This often manifests as a engine that coughs, sputters, or dies completely when you come to a stop, particularly after the engine has warmed up and the stator coils have expanded due to heat.
It is important to distinguish these systemic electrical generation symptoms from isolated component failures. For instance, if only a single headlight bulb is dim or burnt out while your dashboard lights and starter motor work perfectly, the issue is likely a simple bulb replacement rather than a stator failure. Similarly, if your motorcycle starts effortlessly with the kickstarter but refuses to crank using the electric starter, the battery itself or the starter relay is more likely to blame than the stator.
Ruling Out Other Electrical Culprits
Before focusing entirely on the stator, you must inspect the battery’s overall health and connections. Clean the battery terminals thoroughly using a wire brush to remove any white or green corrosion, which is highly common in humid, tropical climates. Ensure that the terminal bolts are tightened securely. A battery that is more than two years old may simply have reached the end of its service life and can no longer hold a charge, even if your stator is delivering a perfect charging current.

Next, verify the condition of the regulator/rectifier, which is the component responsible for converting the stator’s alternating current (AC) into the direct current (DC) needed by your battery. The regulator/rectifier also caps the voltage to prevent overcharging. If this component fails, it can mimic a bad stator by failing to send power to the battery, or it can do the opposite by sending unregulated high voltage that cooks your battery and burns out your bulbs. Inspect the regulator/rectifier for physical signs of damage, such as a swollen casing, cracked potting material, or a burnt plastic odor.
Additionally, perform a visual inspection of the wiring harness and fuses. Locate the main fuse near the battery and check if it is intact or blown. Trace the wiring harness that runs from the left-side engine cover (where the stator is housed) up to the regulator/rectifier and main frame. Look closely for any frayed wires, melted insulation, or loose pins inside the plastic connector plugs. A loose ground wire connected to the engine casing or frame can easily disrupt the entire charging circuit.
If you discover severely melted wires, burnt connectors, or if the overall condition of your wiring harness is degraded, stop and consult a qualified motorcycle mechanic. Attempting to run or test an electrical system with shorted wiring can cause permanent damage to your CDI (Capacitive Discharge Ignition) unit, regulator, or even trigger an electrical fire. Ensuring the wiring is clean and intact is a prerequisite for any safe stator diagnosis.
How to Test the Stator Safely
To perform an accurate diagnosis, you will need a digital multimeter. Before starting, ensure the motorcycle is parked securely on its center stand on a flat surface. Turn off the ignition switch, remove the key, and let the engine cool down completely to avoid burns from the exhaust or engine casing. Disconnect the negative battery terminal to prevent accidental short circuits during the initial testing phases. Always consult the official Rusi 125 service manual or documentation for your specific model year to verify wire colors, connector pinouts, and manufacturer-specified resistance ranges.
Begin with the static resistance test. Locate the plastic connector plug coming from the stator cover on the left side of the engine. Disconnect this plug from the main wiring harness. Set your digital multimeter to the lowest Ohms (Ω) setting. Insert the multimeter probes into the pins corresponding to the stator charging coils (typically the yellow wires on most Rusi 125 models). Measure the resistance between each pair of charging wires. If the multimeter displays an “OL” (open loop) reading, there is a break in the coil wire; if it reads zero or significantly below the manual’s specification, the coils are shorted.
Next, perform the ground continuity test to check for internal shorting. Keep your multimeter on the Ohms or continuity setting. Touch one probe to a clean, unpainted metal bolt on the engine casing to establish a solid ground. Touch the other probe to each of the stator pins individually. The multimeter should show no continuity (an open circuit or “OL”). If the meter beeps or registers a resistance reading, the insulation on the stator coils has failed, allowing the electrical current to short directly to the engine ground. A stator with a ground short must be replaced.
Finally, conduct the dynamic AC voltage test. Reconnect the stator plug and the battery terminal, ensuring all wires are clear of moving parts. Start the engine and let it idle. Set your multimeter to AC voltage (V~). Carefully insert the probes into the back of the stator connector pins while the engine is running. At idle, the stator should produce a steady AC voltage. Gently rev the engine while watching the display; the AC voltage should rise smoothly and consistently with the engine speed, meeting the minimum output threshold specified in your service manual. If the voltage remains flat or fails to rise, the stator’s magnetic field or internal coils are failing.
Deciding Whether to Repair or Replace
If your multimeter tests reveal a short to ground, out-of-spec resistance, or an inadequate AC voltage output, you must replace the stator. Burnt copper windings or degraded insulation inside the stator assembly cannot be reliably repaired or rewound for daily commuter use. Replacing the entire stator assembly is the only way to restore the reliability of your Rusi 125’s electrical system.
Evaluating whether to perform this replacement yourself depends on your mechanical comfort level and the tools at your disposal. Replacing a stator requires removing the left-side engine cover, which means you must drain the engine oil first to prevent a spill. You will also need to remove the gear shift lever and potentially the left footpeg bracket. Once the cover is off, you must use a plastic scraper to completely remove the old gasket material from the engine mating surfaces without scratching the aluminum casing, as scratches will cause persistent oil leaks.
When sourcing a replacement stator, verify the exact model year and engine variant of your Rusi 125. Stator designs can vary significantly in their coil count (such as 6-coil, 8-coil, or 12-coil configurations) and connector plug styles. Prioritize original equipment manufacturer (OEM) parts or reputable aftermarket brands from trusted local motorcycle shops or established online marketplaces. Avoid unbranded, exceptionally cheap stators, as they often use low-grade copper wire and thin insulation that degrade quickly under the high operating temperatures of a air-cooled engine.
If you do not own a torque wrench to tighten the stator mounting bolts and engine cover bolts to their exact factory specifications, or if you are uncomfortable handling engine gaskets and oil drainage, it is highly recommended to seek a professional motorcycle repair shop. Correct torque is vital; if the internal stator bolts back out while you are riding, they can collide with the spinning flywheel, causing catastrophic and expensive engine damage. A professional mechanic has the specialized tools and experience to ensure a leak-free, secure installation.
Frequently Asked Questions (FAQ)
Can a bad stator damage the battery on my Rusi 125?
Yes, a failing stator can permanently damage your battery. When the stator fails to supply sufficient charging voltage, the motorcycle’s electrical components are forced to draw power directly from the battery. This continuous drain forces the battery into deep discharge cycles that it was not designed to withstand. Over time, this chronic undercharging causes lead-sulfate crystals to build up on the battery plates, a process known as sulfation. Sulfation permanently reduces the battery’s capacity to hold a charge, meaning you will likely have to purchase a new battery alongside your replacement stator if the issue is left unresolved for too long.
Is it safe to ride the motorcycle with a failing stator?
No, riding a motorcycle with a failing stator is highly unsafe. As your battery gradually drains of its remaining power, your headlights, tail lights, and turn signals will dim significantly, drastically reducing your visibility to other motorists during night rides or heavy tropical rainstorms. More importantly, once the battery voltage drops below the minimum threshold required to power the ignition system, your engine will stall suddenly. If your engine dies while you are navigating busy highways or filtering through traffic, you risk being stranded in a highly vulnerable position or causing a collision. Limit your riding to short, necessary trips directly to a repair shop.
Community discussion
Share your experience or ask a question. Comments are reviewed before publication.