
Installing a silencer for muffler pipe systems is a practical and effective way to manage your motorcycle’s exhaust volume, protect your long-term hearing, and ensure your vehicle remains compliant with local noise regulations. Whether you have installed an aftermarket exhaust that is slightly too loud for daily commuting or you simply want to restore a quieter, more refined ride, the installation process is highly manageable when approached systematically. By following the correct steps, you can secure the silencer firmly, maintain proper engine backpressure, and prevent exhaust leaks that could otherwise compromise your engine’s performance.
Pre-Installation Checks: Legal, Safety, and Compatibility for a Silencer for Muffler Pipe
Before handling any tools, you must prioritize personal safety, vehicle compatibility, and legal boundaries. First, always allow your motorcycle’s exhaust system to cool down completely before starting any work. Exhaust pipes and mufflers retain extreme heat long after the engine is turned off, and touching a hot pipe can cause severe, deep-tissue burns.
Next, review your motorcycle manufacturer’s warranty terms and original-vehicle instructions carefully. Modifying your exhaust system—even by adding a removable slip-on silencer—can sometimes void specific engine, electrical, or emissions warranties. If your motorcycle is still within its official warranty coverage period, consult your dealer to verify what modifications are permitted before making any physical changes.
Products mentioned in this guide
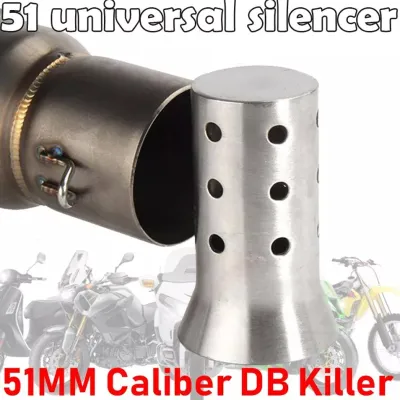
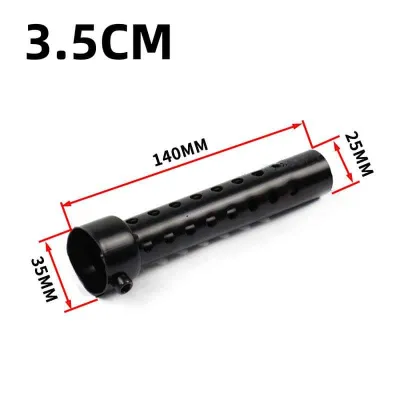
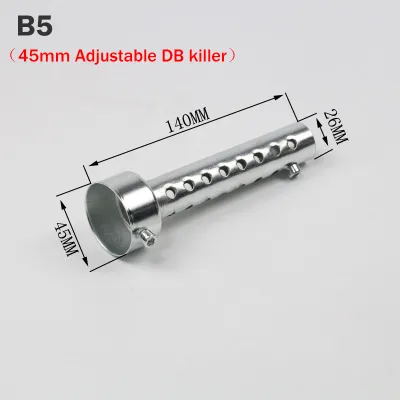
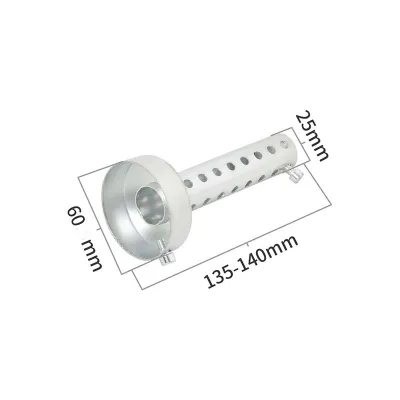
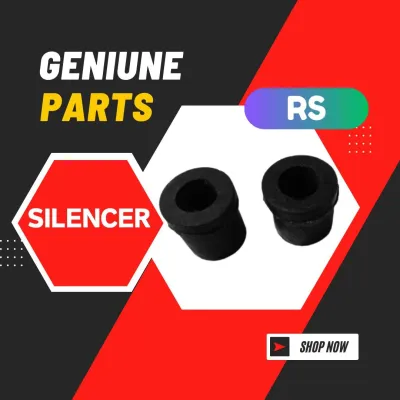

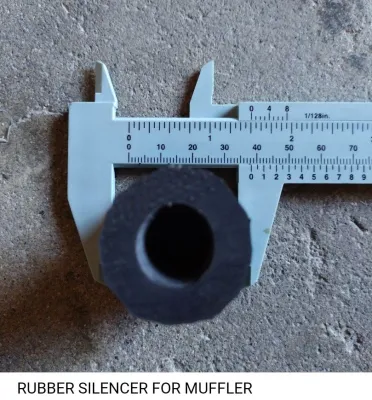
Prices are valid at publication and may change. Please refer to the product page for the latest price.
You must also verify the current local traffic regulations in your area regarding aftermarket exhaust noise limits and emissions compliance. In the Philippines, the Land Transportation Office (LTO) and various local government units enforce strict decibel limits, typically capping motorcycle exhaust noise at 99 decibels when measured at a specific distance and engine RPM. Installing a silencer for muffler pipe setups can help you stay within these legal boundaries, but you must ensure the silencer itself is street-legal and does not violate environmental or emission standards.
Finally, physical compatibility is critical for a secure and leak-free installation. Before unboxing your new part or removing any existing hardware, measure the inner inlet diameter of the silencer and compare it to the outer diameter of your existing muffler pipe. Even a millimeter of difference can prevent a secure slip-fit or cause permanent exhaust leaks, so using a digital caliper for precise measurement is highly recommended. Always verify your specific vehicle model, year, interface dimensions, and mounting position against the silencer manufacturer’s documentation to confirm compatibility before proceeding.
Essential Tools and Materials for the Job
Having the correct tools organized beforehand saves time and prevents damage to your exhaust components. You will need a set of basic hand tools, including appropriate wrenches, sockets, and screwdrivers. The exact sizes required will depend on your motorcycle’s specific make and model, as well as the mounting hardware provided with your silencer.

In addition to basic tools, gather necessary consumable materials to ensure a durable installation. High-temperature exhaust sealant is highly recommended for slip-fit designs to guarantee a gas-tight seal that can withstand extreme exhaust pressures. If your system requires it, keep some high-quality exhaust wrap, replacement exhaust gaskets, or new heavy-duty exhaust clamps on hand to replace any worn or stretched original hardware.
Never overlook personal protective equipment when working on automotive components. Wear heavy-duty work gloves to protect your hands from sharp metal edges, rust flakes, and carbon deposits. Safety glasses are also essential, especially when working underneath the exhaust pipe where loose road debris, rust, or carbon dust can easily fall into your eyes.
Step-by-Step Guide to Installing the Silencer
Step 1: Preparing the Muffler Pipe and Work Area
To begin the installation, position your motorcycle on a flat, level surface. Secure the bike firmly on its center stand or a stable paddock stand to prevent it from tipping or shifting while you apply force to the exhaust components. Working on a side stand is highly discouraged as it leaves the motorcycle unstable and limits your working angles.
Once the bike is secure, inspect the tip of the existing muffler pipe. Over time, exhaust gases leave behind stubborn carbon buildup, rust, and remnants of old sealant that can prevent a smooth fit. In the humid, tropical climate of the Philippines, moisture can accelerate rust and corrosion on exhaust metals, making thorough cleaning even more critical. Use a wire brush or emery cloth to clean the inner and outer mating surfaces of the pipe thoroughly.
When cleaning, work gently and avoid using aggressive grinding tools or unauthorized chemical cleaners that could degrade the metal. Your goal is to remove surface debris, not to gouge or alter the outer diameter of the pipe. Excessive abrasion can create uneven low spots, which will compromise the airtight seal of your new silencer and lead to persistent leaks.
Step 2: Fitting and Aligning the Silencer
With the mating surfaces clean, carefully slide the silencer onto the prepared muffler pipe. As you slide it in, keep the silencer straight and align it visually with your motorcycle’s frame and bodywork. Ensuring proper alignment prevents the silencer from rubbing against the swingarm, rear tire, or plastic fairings during operation.
If you find a slight difference in diameter between the pipe and the silencer, you may need to use exhaust adapters, reducers, or stepped inserts. Many universal silencers include these inserts to bridge minor gaps, but you must verify that the adapter fits snugly on both ends without any loose play. Check the product documentation to ensure the adapter is rated for your specific exhaust temperature and pressure.
Never use excessive force, hammer the silencer into place, or attempt to bend the existing muffler pipe to force a fit. Forcing the components can easily crack the silencer casing, damage the internal baffling, or put severe mechanical stress on the exhaust headers and cylinder head studs, leading to costly engine repairs. If the parts do not slide together with moderate hand pressure, double-check your measurements.
Step 3: Securing the Clamps and Sealing Joints
Once the silencer is perfectly aligned, position your exhaust clamps or mounting bolts over the joint. Tighten the hardware slowly and evenly, alternating between bolts if your clamp uses more than one. This even pressure prevents the clamp from warping the silencer inlet or pinching the pipe unevenly.
If your exhaust system utilizes a slip-fit joint without a traditional mechanical clamp, apply a thin, even bead of high-temperature exhaust sealant to the mating surfaces before sliding them together. Be sure to use a sealant specifically rated for automotive or motorcycle exhaust systems, as standard silicone sealants cannot withstand the extreme operating temperatures. Follow the sealant manufacturer’s instructions regarding curing times before starting the engine.
Always refer to the silencer manufacturer’s specific tightening guidelines or torque specifications. Guessing the tightness can lead to stripping the threads of your mounting brackets or crushing the thin-walled muffler pipe. Using a torque wrench is the best way to ensure the hardware is secured safely within its engineered limits, preventing the assembly from vibrating loose on the road.
How to Test for Exhaust Leaks and Proper Fitment
After securing all hardware, you must verify that the system is fully sealed and safe for road use. Move your motorcycle to a well-ventilated outdoor area, start the engine, and let it idle. Do not rev the engine aggressively; a steady idle is sufficient to generate enough exhaust pressure for testing.
With the engine running, visually and physically check for exhaust leaks. Listen closely for any unusual hissing, whistling, or puffing sounds coming from the joint. To check physically, wear a heavy-duty work glove and carefully pass your hand near—but not touching—the connection points to feel for escaping exhaust gases. Never touch the pipe directly during this test, as it heats up rapidly.
While the engine idles, observe the exhaust system for unwanted vibrations, rattling, or movement. Ensure that the silencer maintains adequate clearance from the motorcycle’s frame, suspension components, and body panels. Thermal expansion during riding can cause a closely positioned pipe to expand, which might melt plastic fairings or rub against moving parts.
Once you confirm there are no immediate leaks, take your motorcycle for a short, low-speed test ride around your neighborhood. This initial run allows the exhaust system to undergo its first complete heat cycle. After returning, let the bike cool down completely, then re-check the tightness of all clamps and mounting bolts, as metal parts expand and contract with heat and may require minor re-torqueing.
Critical Mistakes to Avoid and When to Seek Professional Help
One of the most common installation mistakes is attempting to reuse old, crushed, heavily corroded, or stretched clamps. Exhaust clamps lose their structural integrity and clamping force after being subjected to constant heat cycles and road vibration. Reusing them almost guarantees that your silencer will eventually vibrate loose or leak, posing a hazard to you and other motorists.
Do not ignore minor exhaust leaks, thinking they are harmless. Even a small leak at the silencer joint can disrupt the exhaust scavenging process, leading to poor engine performance, popping on deceleration, and localized overheating. Furthermore, escaping exhaust gases can expose you to hazardous carbon monoxide or damage nearby components over time.
Finally, recognize when to stop and seek professional assistance. If you strip the threads on a mounting bracket, find that the silencer cannot align without visibly stressing the exhaust headers, or feel unsure about local emissions compliance and engine tuning requirements, do not force the installation. Stop immediately and consult a qualified motorcycle mechanic to ensure your bike remains safe, legal, and running at its best.
Community discussion
Share your experience or ask a question. Comments are reviewed before publication.