
Upgrading your motorcycle’s exhaust system is a popular way to enhance performance and customize your ride’s sound, but it fundamentally alters how heat radiates from your machine. After installing an aftermarket pipe, fitting a dedicated exhaust heat shield is a critical step to protect your legs from severe burns, prevent your riding gear or rain pants from melting, and shield nearby motorcycle components from thermal damage. Properly installing this shield requires careful measurement, precise alignment, and secure fastening to withstand constant engine vibrations and harsh environmental conditions.
In tropical climates like the Philippines, where stop-and-go traffic in intense heat is common, managing exhaust temperatures is even more vital. A poorly installed shield can slip, rattle, or fail to provide the necessary air gap, leading to damaged body plastics or painful contact burns. By following a systematic installation process, you can ensure your heat shield remains securely in place, maintains its protective barrier, and performs reliably through heavy downpours and dusty road conditions.
Check Compatibility and Gather Tools
Before purchasing or attempting to mount an exhaust heat shield, you must verify that the accessory is fully compatible with your specific aftermarket pipe. Aftermarket exhausts rarely share the exact dimensions, curves, or mounting points of the original factory system. Measure the outer diameter of your new exhaust pipe using a vernier caliper or a flexible measuring tape wrapped around the pipe. Compare this measurement directly with the inner diameter specifications listed on the heat shield’s product packaging or official documentation to ensure a snug, secure fit.
Products mentioned in this guide
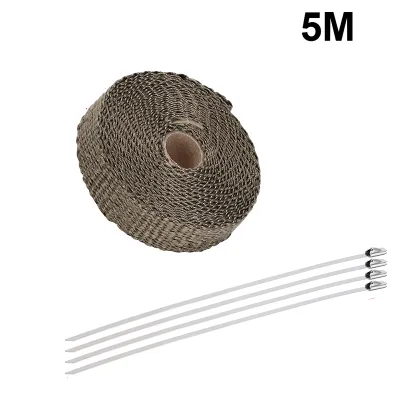
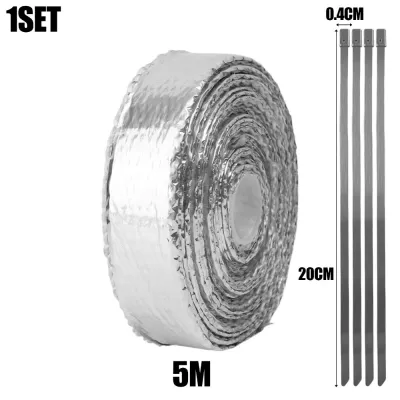
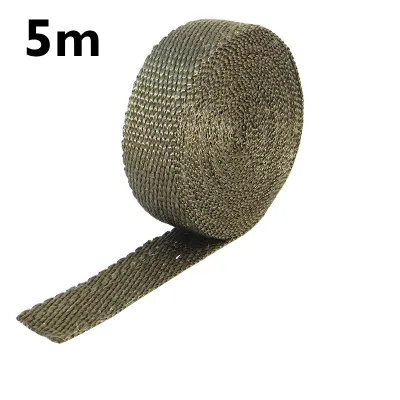
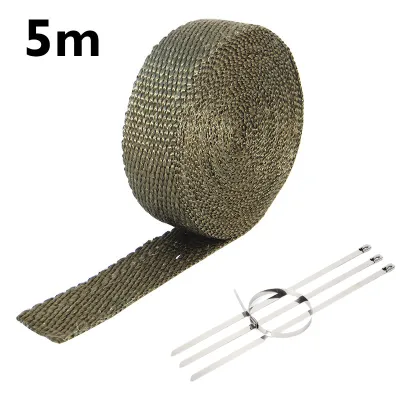
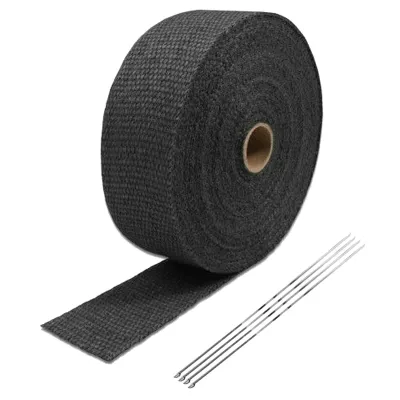
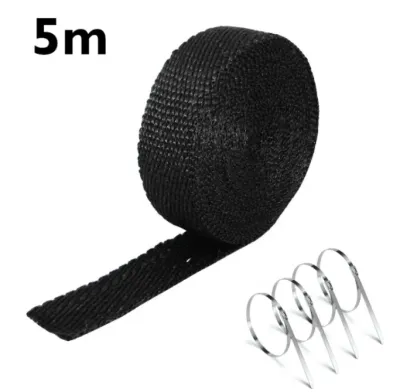
Prices are valid at publication and may change. Please refer to the product page for the latest price.
The mounting hardware is just as critical as the shield itself. Most aftermarket shields rely on metal hose clamps, custom brackets, or direct bolt-on mounts. Inspect the provided hardware carefully; if the clamps are made of low-grade metal, they may quickly rust and snap when exposed to high humidity and wet road spray. Consider upgrading to marine-grade stainless steel clamps that offer superior corrosion resistance. If your aftermarket pipe features pre-welded mounting bosses, verify that the thread pitch and bolt length of your hardware match those bosses perfectly to avoid stripping the threads.
Gather all necessary hand tools before starting the installation to prevent interruptions. You will typically need a set of socket wrenches, screwdrivers, and open-ended wrenches that match your hardware sizes. If the manufacturer provides specific torque specifications for the fasteners, a low-range torque wrench is highly recommended. Using the correct tools prevents rounded bolt heads and ensures even clamping force across the mounting points. Keep a clean microfiber cloth and a non-corrosive degreaser nearby to handle any cleanup tasks during the preparation phase.
Prepare the Exhaust Pipe
Working on a motorcycle exhaust system requires strict adherence to safety protocols, starting with temperature management. Never attempt to install or adjust a heat shield on a recently run engine. Exhaust pipes reach extreme temperatures that can cause severe, deep-tissue burns instantly. Allow the motorcycle to sit turned off for at least several hours, and physically test the pipe with a gloved hand or an infrared thermometer to confirm it is completely cold to the touch before proceeding.

Once the pipe is cold, the surface must be meticulously cleaned. Aftermarket pipes often accumulate oils from your hands during installation, as well as road grime, grease, or shipping residues. If left on the pipe, these substances will bake under high operating temperatures, creating permanent stains, producing thick smoke, or even causing the heat shield clamps to slip. Wipe down the entire mounting area using a label-authorized degreaser or isopropyl alcohol, ensuring no residue remains. Avoid using harsh abrasive pads that could scratch the finish of your new exhaust.
While cleaning, take the opportunity to inspect the aftermarket exhaust system for any underlying issues. Examine the welds, joints, and slip-on connections near the intended shield location for signs of exhaust leaks, cracks, or loose springs. An undetected exhaust leak can direct extremely hot gases directly onto the back of your new heat shield, causing rapid discoloration or localized overheating that could melt nearby bodywork. Address any structural or sealing issues with the exhaust system before covering the area with the shield.
Install the Heat Shield
Begin the physical installation by dry-fitting the heat shield over the exhaust pipe to determine the optimal positioning. You want to align the shield so that it covers the areas most likely to make contact with your leg, passenger legs, or soft luggage. Ensure the mounting brackets or clamp channels on the shield align naturally with the straight sections of the exhaust pipe. Forcing a shield onto a tight bend can stress the metal or carbon fiber, leading to premature cracking once the system is subjected to engine vibrations.
Once you have established the correct position, thread the mounting clamps or bolts through the shield’s brackets and around the exhaust pipe. Tighten the fasteners only hand-tight at this stage. Keeping the hardware slightly loose allows you to make minor adjustments to the angle, rotation, and longitudinal position of the shield. Step back from the motorcycle to visually confirm that the shield looks aligned with the lines of the frame and does not appear crooked or awkwardly angled.
After achieving the desired alignment, begin tightening the fasteners in a gradual, alternating sequence. If your shield uses multiple clamps or bolts, tighten each one a few turns at a time rather than fully tightening one before moving to the next. This distributed approach prevents the shield from shifting out of alignment and ensures even tension. Refer to your product manual for specific torque values; overtightening can easily strip clamp threads, crush the exhaust pipe, or crack delicate carbon fiber or fiberglass shields.
A critical aspect of any heat shield installation is maintaining the designed air gap between the shield and the exhaust pipe. Most shields rely on standoffs, spacers, or the natural curve of the brackets to keep a physical clearance of at least several millimeters. This air gap is what prevents direct heat conduction from the pipe to the shield. Double-check that no part of the shield’s main body is in direct contact with the exhaust pipe. If the shield touches the pipe, heat will transfer directly through, rendering the shield ineffective and potentially damaging its finish.
Verify Clearances and Safety
With the heat shield firmly mounted, you must verify that it does not interfere with any moving parts or heat-sensitive components on the motorcycle. Sit on the bike and compress the rear suspension to ensure the shield does not come into contact with the swingarm, rear brake caliper, or suspension linkage. Check the clearance around the rear footpegs, ensuring that passenger feet can rest comfortably without pushing the shield against the exhaust pipe or pinching any cables.
Pay close attention to nearby electrical wiring, brake lines, and fuel hoses. These components must be routed well away from both the exhaust pipe and the heat shield to prevent thermal degradation of their protective sheaths. Additionally, check the distance between the shield and any painted body plastics or aftermarket saddlebags. Even with a heat shield installed, radiant heat can accumulate in confined spaces, so maintaining a safe clearance of at least a few centimeters from plastic panels is highly recommended.
Perform a physical shake test by firmly grasping the cool heat shield and attempting to wiggle it in all directions. There should be absolutely no lateral play, slipping, or rattling. If the shield moves even slightly, the clamps are either loose or improperly sized for the pipe diameter. Once the physical check is successful, start the motorcycle and let it idle in a well-ventilated area. Listen closely for any buzzing, metallic rattling, or unusual vibrations that might indicate a loose component or contact point, and monitor the area as the exhaust warms up.
Troubleshoot Fitment and Noise Issues
If you notice the heat shield slipping or rotating after a few rides, the issue is often related to clamp tension or surface friction. Re-check the tightness of the clamps once the system has cooled completely. If the clamp has bottomed out but the shield is still loose, the clamp may be too large, or the pipe diameter may be slightly smaller than the shield’s minimum specification. In some cases, adding a layer of high-temperature exhaust wrap or specialized silicone gripping tape under the clamp area—if permitted by the manufacturer—can provide the necessary friction to stop slippage.
Buzzing or rattling noises at specific engine RPMs are common post-installation issues, usually caused by metal-on-metal contact. Inspect the mounting points to ensure that any rubber dampeners, high-temperature washers, or isolating spacers provided in the kit were installed correctly and have not degraded. If a spacer is missing, the shield can vibrate against the mounting bracket, creating an annoying high-pitched rattle. Replacing worn dampeners with OEM-spec high-temperature silicone or copper washers can effectively isolate these vibrations.
Unexpected heat discoloration on the surface of a metal shield, or cloudiness on a carbon fiber shield, typically points to insufficient airflow or excessive exhaust temperatures. Verify that the shield’s material rating matches the demands of your motorcycle; high-performance or modified engines often run hotter than stock setups. Ensure that the air gap between the pipe and the shield has not collapsed. If the discoloration persists despite a proper air gap, you may need to install a secondary internal heat-reflective barrier sleeve or consult a professional tuner to check if your engine is running too lean, which significantly raises exhaust gas temperatures.
Frequently Asked Questions (FAQ)
Can I reuse the stock heat shield on an aftermarket exhaust?
Reusing a stock heat shield on an aftermarket exhaust is generally not recommended and is often physically impossible. Factory heat shields are engineered to fit the precise curves, diameters, and pre-welded mounting tabs of the original exhaust system. Aftermarket pipes typically feature larger diameters, different routing paths, and unique bracket locations that will not align with stock shield mounts. Attempting to force a stock shield onto an aftermarket pipe using makeshift brackets can compromise safety, reduce the necessary air gap, and lead to loose components that could detach while riding. For the best protection and fitment, always use a heat shield specifically designed for your aftermarket exhaust model or a high-quality universal shield rated for your pipe’s outer diameter.
How do I clean a discolored or dirty exhaust heat shield?
Cleaning an exhaust heat shield requires methods tailored to its specific material and finish to avoid permanent damage. Always consult the manufacturer’s care label before applying any cleaning agents. For chrome or polished stainless steel shields, use a non-abrasive metal polish and a soft microfiber cloth to gently buff out road grime and light heat tinting; never use steel wool or harsh abrasive pads, which will leave fine scratches. For matte black, powder-coated, or ceramic-coated shields, avoid polishes entirely and clean them using mild soapy water or a label-authorized matte finish cleaner. Carbon fiber shields are particularly sensitive to harsh chemicals and heat; clean them only with mild automotive soap and water, and avoid using solvent-based degreasers that can degrade the protective resin coating over time.
Community discussion
Share your experience or ask a question. Comments are reviewed before publication.