
Quick Answer: When to Replace Your Motorcycle Oil Filter
To keep your engine running smoothly, the most reliable method is to follow the manufacturer’s mileage and time intervals detailed in your owner’s manual. For most motorcycles, this replacement schedule coincides directly with routine oil changes, typically occurring every 3,000 to 5,000 kilometers.
However, scheduled intervals only tell part of the story. Observable symptoms—such as engine overheating, sudden oil leaks, unusual metallic engine noises, or the illumination of a dashboard oil warning light—indicate an immediate need for inspection. If you notice any of these warning signs, you must inspect and likely replace your oil filter immediately, regardless of how many kilometers you have ridden since your last service.
Standard Replacement Intervals: Mileage and Time Indicators
Determining when to replace your oil filter should always start with your motorcycle’s official documentation rather than generalized internet advice. Your owner’s manual or service booklet contains the exact mileage and time intervals designed specifically for your engine’s engineering tolerances. Following these guidelines ensures you maintain engine health and protect any active manufacturer warranties.
Products mentioned in this guide
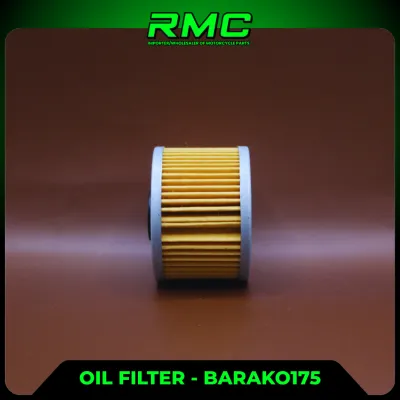
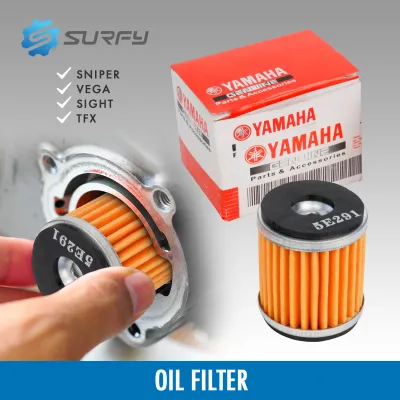
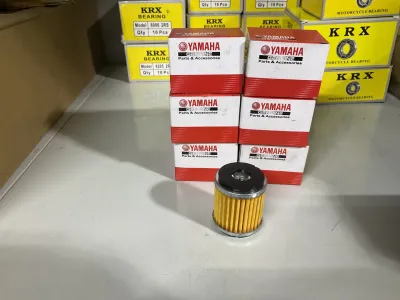
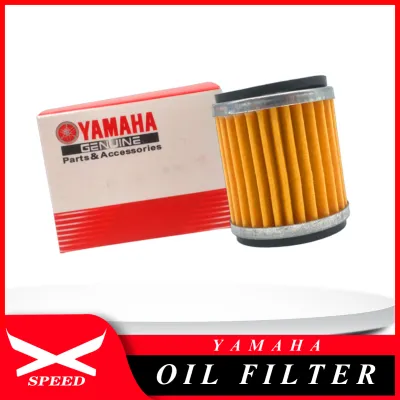
Prices are valid at publication and may change. Please refer to the product page for the latest price.

When reviewing your service manual, always apply the “whichever comes first” rule for time and distance. Oil filter media, which is typically made of paper, synthetic fibers, or a blend of both, degrades over time even if the motorcycle is rarely ridden. In tropical, highly humid environments like the Philippines, moisture from condensation can build up inside the crankcase. This moisture mixes with combustion byproducts, forming acidic compounds that gradually weaken the filtration media over several months.
Maintenance schedules often present a choice: replacing the oil filter with every single oil change, or replacing it every other oil change. This decision depends entirely on your manufacturer’s specifications, your riding environment, and the type of engine oil you use. If you frequently ride in dusty rural areas, tackle heavy stop-and-go urban traffic, or use standard mineral oil, changing the filter with every oil change is highly recommended. For riders using premium fully synthetic oils under mild conditions, following an “every other change” schedule might be permitted by the manufacturer, but installing a fresh filter every time remains the safest practice for engine longevity.
Observable Symptoms of a Failing or Clogged Oil Filter
While mileage and time are your primary maintenance baselines, real-world riding conditions can cause an oil filter to clog prematurely. Heavy dust, airborne debris, high engine heat, and stop-and-go riding can accelerate the accumulation of contaminants within the filter media. Recognizing the physical and performance signals of a restricted filter allows you to take action before severe engine damage occurs.
Engine Performance and Sound Changes
A severely clogged oil filter restricts the flow of lubricating oil to critical internal engine components. This restriction starves the upper cylinder head of oil, causing a rapid increase in friction and engine operating temperature. You may notice your engine running significantly hotter than usual, which is particularly dangerous for air-cooled engines operating in warm climates.
This lack of proper lubrication also manifests as sluggish acceleration and a noticeable loss of engine power. Without a clean, pressurized supply of oil, the engine has to work harder to overcome internal friction.
Furthermore, inadequate lubrication leads to direct metal-on-metal contact. This produces distinct, unusual sounds such as metallic ticking, tapping, or knocking from the engine casing. These noises are often most pronounced during a cold startup—when oil pressure takes longer to build—or when the engine is placed under heavy load, such as climbing steep hills or carrying a pillion passenger.
Visual Leaks and Physical Damage
Performing a regular visual inspection of your motorcycle’s engine bay is a simple way to spot filter issues early. Look closely at the base of the oil filter, the mounting surface on the engine block, and the filter body itself. Any signs of oil seeping, dripping, or pooling around these areas indicate a failure of the filter’s rubber sealing ring or a loose installation.
During your inspection, look for physical deformities on the filter canister, such as bulging, swelling, or deep dents. A bulging canister indicates that the filter has experienced extreme internal pressure. This occurs when the filtration media is completely blocked, or when the internal bypass valve fails to open under high oil pressure.
Safety Warning: Before conducting any physical inspections or tool-based maintenance on your motorcycle, always refer to your vehicle’s original manufacturer instructions. Ensure the engine and exhaust system are completely cool to the touch to prevent severe burns. If you observe structural damage or severe leaks, do not start the engine; consult a professional mechanic immediately.
Dashboard Warning Lights
For motorcycles equipped with an oil pressure sensor and a corresponding dashboard warning light, this indicator serves as your final line of defense. If this light illuminates or flickers while the engine is running, it indicates a severe, dangerous drop in oil pressure. This drop is often caused by a completely blocked oil filter or a critical lack of circulating oil.
If your oil pressure warning light turns on, you must follow this critical safety rule:
- Stop riding immediately as soon as it is safe to do so.
- Pull over safely to the side of the road, away from active traffic.
- Turn off the engine immediately to prevent catastrophic, irreversible mechanical failure.
Do not attempt to ride the motorcycle home or to a workshop with the oil light illuminated. Running an engine without sufficient oil pressure can cause complete internal destruction within less than a minute.
Inspecting the Oil and Filter During Maintenance
Evaluating the condition of your engine oil and the filter during routine servicing provides valuable insights into your engine’s internal health. Begin by checking your motorcycle’s oil sight glass or dipstick. If the oil appears extremely dark, thick, gritty, or exhibits a shimmering, metallic sheen under direct light, the oil filter has likely reached its holding capacity and is no longer trapping contaminants effectively.
To inspect the filter itself, you must remove it safely during an oil change. Always place a dedicated oil drain pan directly beneath the filter housing to catch any residual oil. Use the correct oil filter wrench or socket size specified by your manufacturer to avoid stripping the filter casing or damaging the engine threads.
Once the filter is removed, examine its condition closely. For cartridge-style filters, gently spread the paper pleats apart and inspect the valleys. Look for the following indicators:
- Excessive thick sludge: Indicates that oil change intervals have been neglected, allowing carbon and combustion byproducts to saturate the media.
- Wavy, distorted, or collapsed pleats: Suggests structural failure of the filter media, often caused by water contamination or cheap, low-quality construction.
- Shiny metal shavings or flakes: A critical warning sign of severe internal engine wear, such as failing bearings or worn piston rings. If you discover metal debris in the filter, save the component and seek a professional diagnostic evaluation immediately.
Risks of Riding with a Clogged Oil Filter
To protect your engine from sudden oil starvation, modern oil filters are engineered with an internal, spring-loaded bypass valve. When the filtration media becomes completely clogged with debris, the oil pressure difference across the filter increases. This pressure forces the bypass valve open, allowing engine oil to bypass the clogged filtration media entirely.
While the bypass valve serves as a vital safety feature to prevent immediate engine seizure, it comes with a severe trade-off. When the bypass valve is open, raw, unfiltered oil circulates directly through your engine. Any abrasive road dust, soot, metallic wear particles, and carbon deposits present in the oil crankcase are pumped straight back into the engine’s most sensitive components.
Circulating unfiltered oil causes rapid, accelerated wear on highly polished internal surfaces. The abrasive particles act like liquid sandpaper, grinding away at the pistons, cylinder walls, crankshaft journals, connecting rod bearings, and camshaft lobes. Over time, this wear increases internal clearances, reduces engine compression, increases oil consumption, and permanently degrades engine performance.
If you continue to ride with a clogged filter and degraded oil, you face the ultimate risk of total engine seizure. As the oil becomes increasingly saturated with contaminants, its viscosity breaks down, losing its ability to create a protective hydrodynamic film between moving parts. Eventually, the extreme heat and friction will cause metal components to weld themselves together, resulting in an incredibly expensive engine rebuild or a complete engine replacement.
Choosing and Installing the Right Replacement Filter
When the time comes to replace your oil filter, selecting the correct replacement component is critical for maintaining proper oil pressure and filtration efficiency. Always prioritize Original Equipment Manufacturer (OEM) filters or high-quality aftermarket equivalents from reputable brands. Never assume compatibility based on generic category terms or visual similarities; always cross-reference the filter’s part number with your motorcycle’s exact make, model, and year of manufacture.
Before beginning the installation process, verify that you have the correct tools, a clean workspace, and the proper replacement parts on hand. Always check the product label on your new filter and refer to your motorcycle’s service manual for specific torque specifications and installation steps. If the instructions conflict, stop and consult a qualified professional.
Follow these best practices during installation to ensure a leak-free seal:
- Clean the mounting surface: Use a lint-free cloth to thoroughly clean the engine block's mounting surface. Ensure the old rubber sealing gasket came off with the old filter; a "double gasket" mistake (where the old gasket remains stuck to the engine and the new filter is installed on top of it) will cause a massive, immediate oil leak upon startup.
- Lubricate the new gasket: Apply a thin film of clean, fresh engine oil to the rubber O-ring or gasket of the new filter. This prevents the gasket from pinching, twisting, or tearing as you tighten the filter.
- Tighten to specification: Thread the new filter on by hand to ensure it is not cross-threading. For spin-on filters, hand-tighten them until the gasket makes contact with the engine block, then turn it an additional 3/4 to 1 full turn, or use a torque wrench to tighten it to the exact Newton-meter (Nm) specification listed in your service manual. For cartridge filter covers, tighten the bolts evenly in a crisscross pattern to the specified torque to prevent cracking the aluminum cover.
- Verify and test: Refill the engine with the recommended volume and viscosity of fresh engine oil. Start the motorcycle and let it idle for a few minutes while closely inspecting the filter area for any signs of weeping or leaking. Turn off the engine, let the oil settle, and check the oil level using the sight glass or dipstick, topping up if necessary.
Frequently Asked Questions (FAQ)
Can I clean and reuse a motorcycle oil filter?
Standard paper, synthetic, or composite cartridge and spin-on oil filters are strictly disposable items and cannot be cleaned or reused. Attempting to wash these filters with solvents, gasoline, or compressed air will degrade or tear the microscopic filtration fibers, rendering them useless and risking engine damage. Only specific motorcycles equipped with permanent, coarse metal mesh oil strainers are designed to be cleaned with an authorized solvent, dried, and reinstalled according to the manufacturer’s instructions.
What happens if I change the oil but not the filter?
Changing your engine oil without replacing a dirty oil filter is highly counterproductive. An old, saturated filter retains a significant volume of dirty, contaminated oil—often up to 300ml depending on the engine size. When you start the engine, this dirty oil immediately mixes with your fresh, clean oil, contaminating it with abrasive particles and combustion byproducts. This significantly reduces the effective lifespan, lubricating efficiency, and protective capabilities of your new engine oil.
Do all motorcycles have replaceable oil filters?
Not all motorcycles utilize a traditional, replaceable spin-on or cartridge oil filter. Many smaller scooters, underbones, and older commuter models rely solely on a internal metal mesh screen or a centrifugal oil filter system. These components do not require regular replacement parts but do demand periodic disassembly, manual cleaning, and inspection during major service intervals. Always check your motorcycle’s specific owner’s manual to determine what type of oil filtration system your vehicle uses.
Community discussion
Share your experience or ask a question. Comments are reviewed before publication.