
A failing ignition coil on your Sniper 150 typically manifests as persistent engine misfires, sudden stalling, hard starts (especially in humid or rainy tropical weather), and a noticeable loss of acceleration. Because these symptoms closely mimic a worn-out spark plug or a weak battery, diagnosing the issue requires a systematic approach of isolation and electrical testing. Before purchasing a replacement part, you must verify whether the fault lies within the coil itself, the spark plug cap, or the high-tension wire.
Taking the time to diagnose the issue properly prevents you from spending money on unnecessary parts. Many riders jump to conclusions and replace the ignition coil, only to find that a simple spark plug replacement or a loose wire connection was the actual cause of their engine trouble. By following a structured diagnostic process, you can accurately identify the root cause and restore your motorcycle’s performance.
Understanding how your motorcycle’s ignition system operates can also help you spot early warning signs before they turn into major breakdowns. The ignition coil is a small but powerful transformer that takes low-voltage current from your battery and steps it up to thousands of volts. This high voltage is what creates the spark at the plug gap, igniting the fuel-air mixture that powers your engine. When this process is disrupted, your entire riding experience suffers.
Products mentioned in this guide
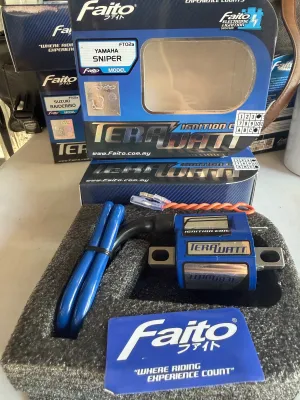
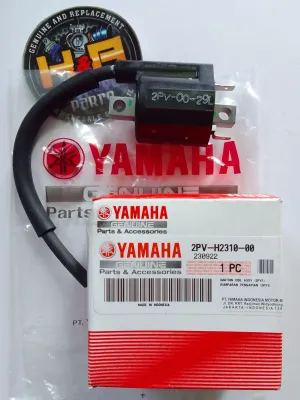
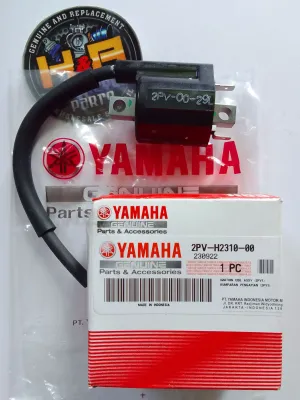
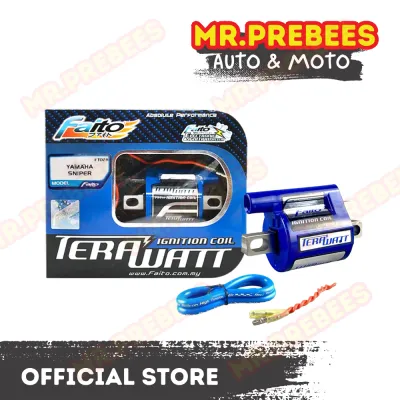
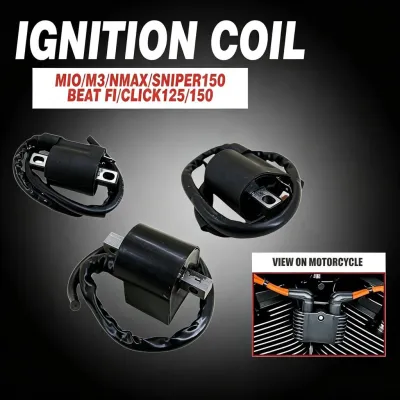
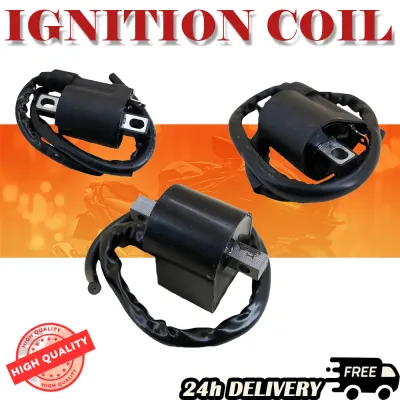
Prices are valid at publication and may change. Please refer to the product page for the latest price.
Key Symptoms of a Failing Ignition Coil on Your Sniper 150
When riding your underbone motorcycle through daily commutes, the ignition coil plays a critical role in converting low-voltage battery power into the high-voltage spark needed for combustion. When this component begins to degrade, the spark delivered to the combustion chamber becomes weak or inconsistent.
One of the most common early warning signs is a persistent engine misfire. You might feel the motorcycle hesitate or jerk during acceleration, or notice a rough, uneven idle when waiting at traffic lights. In severe cases, the engine may stall unexpectedly when you pull in the clutch or decelerate to a stop.
Hard starting is another classic symptom of a failing coil. This issue often becomes more pronounced during early morning starts or during the rainy season, when high humidity and moisture put extra stress on the electrical system. If the engine cranks repeatedly but struggles to catch, a weak ignition spark could be the culprit.
Finally, you will likely experience a significant drop in overall engine performance and throttle response. When you twist the throttle to overtake or climb an incline, the engine may feel sluggish, flat, or slow to respond. This lack of power occurs because the weak spark cannot efficiently ignite the fuel-air mixture under high-load conditions.
Additionally, you might notice a decrease in fuel efficiency. When the ignition coil fails to provide a strong, consistent spark, some of the fuel in the combustion chamber remains unburned. This unburned fuel is wasted, forcing you to fill up your tank more frequently and causing a noticeable drop in your motorcycle’s overall mileage.
Over time, a weak spark can also lead to excessive carbon buildup on your engine’s valves and piston crown. This buildup can cause pre-ignition or pinging, which further degrades performance and can lead to expensive internal engine damage if left unaddressed.
Ignition Coil vs. Spark Plug: Isolating the Real Culprit
Because a bad ignition coil and a worn spark plug produce nearly identical symptoms, you must isolate the components before committing to a more expensive repair. The spark plug is the most common point of failure in any ignition system and should always be evaluated first.

Begin by removing the spark plug to perform a thorough visual inspection. Look for signs of carbon fouling, wet fuel deposits, or physical wear on the electrode. You should also check the electrode gap using a wire feeler gauge to ensure it matches the specifications outlined in your owner’s manual.
Next, inspect the spark plug cap and the high-tension wire that connects it to the ignition coil. Over time, exposure to engine heat and tropical humidity can cause the rubber boot to crack or degrade. A cracked cap or damaged wire can allow high-voltage current to leak to the engine frame, causing misfires that mimic a bad coil.
In professional motorcycle maintenance, replacing a worn or questionable spark plug is the standard diagnostic baseline. Spark plugs are inexpensive and easy to replace. If installing a fresh, correctly gapped spark plug immediately resolves your starting and running issues, you have successfully ruled out the ignition coil and saved the cost of a more expensive component.
It is also worth checking the battery voltage and the ground connections. A weak battery or a loose ground wire can restrict the electrical current flowing to the ignition coil, resulting in a weak spark that mimics a failing coil. Ensuring your electrical connections are clean and tight is a crucial step before condemning the coil itself.
Furthermore, check the connection where the high-tension wire screws into the ignition coil body and the spark plug cap. Sometimes, vibration from daily riding can cause these threaded connections to back out slightly, creating a gap that resists electrical flow. Simply unscrewing the cap, trimming a few millimeters off the end of the wire to expose fresh copper, and screwing the cap back on tightly can resolve the issue.
Safe Diagnostic Checks for the Sniper 150 Ignition System
If a new spark plug does not resolve the issue, you can perform several safe diagnostic checks to evaluate the ignition coil’s health. Working with ignition systems involves high voltages, so always ensure the ignition switch is off when connecting or disconnecting components, and work in a well-ventilated, dry area away from spilled fuel.
A basic spark test is an effective way to observe the strength of your ignition system. Remove the spark plug, insert it firmly back into the spark plug cap, and hold the threaded portion of the plug against a clean, unpainted metal part of the engine cylinder head using insulated pliers. Crank the engine briefly and observe the spark at the electrode. A healthy ignition system produces a bright, snappy blue spark, whereas a failing coil typically produces a weak, thin yellow or orange spark, or no spark at all.
Next, perform a close visual inspection of the ignition coil body itself. Look for any signs of physical damage, such as hairline cracks in the plastic casing, swelling, melting, or dark burn marks. These physical defects indicate internal short circuits or overheating, which permanently compromise the coil’s ability to hold and deliver voltage.
For a definitive diagnosis, use a digital multimeter to measure the electrical resistance of the coil’s primary and secondary windings. Connect the multimeter probes to the primary terminals to check the primary resistance, then measure from the primary terminal to the high-tension spark plug lead to check the secondary resistance. You must compare these readings against the exact ohm ranges specified in the official Sniper 150 service manual for your specific model year, as resistance values can vary.
Safety is paramount when diagnosing electrical components. If you are uncomfortable working with high-voltage systems, or if your multimeter readings are inconsistent, stop testing immediately. Bring your motorcycle to a qualified professional mechanic who has the specialized diagnostic tools to safely test the ignition system without risking damage to the motorcycle’s electronic control unit (ECU).
Additionally, always consult your original vehicle documentation to verify the correct mounting position and routing of the high-tension wire. Incorrect routing can expose the wire to excessive heat from the engine block, leading to premature insulation failure and electrical shorts.
Remember that temperature can affect resistance readings. If possible, perform your multimeter tests when the engine is cold (at ambient room temperature). A coil that tests within specifications when cold might still fail when hot due to thermal expansion opening up internal micro-cracks in the windings. If your bike only misfires after riding for 15 to 20 minutes, this thermal failure is a strong possibility.
Making the Replacement Decision and Sourcing the Right Part
Once your diagnostic tests confirm that the ignition coil’s resistance is out of specification, or if the physical casing is visibly damaged, you can confidently proceed with a replacement. Replacing a faulty coil is essential to restore your motorcycle’s reliability and prevent secondary damage to other electrical components.
When sourcing a replacement part, it is highly recommended to match the exact Original Equipment Manufacturer (OEM) specifications or select a verified aftermarket equivalent designed specifically for the Sniper 150. The motorcycle’s ignition system is carefully calibrated to work with specific electrical resistance and voltage parameters.
Avoid purchasing unverified, universal ignition coils or generic “high-performance” upgrades that do not explicitly list compatibility with your specific model year. Installing an incompatible coil can lead to electrical mismatches, which may overload your wiring harness, damage the spark plug prematurely, or even cause permanent damage to the expensive engine control unit (ECU). Always verify compatibility with the manufacturer’s documentation before finalizing your purchase.
If you decide to perform the replacement yourself, ensure you follow the step-by-step instructions in your service manual. Pay close attention to the mounting bolts and ground terminals, as a poor ground connection can prevent the new coil from functioning correctly. If you are unsure about any part of the installation process, seek the assistance of a qualified professional mechanic to ensure the work is completed safely and correctly.
Additionally, consider replacing the spark plug at the same time you install the new ignition coil. A fresh spark plug ensures that your new coil does not have to work harder than necessary to jump the gap, maximizing the lifespan of both components and ensuring optimal combustion efficiency from your very first ride.
Frequently Asked Questions (FAQ)
How much does a replacement ignition coil for the Sniper 150 typically cost?
The cost of a replacement ignition coil varies depending on whether you choose an original OEM part or a reputable aftermarket alternative. OEM parts generally carry a premium due to guaranteed compatibility and factory quality control, while certified aftermarket options may offer a more budget-friendly choice. To get accurate, up-to-date pricing in ₱, it is best to consult local authorized dealers or established motorcycle parts shops in your area. Additionally, remember to factor in the cost of professional labor if you plan to have a qualified mechanic perform the installation.
Can I ride my Sniper 150 with a weak ignition coil?
Riding your motorcycle with a weak or failing ignition coil is highly discouraged. A weak spark leads to incomplete combustion, which allows unburned fuel to enter the exhaust system, potentially damaging the catalytic converter and causing carbon buildup on the valves. Furthermore, a failing coil can stop working entirely without warning, leaving you stranded on the road. It is best to limit your riding and address the issue promptly to avoid more costly engine repairs.
Community discussion
Share your experience or ask a question. Comments are reviewed before publication.