
Finding the ideal waterproof motorcycle cover is not as simple as picking a generic medium or large size based on your bike’s engine displacement. To ensure your motorcycle remains fully protected against heavy tropical downpours, intense sunlight, and high humidity, you must measure its physical dimensions—specifically the maximum length, width, and height—and match those figures to a manufacturer’s sizing chart. A cover that fits correctly will shield your vehicle from moisture, dust, and UV rays, whereas an ill-fitting one can trap humidity, flap violently in high winds, or tear at the seams.
Choosing the wrong size often leads to premature wear on both the cover and the motorcycle. An oversized cover acts like a sail in strong winds, scratching your paintwork and risking tipping the bike over, while an undersized cover puts immense strain on the seams and fails to protect the lower half of the wheels. By taking accurate measurements and accounting for your specific accessories, you can select a cover that offers reliable, long-term protection.
Tools and Preparation for Measuring Your Motorcycle
Before you begin measuring, gather a few basic tools to ensure accuracy. A flexible tailor’s measuring tape is the best tool for this job because it easily contours around fairings, handlebars, and exhaust pipes without scratching your bike’s paint. If you only have a standard metal tape measure, proceed with caution to avoid nicking the finish, or use a piece of string to mark the distances and then measure the string with a ruler. Keep a notepad or a smartphone handy to record each dimension immediately.
Products mentioned in this guide
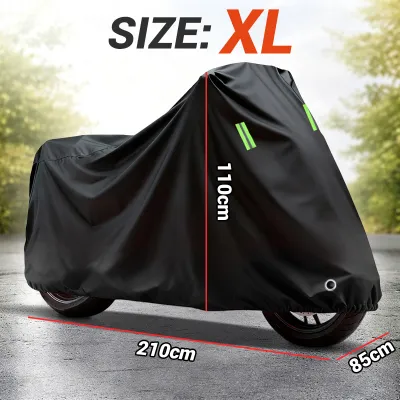
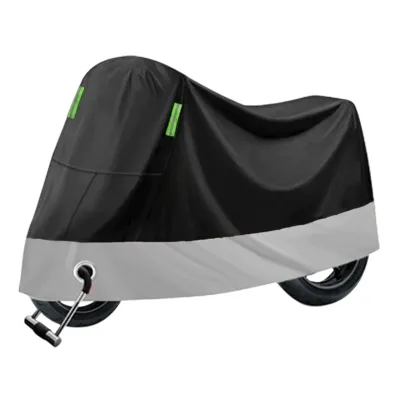
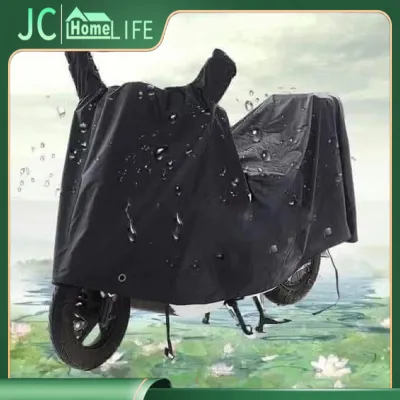
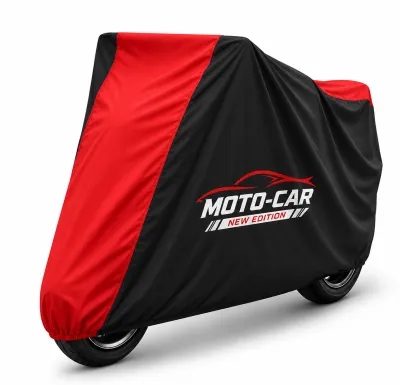
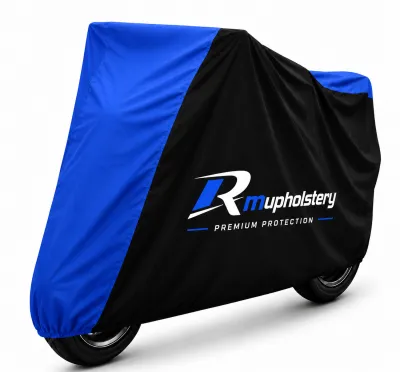
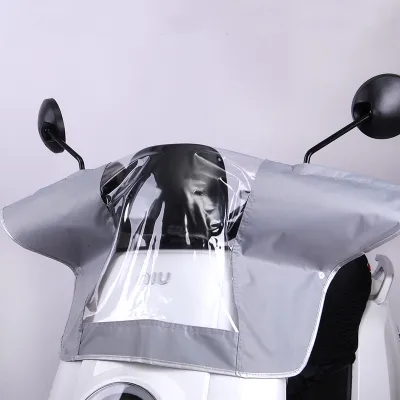
Prices are valid at publication and may change. Please refer to the product page for the latest price.
Preparation of the motorcycle itself is crucial for obtaining realistic storage dimensions. Park your motorcycle on a flat, level surface, resting it on its kickstand or center stand exactly as you would normally store it. If you typically use a paddock stand for storage, use it during measurement, as this alters the bike’s height and angle. Finally, clear any temporary items from the bike, such as loose gear, tank bags, or helmets hanging from the handlebars, so you are only measuring the permanent profile of the vehicle.
Safety is a primary consideration during this preparation phase. Always allow your engine and exhaust system to cool completely before taking measurements or test-fitting a new cover. Placing a flexible tape measure—or eventually, a synthetic waterproof cover—against a hot exhaust pipe can melt the material, damage your bike’s components, and create a serious fire hazard.
Step-by-Step Guide to Measuring Your Motorcycle Dimensions
To find a cover that fits snugly without stretching, you need to capture three primary dimensions: overall length, maximum width, and maximum height. Start by measuring the overall length of the motorcycle. Run your measuring tape parallel to the ground from the absolute front edge of the front tire to the furthest rear point of the bike, which is typically the rear fender, the license plate bracket, or the rear tire’s trailing edge. Do not drape the tape measure over the seat; keep it in a straight line alongside the bike to get an accurate linear measurement.

Next, determine the maximum width of your motorcycle. This measurement is usually taken from the outer edge of one handlebar grip to the other, or across the mirrors if they extend past the bars. Walk around the bike to identify the widest points; on some adventure or touring models, the widest section might actually be the crash bars, engine guards, or factory-installed side panniers. Measure straight across these two widest points without curving the tape measure over the tank.
For the maximum height, measure from the flat ground up to the highest point of the motorcycle. Depending on your bike’s style, this highest point could be the top of the mirrors, a tall aftermarket windshield, or the passenger backrest. Ensure the measuring tape is perfectly vertical to avoid underestimating the height, which could result in a cover that sits too high off the ground.
Always record these measurements in both centimeters and inches. Different manufacturers use different units on their sizing charts, and having both on hand prevents conversion errors when browsing online marketplaces or local motorcycle accessory shops. Double-check each measurement twice to ensure consistency before moving on to the selection process.
Matching Your Measurements to Cover Size Charts
Once you have recorded your bike’s dimensions, it is time to compare them to manufacturer size charts. Generic size labels like “Medium,” “Large,” or “Extra Large” vary significantly between brands. A “Large” cover from one manufacturer might be designed for a standard street bike, while a “Large” from another brand might be cut to fit a cruiser. Always rely on the actual physical dimensions listed in the manufacturer’s sizing table rather than the generic size name.
When reading a size chart, look for a cover whose maximum dimensions are slightly larger than your recorded measurements. You should aim for a small buffer—typically 5 to 10 centimeters of clearance in length and height. This extra space ensures you can easily slip the cover on and off without snagging, and it allows the elastic hem to tuck properly under the front and rear wheels for a secure hold.
If your motorcycle’s measurements fall right on the boundary between two sizes, the general rule of thumb is to size up. Sizing down will force the waterproof fabric to stretch tightly over the bike’s contact points. This tension pulls at the stitched seams, widening the needle holes and compromising the waterproof tape or coating, which eventually leads to water leakage during heavy monsoon rains.
Adjusting for Motorcycle Accessories and Modifications
Aftermarket modifications and daily utility accessories can drastically alter your motorcycle’s original factory dimensions. If you have installed a tall touring windshield, handlebar handguards, or extended side mirrors, your bike’s front profile will be significantly taller and wider than the standard specifications. Failing to account for these additions will result in a cover that sits too high, leaving the lower engine and wheels exposed to dust and rain.
Rear accessories have an even greater impact on cover fitment. A top box or utility box mounted on a rear rack increases both the overall length and the rear height of the motorcycle. Standard covers are tapered at the rear to follow the downward slope of a passenger seat; forcing a standard cover over a bulky top box will pull the entire cover backward and upward, leaving the front wheel completely uncovered and putting extreme tension on the rear seams.
If your bike is equipped with permanent hard panniers, side bags, or a large top box, look for specialty covers. Many manufacturers produce covers specifically labeled as “Touring,” “Adventure,” or “Top Box Compatible.” These models feature expanded rear sections, zippered gussets, or dedicated pockets designed to accommodate the extra bulk of luggage systems without sacrificing the overall fit.
Additionally, be mindful of sharp edges on your accessories. Aftermarket license plate brackets, sharp windshield edges, and metal footpegs can act as puncture hazards. When a cover is pulled tight over these sharp points, wind movement causes friction that can quickly wear through the inner polyurethane or PVC waterproof lining. If you have sharp components, consider wrapping them in a soft cloth before covering the bike, or choose a cover with reinforced inner panels.
Verifying the Fit After Installation
After purchasing your waterproof cover, perform a thorough fitment check during the first installation. Begin by draping the cover over the front of the bike, carefully guiding it over the mirrors and handlebars, and then pulling it back over the seat and rear fender. Once in place, inspect how the cover sits relative to the ground. It should reach down to cover the brake rotors and the lower rim of the wheels, but it should not drag excessively on the ground where it can sit in puddles and absorb standing water via capillary action.
Next, examine the securing mechanisms. A quality waterproof cover should feature a strong elastic hem at the front and rear, along with an adjustable belly strap that buckles underneath the frame. In windy conditions, these straps are your primary defense against the cover acting as a sail. Ensure the belly strap can be pulled snug without putting excessive upward tension on the fabric, and verify that the wind cannot easily get underneath the hem.
Walk around the covered motorcycle to check for tension hot spots. Look closely at the mirrors, brake levers, windshield corners, and rear turn signals. If the fabric is stretched drum-tight over these areas, the cover is too small and is highly susceptible to tearing at those contact points over time. There should be a small amount of natural slack to absorb wind movement without allowing the fabric to flap violently.
Finally, inspect the top surfaces of the cover, particularly around the seat and the fuel tank. The cover should drape smoothly enough to prevent large, deep folds where rainwater can pool. Standing water puts continuous hydrostatic pressure on the fabric and seams; over time, even high-quality waterproof coatings can fail if water is allowed to pool on the surface for days. Adjust the tension of the cover’s straps to minimize sagging and ensure rain runs off naturally.
Frequently Asked Questions (FAQ)
Should I measure my motorcycle with the mirrors folded in?
Whether you measure with the mirrors folded depends entirely on your daily parking routine. If you park in a tight garage or a crowded urban space where you must fold your mirrors every time, you can measure with them folded to allow for a slimmer cover. However, if you park in a spacious area and prefer to leave your mirrors extended, measure them in their riding position. Keep in mind that some premium covers feature dedicated mirror pockets; if you choose one of these, you must measure with the mirrors extended so they align correctly with the pockets.
What happens if a waterproof cover is too large for my bike?
An oversized cover presents several practical hazards, especially in windy conditions. Excess fabric will flap violently in the wind, which can act like fine sandpaper against your motorcycle’s paintwork, leading to scuffs and dull spots on the clear coat. Furthermore, a loose cover creates deep sags and pockets where rainwater can pool, increasing the risk of moisture seeping through the seams. If you must use a slightly oversized cover, use the built-in belly straps, wheel locks, or additional bungee cords to wrap the excess material tightly around the bike’s frame.
Can I use a standard cover for a motorcycle with a tall top box?
Using a standard cover on a bike with a tall top box is not recommended. Standard covers are designed to taper downward at the rear, meaning a top box will stretch the fabric upward and forward, leaving your front wheel, forks, and front brakes exposed to the elements. This stretching also puts immense pressure on the rear seams, leading to rapid wear and water leakage. If you have a top box, it is highly recommended to purchase a touring-specific cover with an expanded rear profile, or remove the top box for long-term outdoor storage if you only have a standard cover.
Community discussion
Share your experience or ask a question. Comments are reviewed before publication.