
Removing wire terminals from automotive connectors without causing damage requires patience, the correct extraction tool, and a clear understanding of the connector’s internal locking mechanism. Attempting to force a terminal out of its plastic housing usually results in bent pins, snapped locking tabs, or torn wires, which can lead to intermittent electrical failures that are notoriously difficult to diagnose. By identifying the specific lock style, using a dedicated terminal release tool, and following a systematic extraction process, you can safely depin any automotive connector while preserving both the wire and the plastic housing for future use.
Understanding Connector Types and Locking Mechanisms
Before attempting to extract any wire terminal, you must thoroughly inspect the connector housing to identify how it secures the terminal in place. Automotive connectors are engineered to withstand severe engine vibrations, moisture, and temperature fluctuations, which means they rely on multi-tiered locking systems. A visual inspection under bright light is the first step to determining whether you are dealing with a primary lock, a secondary lock, or both.
Primary locks are typically small plastic or metal tangs located inside the connector cavity. These tangs hook into a small window or recess on the terminal itself, preventing it from backing out. These locks generally fall into three categories: push-tabs, where you must depress the locking lever away from the terminal; pull-tabs, which require you to gently lift the tab to release the pin; and slide-locks, which slide laterally to free the internal components.
Products mentioned in this guide
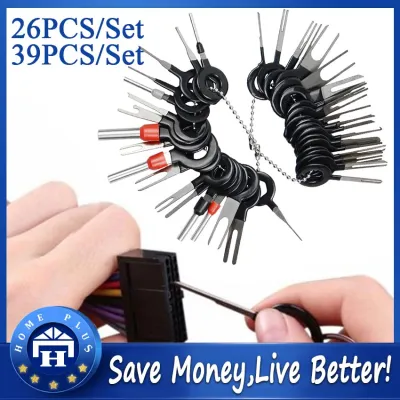
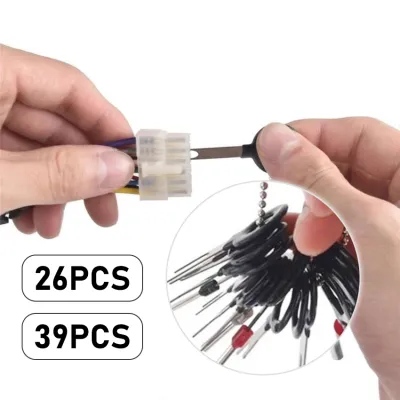
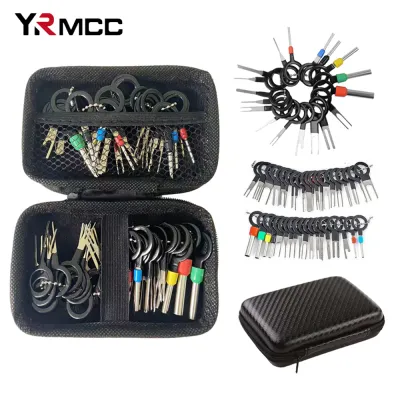
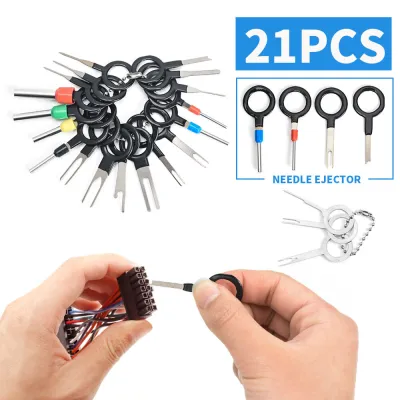
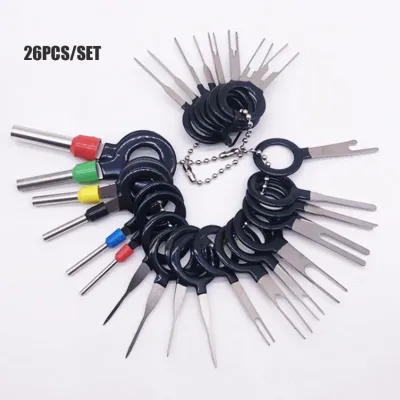
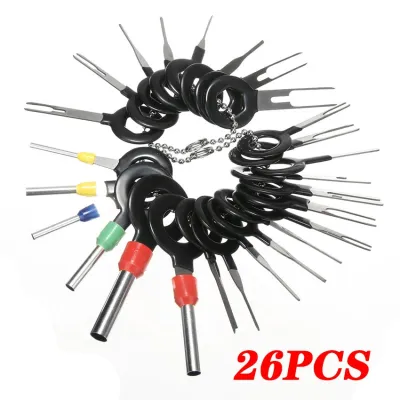
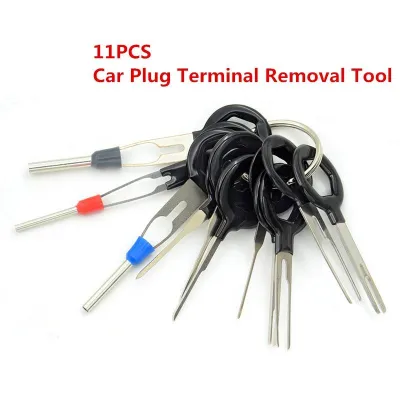
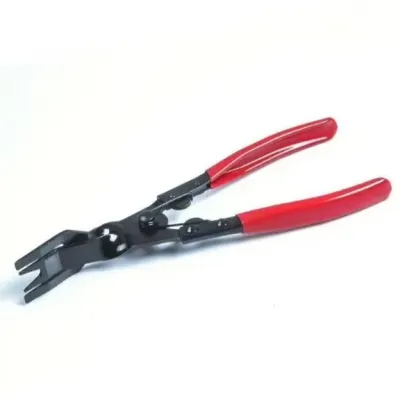
Prices are valid at publication and may change. Please refer to the product page for the latest price.
In addition to the primary lock, many modern automotive connectors—especially those exposed to the elements in the engine bay or undercarriage—feature secondary locking mechanisms. These are often brightly colored plastic inserts, sometimes referred to as Terminal Position Assurance (TPA) clips or secondary locks. These clips must be completely disengaged or slid out of the housing before the primary locking tangs can even be accessed. Furthermore, weather-resistant connectors utilize silicone or rubber weather seals around each wire entry point. These seals add friction and must be handled carefully to avoid tearing, which would compromise the connector’s moisture resistance in humid or wet environments.
Essential Tools for Wire Terminal Removal
Using the correct tool is the single most important factor in preventing damage to delicate plastic housings and metal pins. While it is tempting to reach for improvised tools like sewing needles, paperclips, or safety pins, these objects often lack the precise dimensions and structural rigidity required for clean extraction. Improvised tools can easily gouge the soft plastic inside the connector cavity, permanently bend the locking tang, or scrape off the protective plating on the terminal pin, leading to accelerated corrosion.

A dedicated terminal removal tool kit is designed specifically for this task. These kits contain a variety of specialized tips, including single-pin, double-pin, flat-blade, and tubular extractors. Each tip is engineered to match the exact dimensions of standard automotive terminal cavities. For example, tubular tools are designed to slide over round pin terminals to compress circular spring clips, while flat-blade tools slide along the side of spade terminals to lift or depress flat locking tabs.
Because automotive electrical work often takes place in cramped, dark areas like under the dashboard or deep within the engine bay, proper visibility is essential. Using a high-intensity LED work light or a headlamp allows you to peer directly into the connector cavity to locate the tiny locking tang. Additionally, a magnifying glass or a set of jeweler’s loupes can help you align the extraction tool tip perfectly with the lock, reducing the risk of accidental damage caused by blind probing.
Step-by-Step Terminal Extraction Process
Before beginning any electrical work on your vehicle, always disconnect the negative battery terminal. This simple step eliminates the risk of accidental short circuits, which can blow fuses, melt wiring harnesses, or damage sensitive electronic control units (ECUs). If you are working on safety-critical systems such as the Supplemental Restraint System (SRS/airbags), high-voltage hybrid or electric vehicle circuits, or complex braking systems, do not attempt DIY modifications; refer to the original vehicle manufacturer’s service manual and seek qualified professional installation.
Once the electrical system is safe, begin by releasing any secondary locks or TPA clips on the connector housing. Use a small, non-marring pick to gently slide the secondary lock into its released position or remove it entirely, taking care not to snap its delicate plastic retaining tabs.
Next, insert the appropriate terminal removal tool into the front (mating side) of the connector. The tool must be aligned with the specific cavity containing the locking tang, not the terminal opening itself. Gently push the tool forward until you feel it make contact with the locking tang. Apply light, steady pressure to depress or lift the primary locking tang.
While maintaining the unlock position with the tool, use your other hand to gently pull the wire from the rear of the connector housing. The terminal should slide out smoothly with minimal resistance. If you encounter significant resistance, do not pull harder. Pulling on a locked wire will deform the terminal or tear the wire from its crimp.
Establish clear stopping conditions: if the terminal binds, if the plastic housing begins to deform or turn white from stress, or if you cannot clearly identify the locking mechanism, halt the process immediately. Forcing the components will result in permanent damage. In these situations, consult the vehicle’s factory service manual or wiring diagram to verify the connector design before proceeding.
Inspecting and Preparing Terminals for Reuse or Replacement
After successfully extracting the terminal, you must evaluate its structural and electrical integrity before deciding to reuse it or install a replacement. Begin by inspecting the locking tang on the terminal itself. If the tang was bent during extraction, check if it retains its spring tension. A deformed tang that cannot be gently reshaped to its original angle will fail to lock securely when reinserted, causing the terminal to back out of the connector during vehicle operation.
Next, examine the terminal pin or socket for physical damage. Look closely for signs of spreading, where the female socket has widened and can no longer make a tight electrical connection with the male pin. Check for bent pins, physical wear, or severe corrosion. In tropical climates with high humidity, corrosion can quickly degrade electrical contacts, leading to high resistance and circuit failures.
Finally, verify the integrity of the wire crimp and the insulation seal. The wire should be tightly secured within the terminal’s crimp wings, with no loose strands or cracked insulation. If the connector uses a weather seal, ensure the seal is intact, pliable, and properly positioned on the wire. If any component shows signs of degradation, cut the wire back to clean copper and crimp on a new, matching terminal using the appropriate crimping tool.
Common Mistakes and How to Avoid Them
One of the most frequent mistakes DIYers make is pulling on the wire harness instead of the connector housing when disconnecting plugs. This puts immense stress on the internal crimps and can pull the wires clean out of the terminals before you even begin the depinning process. Always grasp the plastic connector bodies firmly and depress the external release tab fully before pulling them apart.
Another common error is using excessive force or selecting the wrong tool size. If the extraction tool is too large, it will wedge itself in the cavity and crack the plastic housing. If it is too small, it may slip past the locking tang and bend it out of shape without releasing the lock. Patience is key; if the terminal does not slide out easily, the lock is not fully disengaged.
Lastly, failing to re-engage the secondary lock or properly seat the weather seals during reassembly is a critical oversight. Without the secondary lock, engine vibrations can cause the terminals to back out over time, leading to intermittent electrical issues. Neglecting the weather seals allows moisture to enter the connector, which, under humid conditions, will rapidly corrode the terminals and cause circuit failures.
Frequently Asked Questions (FAQ)
Can I use a small flathead screwdriver instead of a dedicated removal tool?
Using a small flathead screwdriver is highly discouraged for delicate, modern automotive connectors. Rigid metal screwdrivers lack the precise geometry needed for small terminal cavities and can easily crack the brittle plastic housing or permanently flatten the locking tangs. However, on larger, heavy-duty connectors—such as those found on older vehicles or heavy machinery—a precision flathead screwdriver may be used with extreme caution if a dedicated tool is unavailable. Always ensure the blade width matches the cavity perfectly and apply minimal pressure.
What should I do if the locking tang breaks off inside the connector?
If a plastic locking tang breaks off inside the connector housing, first attempt to shake or blow out the broken piece using compressed air to prevent it from jamming other terminals. Inspect the cavity to determine if the primary retention capability is lost. If the locking mechanism is compromised, the terminal will not stay seated. In this case, you must replace the connector housing entirely. Attempting to glue or tape a broken connector is not a safe or reliable solution, as engine heat and vibrations will quickly cause the temporary fix to fail.
How do I remove a terminal that is heavily corroded and stuck?
To remove a heavily corroded terminal, start by applying an electrical contact cleaner directly into the connector cavity, ensuring you follow the product’s label instructions regarding application and safety. Allow the cleaner sufficient dwell time to penetrate and break down the corrosion bonds. Gently wiggle the wire from the rear while inserting the removal tool to help loosen the debris. If the terminal remains seized and extraction risks tearing the wire or destroying the housing, the safest course of action is to cut the wire just behind the connector, strip the insulation, and crimp on a new terminal and connector housing.
Community discussion
Share your experience or ask a question. Comments are reviewed before publication.