
Painting your car’s plastic bumpers and alloy rims at home is a highly rewarding DIY project that can dramatically refresh your vehicle’s appearance. The secret to a durable, professional-looking finish lies not in the spraying technique alone, but in the meticulous preparation of each surface. Because plastic bumpers flex and alloy rims endure high heat and road debris, each material requires a distinct preparation process and specialized paint products to prevent peeling, chipping, and fading. By following a systematic approach of deep cleaning, sanding, priming, and clear coating, you can achieve a factory-like finish right in your driveway or garage.
Essential Tools and Materials for Bumpers and Rims
Before starting, gather the correct supplies specifically formulated for automotive surfaces. Standard household cleaners and general-purpose paints will not withstand the environmental stresses your vehicle faces. Allocating around ₱1,500 to ₱3,000 for high-quality prep materials and automotive-grade paints is a practical investment to ensure a long-lasting finish.
For cleaning, you will need a dedicated automotive soap to strip away road grime, followed by a high-quality wax and grease remover to eliminate invisible silicone and oil residues. Sanding requires a selection of wet/dry sandpaper, typically ranging from 400-grit for smoothing rough areas to 800-grit or 1000-grit for final scuffing, alongside gray or red scuff pads for tight crevices.
Products mentioned in this guide
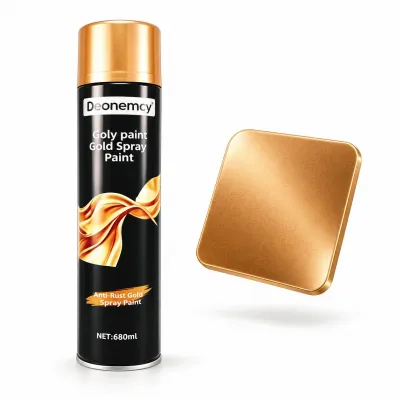
325 Lazada user ratings
Ideal for outdoor use, Easy to apply spray, Good coverage and finish, Multi-surface compatibility, Great for car touch-ups, Great for car to…Read full reviewShow less
Ideal for outdoor use, Easy to apply spray, Good coverage and finish, Multi-surface compatibility, Great for car touch-ups, Great for car touch-ups, Suitable for metal surfaces,
🛠️Durability:Multi-surface compatibility, Easy to apply spray, Black and white color options, Excellent value for money,
🛠️Durability:good 👌Ease of Use:good 🖌️Ease of Application:good and easy to apply for coating and hope it will last
🛠️Durability:10 👌Ease of Use:10 🖌️Ease of Application:10
Great for car touch-ups, Multi-surface compatibility,
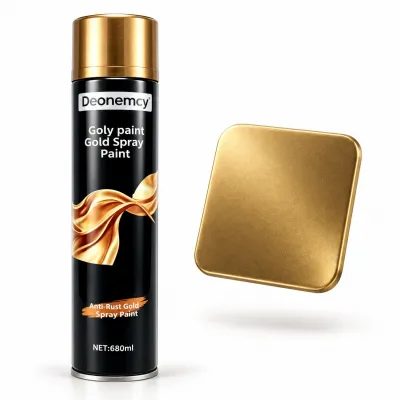
65 Lazada user ratings
Hindi kopa na Apply Kasi Wala pang Time, Hope Ok po lahat para Maka order po Ako Ulit... Thank you Seller And Rider 🥰...GOD BLESS
🛠️Durability:durable to use 👌Ease of Use:just push the button 🖌️Ease of Application:just hit the spot this is usefull
Not really good as Bosny brand
🎨Color Variety:goods quality
Verry nice product
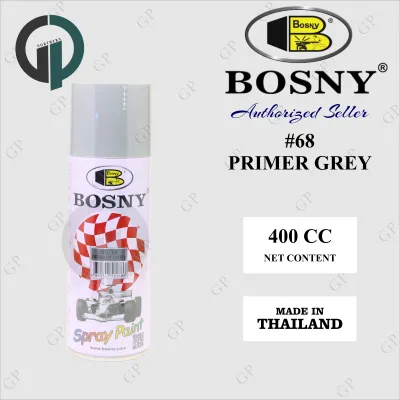
398 Lazada user ratings
🛠️Durability:nice color 👌Ease of Use:ok 🖌️Ease of Application:okThe primer grey color is perfect!, The spray nozzle is easy to control., sa uu…Read full reviewShow less
🛠️Durability:nice color 👌Ease of Use:ok 🖌️Ease of Application:okThe primer grey color is perfect!, The spray nozzle is easy to control., sa uulitin love it
The spray nozzle is easy to control., Dries quickly and provides a smooth finish., Great coverage and easy to use!, Long-lasting and durable…Read full reviewShow less
The spray nozzle is easy to control., Dries quickly and provides a smooth finish., Great coverage and easy to use!, Long-lasting and durable finish.,
sa tatlong store na inorderan ko, itong shop na to yung pinaka maganda ang packaging napaka safe naka carton na naka bubble wrap pa.thank yo…Read full reviewShow less
sa tatlong store na inorderan ko, itong shop na to yung pinaka maganda ang packaging napaka safe naka carton na naka bubble wrap pa.thank you
Long-lasting and durable finish., The spray nozzle is easy to control., Dries quickly and provides a smooth finish.,
ang bilis dumating, partida probinsiya pa location ko. tumbs up kay seller for that! 👍👍👍 thank you!
Prices are valid at publication and may change. Please refer to the product page for the latest price.
Masking materials must include automotive-grade masking tape, which resists paint bleed and leaves no adhesive residue, and heavy-duty plastic sheeting or masking paper to protect surrounding panels. For the paint layers, secure a plastic adhesion promoter for the bumper and a self-etching primer for the alloy rims. Finally, purchase color-matched automotive spray paint and a durable, UV-resistant clear coat designed for automotive exterior use.
Step 1: Surface Preparation for Plastic Bumpers
Plastic bumpers are highly flexible and frequently exposed to road oils, bug splatter, and silicone-based tire dressings. To ensure your new paint adheres permanently, begin by washing the bumper thoroughly with automotive soap and warm water. Pay close attention to the lower edges and recessed areas around fog lights where road grime accumulates. Once dry, wipe the entire surface with a clean microfiber cloth saturated with wax and grease remover, working in one direction to lift contaminants rather than spreading them.

Next, use 600-grit wet/dry sandpaper to scuff the entire painted surface of the bumper. Sanding creates a microscopic texture, or mechanical profile, that allows the primer to grip the plastic. Avoid using heavy pressure or coarse sandpaper, as this can gouge the soft plastic and leave deep scratches that will show through the final paint finish. After sanding, wipe the bumper down once more with wax and grease remover to clear away all plastic dust.
Apply a thin, even coat of plastic adhesion promoter to any bare plastic areas, strictly following the manufacturer’s label instructions for flash times. This chemical agent acts as a bonding bridge between the flexible plastic and the upcoming paint layers. Complete the preparation by carefully masking off adjacent body panels, headlights, fog lights, and grilles using automotive tape and plastic sheeting to prevent overspray from settling on your car’s original paint.
Step 2: Surface Preparation for Alloy Rims
Alloy rims operate in a harsh environment characterized by extreme heat, road salt, and highly abrasive metallic brake dust. Start the preparation by applying a dedicated wheel cleaner formulated to dissolve baked-on brake dust and metallic particles. Scrub the wheels thoroughly with a stiff-bristled wheel brush, ensuring you clean between the spokes and inside the lug nut wells. Rinse the wheels completely and let them dry before proceeding.
Inspect the rims for any oxidation, curb rash, or peeling clear coat. Use 400-grit wet/dry sandpaper to feather out the edges of any chipped clear coat or light scratches until the transition feels completely smooth to the touch. Follow this with an overall scuffing using 800-grit sandpaper or a red scuff pad to dull the remaining original finish, ensuring there are no glossy spots left. Wipe the entire wheel down with wax and grease remover to eliminate all traces of sanding dust and residual oils.
If you choose to paint the rims while they are still mounted on the vehicle, you must take extreme care to protect your braking system. Mask off the brake calipers, rotors, and suspension components completely using plastic bags or masking paper. If you decide to remove the wheels for easier access, always refer to your vehicle’s owner’s manual for the correct jacking points, use heavy-duty jack stands to secure the vehicle, and use a calibrated torque wrench to tighten the lug nuts to the manufacturer’s specifications upon reinstallation. Mask the tire sidewalls by tucking index cards along the bead where the tire meets the rim to prevent paint from bonding to the rubber.
Step 3: Priming and Painting Techniques
Successful spray painting requires controlled movements, proper product preparation, and close attention to environmental conditions. Before spraying, check the product labels for the recommended temperature and humidity ranges, as high humidity or extreme cold can ruin paint adhesion and gloss. Shake each spray can vigorously for at least two full minutes after the mixing ball begins to rattle to ensure the pigments and solvents are thoroughly blended. Test the spray pattern and nozzle flow on a piece of scrap cardboard to verify a clean, consistent mist without spitting.
When applying primer, use a self-etching primer for bare alloy rims to chemically bond with the metal, and a flexible plastic primer or adhesion promoter for the bumper. Apply two to three light, even coats rather than one heavy coat, allowing the specific flash-off times printed on the can to pass between layers. Hold the spray can approximately 8 to 10 inches away from the surface, keeping it parallel to the panel at all times. Avoid sweeping your wrist in an arc, as this causes the paint to be thin at the edges and thick in the middle.
Begin your spray stroke in the air just before the edge of the part, sweep across the surface at a constant speed, and release the nozzle only after clearing the opposite edge. Overlap each pass by approximately 50 percent to ensure uniform coverage and depth. Apply the color coats in the same manner, starting with a very light tack coat to establish a base, followed by two medium-wet coats to build up the color. Monitor the surface closely between coats to ensure the paint is flowing out smoothly without running or sagging.
Step 4: Curing, Clear Coating, and Final Inspection
The clear coat provides the essential gloss, depth, and UV protection that shields your new paint from the elements. Apply the automotive clear coat within the precise recoat window specified on your paint product’s label to ensure a strong chemical bond with the base coat. If you wait too long and miss this window, the base coat will fully cure, and the clear coat will fail to adhere properly, leading to premature peeling. Apply two to three wet coats of clear coat, allowing sufficient flash time between coats to prevent runs.
Once the final coat is applied, allow the parts to cure in a clean, dust-free, and well-ventilated environment for at least 24 hours before handling them. Avoid touching the fresh paint or exposing it to moisture during this critical initial curing phase. After the paint has dried completely, conduct a thorough visual inspection under bright, angled lighting to check for common defects such as runs, orange peel, or dry spray. Minor imperfections can often be corrected later with careful wet sanding and polishing once the paint has fully cured.
Carefully peel away the masking tape while the paint is dry but before it fully cures hard. Pull the tape slowly at a sharp 45-degree angle away from the painted edge to ensure a clean, crisp line without lifting or tearing the fresh paint.
Common Mistakes and How to Avoid Peeling or Chipping
The most common cause of DIY paint failure is skipping the wax and grease remover step. Even microscopic traces of road oil or silicone tire shine will repel the paint, resulting in unsightly circular craters known as fisheyes. Another frequent error is applying the paint coats too thickly in an attempt to get quick coverage. Heavy coats trap solvents beneath the surface as the top layer skins over, leading to runs, wrinkling, or a soft finish that chips easily.
Ignoring the manufacturer’s specified recoat windows can cause the solvents in the new layer to react with the semi-cured underlying layer, causing the paint to lift or wrinkle. Lastly, never paint in direct sunlight, high winds, or high humidity. Direct sunlight heats the metal or plastic panel, causing the paint solvents to evaporate too quickly, which results in a rough, dry texture known as dry spray.
Frequently Asked Questions (FAQ)
Can I use regular hardware store spray paint for car bumpers and rims?
No, you should avoid using standard hardware store spray paint for automotive applications. General-purpose paints lack the specialized plasticizers required to flex with plastic bumpers, causing them to crack and peel under normal driving conditions. Additionally, standard paints do not possess the heat resistance and chemical durability needed to withstand the high temperatures and harsh brake dust encountered by alloy rims. Always select automotive-grade paints, primers, and clear coats designed specifically for vehicles.
Do I need to remove the bumpers and rims from the car to paint them?
While removing the bumpers and rims from the vehicle is not strictly mandatory, it is highly recommended for the best possible results. Removing the parts allows you to paint them horizontally, which reduces the risk of runs, and provides complete access to wrap the paint around the edges for a seamless finish. However, if removing these components is beyond your mechanical comfort level or tool availability, you can achieve a successful finish on the car by executing a meticulous masking job to protect all surrounding body panels, tires, and braking components.
Community discussion
Share your experience or ask a question. Comments are reviewed before publication.