
Wrapping your motorcycle’s exhaust pipe with high-quality thermal wrap is an effective way to manage radiant engine heat, protect your legs from accidental burns, and improve overall riding comfort. In tropical climates where ambient temperatures are already high, a hot exhaust pipe can make daily commutes or long weekend rides incredibly uncomfortable. By applying a specialized thermal barrier directly to the metal tubing, you can significantly lower the surface temperature radiating toward your body and nearby motorcycle components. However, achieving a clean, durable, and safe installation requires careful preparation, the right safety gear, and a precise wrapping technique.
This modification is popular among custom builders, daily commuters, and touring riders alike. Beyond the immediate benefit of heat reduction, thermal wrap can also help maintain higher exhaust gas temperatures inside the pipe. This thermal management can theoretically improve exhaust scavenging and gas velocity, though the primary motivation for most riders remains personal comfort and safety. Before you begin, it is essential to understand that wrapping an exhaust is a semi-permanent modification that alters how your motorcycle manages heat, requiring a clear understanding of the physical process and potential long-term effects on the metal.
Preparation and Safety Checks
Before purchasing any materials or dismantling your motorcycle, you must perform a thorough inspection of the entire exhaust system. Thermal wrap works by trapping heat inside the exhaust pipe, which increases the internal operating temperature of the metal. If your exhaust pipe has existing structural weaknesses, such as deep rust, thin spots, or hairline cracks, the added thermal stress and trapped moisture can cause the metal to fail rapidly. Inspect the entire length of the pipe, paying close attention to welds, brackets, and tight bends where stress concentrations are highest.
Products mentioned in this guide
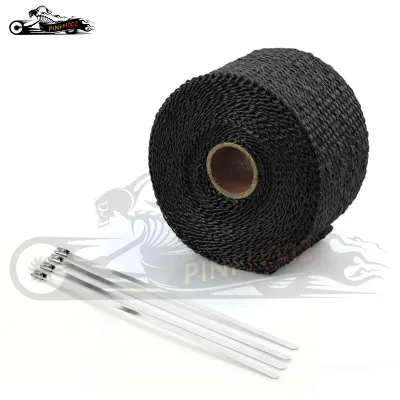
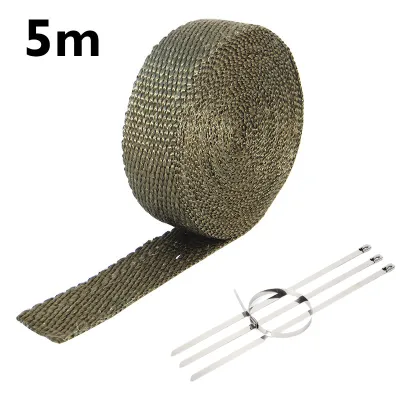
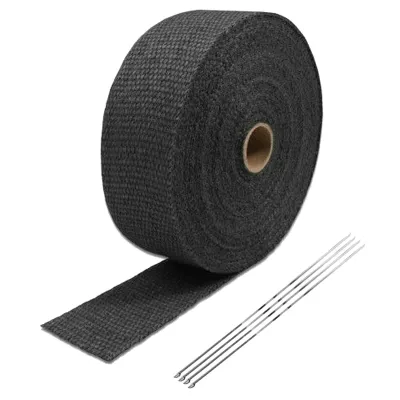
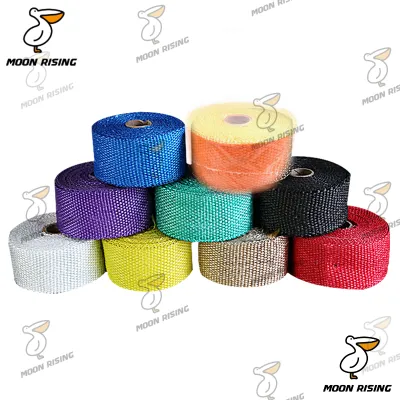
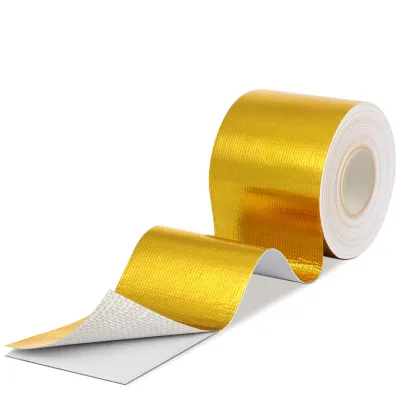
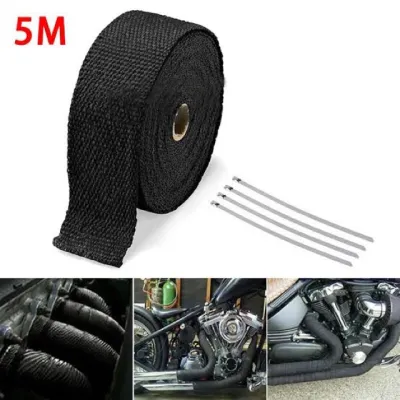
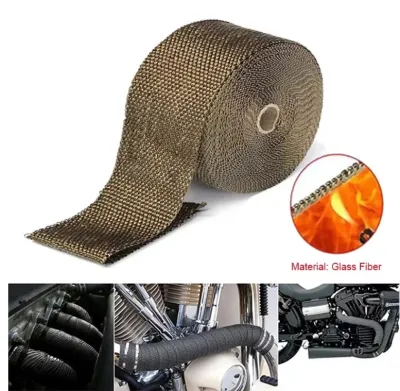
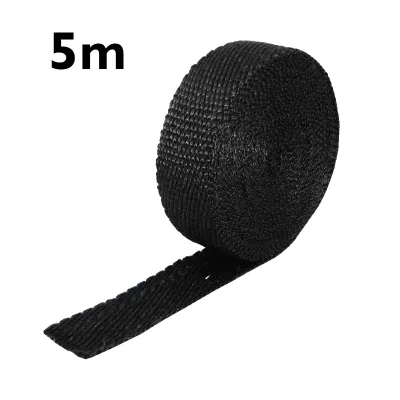
Prices are valid at publication and may change. Please refer to the product page for the latest price.
If you detect any signs of severe corrosion, deep pitting, or structural damage, stop the process immediately. Wrapping a compromised pipe is a safety hazard, as the metal can crack or disintegrate hidden beneath the wrap, leading to dangerous exhaust leaks. In such cases, consult a qualified mechanic or an exhaust specialist to repair or replace the pipe before proceeding. Attempting to hide structural damage under a layer of wrap will only accelerate the failure of the pipe, potentially leading to an expensive and dangerous breakdown while riding.
Once you confirm the exhaust is structurally sound, the metal surface must be cleaned thoroughly to ensure proper adhesion and prevent trapped contaminants from burning. Use a high-quality degreaser and a stiff wire brush to scrub away accumulated road grime, oil splatters, chain lube, and loose surface rust. Any oily residue left on the pipe will smoke excessively and could potentially ignite once the exhaust reaches its operating temperature. After scrubbing, wipe the pipe down with a fast-evaporating solvent, such as isopropyl alcohol or brake cleaner, and allow it to dry completely.
Finally, check your motorcycle manufacturer’s guidelines and warranty terms regarding exhaust modifications. Some manufacturers explicitly state that wrapping the exhaust or modifying the factory heat shields can void warranties related to the engine, exhaust system, or electrical components. Understanding these terms beforehand helps you make an informed decision about whether to proceed with this modification. If your motorcycle is still under a factory warranty, it is highly recommended to weigh the benefits of heat reduction against the potential risk of losing warranty coverage for related engine or exhaust components.
Tools and Materials Required
Completing this project successfully requires gathering the correct materials and protective gear before you begin. The primary material is thermal exhaust wrap, which is typically made of fiberglass, basalt, or silica fibers designed to withstand extreme temperatures. These wraps are available in various widths, with 1-inch and 2-inch options being the most common. For tight bends and smaller motorcycle pipes, a 1-inch wrap is generally easier to maneuver, while a 2-inch wrap works well for long, straight sections. Ensure you purchase enough length to cover the desired sections, keeping in mind that overlapping will require more material than the physical length of the pipe.

To secure the wrap at both ends and prevent it from unravelling over time, you will need high-temperature fasteners. Stainless steel locking ties or heavy-duty stainless steel hose clamps are the standard choices for this application. Standard plastic zip ties will melt instantly under exhaust temperatures and must never be used. Stainless steel ties offer a clean, low-profile look, while hose clamps provide a highly secure hold that can be easily adjusted or removed with basic hand tools during future maintenance.
Personal protective equipment (PPE) is absolutely essential when handling thermal wrap. The fibers in the wrap can easily break loose during installation, causing severe skin irritation, itching, and respiratory discomfort. Wear heavy-duty work gloves, a long-sleeved shirt, safety glasses to protect your eyes from falling debris, and a dust mask or respirator to avoid inhaling airborne fibers. Working in a well-ventilated outdoor area or a spacious garage with good airflow will also help minimize your exposure to loose fibers.
Additionally, prepare a clean spray bottle filled with clean water, which is used to dampen the wrap during the installation process. Keep a pair of sharp utility shears or heavy-duty scissors nearby to trim the wrap, along with your wire brush, cleaning solvents, and basic hand tools for removing and reinstalling the exhaust pipe if necessary. Having all these tools organized and within arm’s reach before you start will make the installation process much smoother and prevent unnecessary delays.
Step-by-Step Exhaust Wrapping Process
Applying thermal wrap is a physical process that requires patience, steady hand tension, and careful attention to detail. The goal is to create a tight, uniform barrier along the pipe without leaving any gaps or loose sections that could unravel while riding. Wrapping in the correct direction and maintaining consistent tension throughout the application are the keys to a professional-looking and long-lasting finish. If you rush the process, the wrap may loosen over time, requiring you to remove it and start over.
Preparing the Wrap and Starting at the Header
Before you begin wrapping, check the product label instructions to see if wetting the material is recommended. Dampening the thermal wrap with water from your spray bottle makes the fibers more pliable, allowing you to pull the wrap tighter around the curves of the pipe. It also significantly reduces the amount of loose, airborne fibers, making the installation process much cleaner and more comfortable for your skin and lungs. Avoid soaking the wrap completely; a light, even misting is usually sufficient to achieve the desired flexibility.
Start the wrapping process at the header end of the exhaust pipe, closest to the engine cylinder head. This starting position is crucial because it allows the subsequent overlaps to face backward, away from the oncoming wind and road debris, which helps prevent the edges from lifting over time. Anchor the starting end of the wrap by wrapping it around the pipe once or twice, overlapping itself completely to lock it in place.
Secure this initial anchor tightly using a stainless steel locking tie or a high-temperature hose clamp. Ensure the fastener is positioned securely and does not interfere with the exhaust flange, mounting bolts, engine components, or any moving parts of the motorcycle. Pull the wrap firmly to verify that the anchor is locked down and will not slip when you begin wrapping the rest of the pipe. A secure anchor is the foundation of a successful wrap job, so take your time to ensure it is perfectly tight.
Overlapping Techniques and Navigating Bends
With the starting point secured, begin wrapping down the length of the pipe, maintaining constant, firm tension on the material. As you wrap, overlap each preceding layer by a consistent margin, typically about one-quarter to one-half of the wrap’s width, or as specified by the manufacturer’s instructions. Keeping this overlap uniform ensures even heat insulation and prevents hot spots from developing along the pipe. Use your thumb to hold the previous wrap in place as you pull the next layer tight, ensuring no slack is introduced.
When you encounter bends, curves, or welded mounting brackets, you will need to adjust your technique. On the outside of a bend, the wrap will naturally stretch and spread out, while on the inside of the bend, it will bunch up. To compensate for this, slightly increase the overlap on the inside of the curve while keeping the wrap pulled tight on the outside to prevent gaps from forming. Take your time around these sections, smoothing out any wrinkles as you go to maintain a clean, professional appearance.
Be careful to avoid wrapping over movable joints, slip-fit connections, oxygen sensors, or areas that require regular disassembly for maintenance. Wrapping over these components can make future repairs extremely difficult and may damage sensitive sensors. If your exhaust has a slip-fit joint, stop the wrap just before the joint, secure it, and start a new section of wrap on the other side of the connection. This ensures you can still disassemble the exhaust system if you need to perform engine maintenance or replace components in the future.
Securing the Ends and Curing the Material
Once you reach the end of the section you wish to cover, wrap the material around the pipe one final time, overlapping it completely to create a clean edge. Trim any excess wrap using your utility shears, leaving just enough material to tuck neatly underneath the final layer to prevent fraying. Secure this end tightly with another stainless steel locking tie or hose clamp, pulling it as tight as possible with pliers to ensure it cannot slip. Double-check that both the start and end fasteners are completely secure before moving on.
If you wetted the wrap during installation, you must allow it to dry completely before starting the motorcycle. Depending on the ambient humidity and temperature, this drying process can take several hours or overnight. Do not attempt to speed up the drying process by running the engine immediately, as the rapid steam generation can damage the wrap’s structure or cause uneven curing. Patience during this step is essential to ensure the wrap sets correctly and maintains its structural integrity.
Once the wrap is dry, prepare yourself for the curing process. The first time you start the engine and go for a ride, the exhaust wrap will produce a noticeable amount of smoke and a strong chemical odor. This is a completely normal part of the curing process, as the starches, binders, and protective coatings on the fibers burn off and set under the intense heat of the exhaust. Perform this initial heat cycle in a well-ventilated outdoor area to avoid inhaling the fumes, and do not be alarmed by the temporary smoke.
Post-Installation Verification and Maintenance
After completing the installation and allowing the wrap to dry, start your motorcycle and let it idle in a well-ventilated outdoor space for about ten to fifteen minutes. Watch the wrapped sections closely for any signs of loose fibers, shifting material, or unexpected contact with fuel lines, electrical wiring, or plastic bodywork. The initial smoking will begin during this idle period and may continue during your first few short rides. This is the perfect time to verify that the wrap is not touching any heat-sensitive components that could melt or catch fire.
Take the motorcycle for a short, gentle test ride to bring the exhaust up to full operating temperature. Once you return and the engine has cooled down completely, perform a thorough post-ride inspection. Check the tension of the wrap along the entire length of the pipe and inspect the stainless steel locking ties at both ends. If the material has shifted or loosened as it dried and heated up, you may need to tighten or replace the fasteners to prevent future unravelling.
Maintaining a wrapped exhaust requires regular attention, especially in humid or tropical environments where moisture and road debris are common. The porous nature of thermal wrap means it can trap water, mud, road salt, and oil. Establish a routine to inspect the wrap periodically for signs of physical wear, fraying, or loose sections. Avoid spraying high-pressure water directly at the wrapped exhaust when washing your motorcycle, as this can degrade the fibers and force water deep into the wrap, where it can sit against the metal and accelerate corrosion. If the wrap becomes heavily soiled, gently clean it with a soft brush and low-pressure water, then run the engine to dry it out completely.
Frequently Asked Questions (FAQ)
Does exhaust wrap cause rust or moisture damage? (FAQ)
Yes, thermal exhaust wrap can accelerate rust and corrosion if moisture becomes trapped between the wrap and the metal surface. This is a particular concern in humid climates or if the motorcycle is frequently ridden in the rain or washed without being allowed to dry completely. When water penetrates the wrap, it can sit against the metal pipe for extended periods, leading to rapid oxidation, especially on standard mild steel exhausts. Over time, this trapped moisture can eat through the metal, causing exhaust leaks and structural failure.
To minimize this risk, always start with a clean, rust-free pipe and ensure the wrap is installed tightly to limit water intrusion. If your motorcycle has a high-quality stainless steel or titanium exhaust system, it will be significantly more resistant to this type of moisture-induced corrosion compared to mild steel. Additionally, taking your motorcycle for a ride after it gets wet helps evaporate any trapped moisture from the wrap using the engine’s natural heat, preventing water from sitting against the metal for too long.
Can I wrap a painted or chrome exhaust pipe? (FAQ)
Wrapping over painted or chrome-plated exhaust pipes is generally not recommended without proper preparation. The intense heat retained by the thermal wrap will cause standard exhaust paint to blister, peel, and burn off underneath the material, which can create a sticky, smoky mess and ruin the finish. On chrome pipes, the extreme temperatures can cause permanent discoloration, clouding, or flaking of the chrome plating, making the damage irreversible if you ever decide to remove the wrap.
If you want to wrap a painted pipe, it is best to strip the paint down to bare metal first or apply a specialized high-temperature ceramic coating that is rated to withstand the trapped heat. For chrome pipes, consider whether you are willing to permanently sacrifice the chrome finish, as the wrapping process will almost certainly alter its appearance and structural integrity underneath. If you decide to proceed, accept that the original finish will be permanently altered once the wrap is subjected to heat cycles.
Will wrapping the exhaust void my motorcycle warranty? (FAQ)
Modifying your motorcycle’s exhaust system by adding thermal wrap can potentially void specific parts of your manufacturer’s warranty. Because thermal wrap alters the heat dissipation characteristics of the exhaust system, some manufacturers may argue that the increased heat retention puts undue stress on the engine, exhaust valves, or nearby electrical components. If a failure occurs in these areas, the dealership or manufacturer might deny warranty coverage, attributing the issue to the aftermarket modification.
Before proceeding with the installation, carefully read your motorcycle’s owner’s manual and warranty documentation. If the terms are unclear, consult your authorized dealership or service center to understand how wrapping the exhaust might affect your coverage, allowing you to weigh the benefits of heat reduction against the potential loss of warranty protection. It is always safer to clarify these policies beforehand to avoid unexpected out-of-pocket repair costs later on.
Community discussion
Share your experience or ask a question. Comments are reviewed before publication.