
Replacing a cabin air filter is one of the most straightforward maintenance tasks you can perform on your vehicle, yet accessing the filter itself requires handling a small but critical component: the cabin filter cover. This cover seals the climate control housing, ensuring that all air entering your vehicle’s cabin passes directly through the filter media rather than bypassing it. In tropical climates like the Philippines, where high humidity, heavy traffic soot, and seasonal dust are constant challenges, keeping this seal intact is essential for maintaining clean air inside your vehicle. Properly removing and reinstalling this cover prevents damage to fragile plastic tabs, maintains the efficiency of your air conditioning system, and saves you from costly repairs at the dealership. By understanding the specific retention mechanisms of your vehicle and using the correct techniques, you can safely complete this task in your own garage.
Preparation and Safety Checks Before Starting
Before you begin working on your vehicle’s ventilation system, prepare your workspace and gather the necessary tools to prevent complications. The cabin filter housing is typically located behind the glovebox inside the passenger cabin, or under the hood near the base of the windshield (the cowl area). Because manufacturers design these housings differently across various models and years, consult your vehicle’s owner’s manual to verify the exact location, access procedures, and requirements. Never infer compatibility or disassembly steps from a generic category term; always verify your vehicle’s model, year, and specific interface from the official vehicle documentation.
Working in a cramped footwell or under a dark hood requires adequate visibility. A reliable flashlight or headlamp is indispensable for identifying the small plastic clips, tabs, or screws that secure the cover. Additionally, using the wrong tools can scratch interior trim or snap aged plastic components. Instead of using metal screwdrivers to pry open plastic panels, gather non-marring plastic trim removal tools. If your vehicle’s cover is secured with fasteners, ensure you have the correct size of Phillips-head screwdriver or socket wrench. Finally, ensure the vehicle’s ignition is completely turned off and the keys are removed to prevent any electrical components or blower motors from activating while your hands are inside the housing.
Products mentioned in this guide

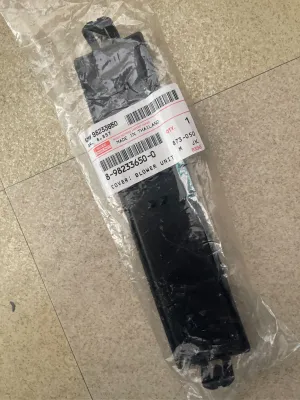
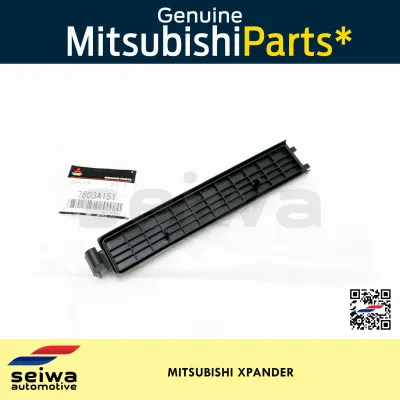
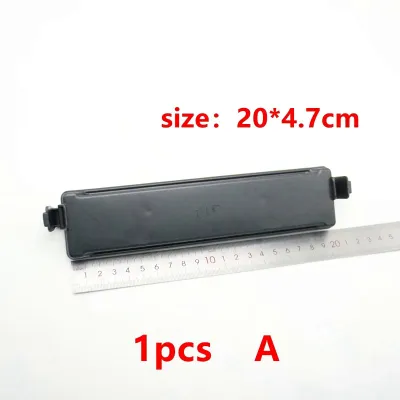
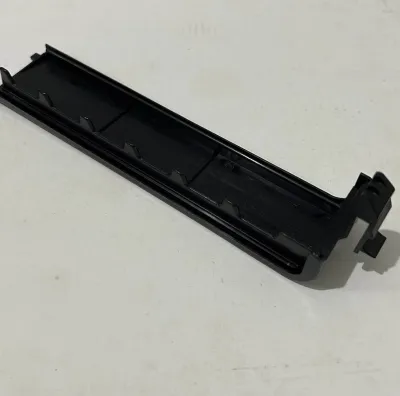

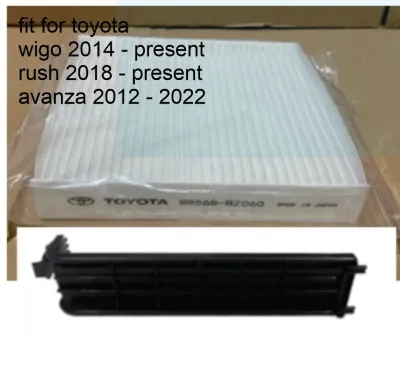
Prices are valid at publication and may change. Please refer to the product page for the latest price.
Step-by-Step Guide to Removing the Cabin Filter Cover
To access the cabin filter cover, you must first clear the path to the housing. For vehicles with an interior setup, this involves opening the glovebox, emptying its contents, and lowering it past its normal stops. Many modern vehicles use rubber stoppers on the sides of the glovebox frame that you can squeeze inward to release the box. Others utilize a small dampening arm on the outer edge, which you must carefully unclip before the glovebox can swing fully downward. Take your time; forcing the glovebox down without releasing these dampeners or stoppers can crack the hinges or snap the delicate dampening cord.

Once the glovebox is lowered or the under-hood cowl panel is removed, locate the rectangular cabin filter cover. Before applying force, inspect the cover closely to identify its specific retention method. Manufacturers generally employ squeeze clips on the sides, sliding locking tabs, or small screws. Squeeze clips require you to press the tabs inward toward the center of the cover to release the lock. Sliding locks must be pushed horizontally to disengage. Screws must be turned counterclockwise and stored in a secure tray so they do not fall into the vehicle’s carpeting or engine bay.
When removing the cover, apply gentle, even pressure. If your vehicle has been exposed to years of tropical heat and humidity, the plastic components can become brittle over time. Use your plastic trim tools to assist in releasing the clips if they are stiff, but avoid twisting or prying aggressively. Pull the cover straight out along its tracks.
If the cover feels fused, resists movement, or if you hear a sharp cracking sound, stop immediately. Do not force the component. A stuck cover often indicates a hidden fastener, a secondary locking tab that was missed, or accumulated debris wedged in the tracks. Pause, re-examine the housing with your flashlight, and consult your owner’s manual or a qualified professional to avoid breaking the entire housing assembly.
Inspecting the Housing and Preparing the New Filter
With the cover successfully removed, slide the old cabin air filter out of the housing, noting its orientation. Before sliding a new filter into the empty chamber, inspect and clean the housing. In humid environments, leaves, twigs, insects, and fine dust can accumulate inside the chamber, creating a breeding ground for mold and unpleasant odors. Use a clean, dry microfiber cloth or a vacuum cleaner with a narrow crevice tool to gently remove all loose debris from the housing. Avoid spraying liquid cleaners directly into the chamber, as moisture can damage downstream electrical components or the blower motor.
Next, prepare the new cabin air filter for installation. Verify that the replacement filter matches the exact dimensions and specifications required for your vehicle’s make, model, and year. Look at the side of the new filter for the printed airflow direction arrow. This arrow must match the direction of the airflow within your vehicle’s HVAC system, which typically flows from top to bottom for glovebox installations, or from the outside environment toward the cabin for under-hood setups. If you are unsure, check the markings on the old filter before discarding it, or refer to the housing itself, which often has an airflow direction arrow molded into the plastic.
Carefully slide the new filter into the housing. Ensure that the filter sits completely flush and square within the frame. The filter media should not be bent, folded, or forced into the opening, as any gaps or deformities will allow unfiltered air to bypass the filter, rendering the system ineffective and allowing dust to accumulate on your air conditioning evaporator coils.
Reinstalling the Cabin Filter Cover Securely
Reinstalling the cabin filter cover is just as critical as removing it. A loose or improperly seated cover can allow unfiltered air, moisture, road noise, and debris to bypass the filter and enter your cabin’s ventilation system. Begin by aligning the cover precisely with the housing tracks, guides, or alignment tabs. Most covers have specific guide pins on one side that must slide into matching slots before the locking clips on the opposite side can engage.
Once the cover is properly aligned, apply gentle, even pressure across the surface until you hear or feel the retaining clips click securely into place. If your cover uses screws, thread them in by hand first to avoid cross-threading the delicate plastic housing. Tighten the screws evenly using your screwdriver, but stop as soon as you feel resistance. Over-tightening can easily strip the plastic threads or crack the mounting tabs, which would prevent the cover from sealing properly in the future.
After securing the fasteners or clips, physically inspect the perimeter of the cover. Run your fingers along the edges to verify a tight, flush seal against the main housing. There should be no visible gaps, loose corners, or play when you gently wiggle the cover. A secure seal ensures that the blower motor draws air exclusively through the filter media, maximizing the efficiency of your vehicle’s climate control system.
Post-Installation Testing and Troubleshooting
Before reassembling the glovebox or closing the hood, perform a quick functional test to ensure everything is operating correctly. Start your vehicle’s engine and turn on the air conditioning system. Cycle the blower fan through various speed settings, listening closely for any unusual noises, such as whistling, rattling, or fluttering. A whistling sound typically indicates an air leak caused by an improperly seated cover or a misaligned filter, while rattling or fluttering suggests that loose debris is trapped in the blower motor or the filter itself is vibrating against the housing.
Next, verify the strength and temperature of the airflow coming from the cabin vents. The air should flow freely and consistently across all vents. If the airflow feels significantly weaker than before the replacement, double-check that the filter was not installed backward or that you did not accidentally use a filter with incorrect dimensions that is restricting the intake.
Finally, troubleshoot any reassembly issues before finishing the job. If you lowered the glovebox, carefully lift it back into position, ensuring that the side stoppers slide back into their tracks and the dampening arm is securely reattached. Test the glovebox door several times to confirm that it latches smoothly and opens without dropping abruptly. If the glovebox fails to close properly, check for any wires or plastic components that might have been pinched or displaced during the installation process.
Frequently Asked Questions (FAQ)
How often should I open the cabin filter cover to check the filter?
Under normal driving conditions, it is advisable to open the cabin filter cover and inspect the filter every 10,000 to 15,000 kilometers, or at least once a year. However, your driving environment plays a significant role in how quickly the filter accumulates debris. If you frequently drive in heavy city traffic, dusty rural areas, or regions with high levels of industrial pollution and pollen, you should inspect the filter more frequently—such as every 5,000 to 7,000 kilometers. Regularly checking the filter allows you to shake out loose leaves and dust before they clog the media, helping to maintain optimal airflow and prevent musty odors from developing inside your vehicle.
What should I do if a plastic retaining clip breaks during removal?
If a plastic retaining clip snaps during removal, first assess the damage to see if the remaining clips or screws can still hold the cover completely flush and secure against the housing. If the cover is loose, has visible gaps, or vibrates, you must not leave it unresolved, as this will allow unfiltered air and moisture to bypass the filter. Avoid using temporary or improvised fixes like household tape or hot glue, which can degrade quickly under cabin temperatures and humidity. Instead, source an exact original equipment manufacturer (OEM) replacement cover or clip from an authorized dealership or a reputable automotive parts retailer. Many manufacturers sell the cabin filter cover as an inexpensive individual replacement part, allowing you to restore a proper seal without replacing the entire blower assembly.

Community discussion
Share your experience or ask a question. Comments are reviewed before publication.