
Replacing the engine air filter on your Nissan Almera is one of the most straightforward and cost-effective maintenance tasks you can perform at home. The engine air filter acts as the first line of defense for your engine, trapping dust, sand, and road debris before they can enter the combustion chamber. In tropical environments like the Philippines, where high humidity, heavy traffic congestion, and dusty roads are common, keeping this filter clean is vital for maintaining fuel efficiency and engine longevity. Doing this yourself saves time and service fees, requiring only a few minutes and basic preparation.
What You Need Before Starting the Replacement
Before purchasing a replacement filter, verify the exact part number and specifications. The Nissan Almera has gone through multiple generations in the local market, such as the older N17 generation and the newer turbocharged N18 generation. Because of these generational differences, the physical dimensions, shape, and mounting style of the air filter housing vary significantly. Always consult your vehicle’s Owner’s Manual or check the part number printed on your current filter to ensure compatibility.
Depending on your specific Almera model year, you may not need any tools at all, as many versions use simple metal tension clips to secure the airbox. However, some variants or aftermarket housings might require a Phillips-head screwdriver or a small socket wrench to loosen hose clamps or housing screws. Check your engine bay beforehand to see which fasteners are used.
Products mentioned in this guide
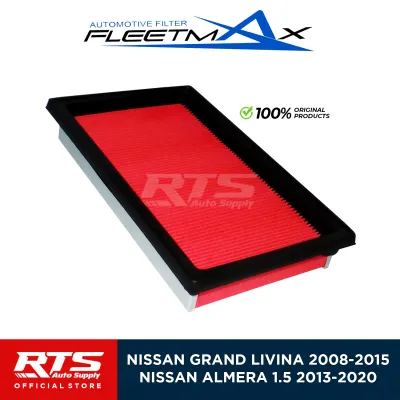
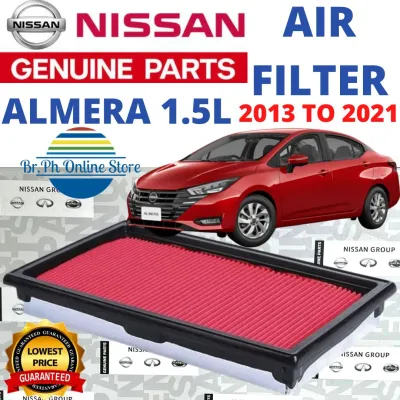
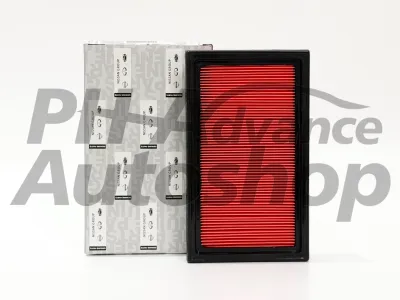
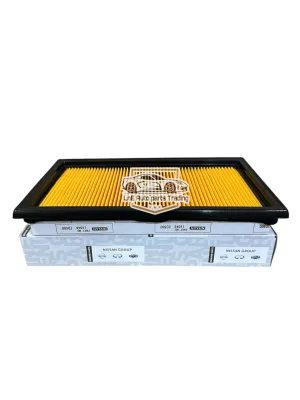

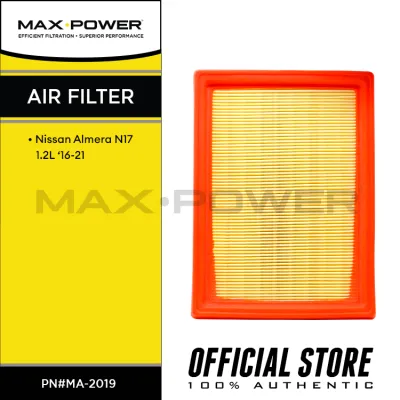
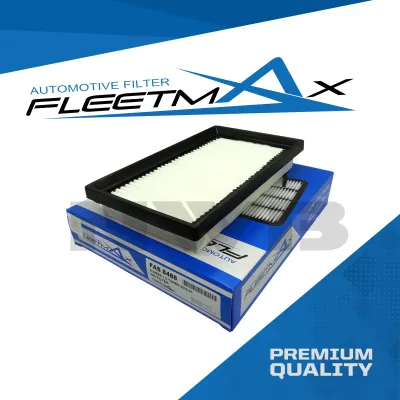
Prices are valid at publication and may change. Please refer to the product page for the latest price.
Keep a clean, dry microfiber cloth ready to wipe out the interior of the airbox. Avoid using wet cloths or chemical cleaners inside the intake tract, as moisture or chemical residues can damage sensitive downstream components like the Mass Air Flow sensor.
Step-by-Step Guide to Replacing the Engine Air Filter
Park your Nissan Almera on a flat, level surface, engage the parking brake, and turn off the ignition completely. Allow the engine to cool down for at least 15 to 30 minutes if you have recently been driving, as components in the engine bay can become extremely hot. Pop the hood and secure it safely with the prop rod, ensuring it is stable before you reach inside.

Look for the black plastic air filter housing, which is typically located on the right side of the engine bay near the battery. Identify how the cover is secured; older Almera models often feature metal spring clips, while newer turbocharged models may have a slightly different configuration. If your specific model has the Mass Air Flow sensor wire harness routed tightly across the airbox cover, carefully press the release tab on the electrical connector and slide it off to prevent straining the delicate wires during cover removal.
Unfasten the clips or screws securing the airbox cover, then gently lift or slide the cover back just enough to access the filter element. Carefully pull the old filter out of the housing, taking note of its exact orientation—specifically which side faces upward and which way the pleats run. Before discarding the old filter, look inside the lower half of the airbox to check for accumulated leaves, insects, sand, or road grime that may have settled at the bottom.
Use your clean microfiber cloth to wipe away any loose dirt or debris from the inside of the airbox, wiping outward and away from the clean-air intake duct to prevent pushing contaminants deeper into the engine. Take your new replacement filter, align it precisely with the housing slots, and press it firmly into place, ensuring the rubber gasket around the edge sits flush and forms a tight, continuous seal. Carefully lower the airbox cover back into position, verify that no part of the filter gasket is pinched or misaligned, re-engage the metal clips or tighten the screws evenly, and securely plug the sensor connector back in if you disconnected it earlier.
How to Inspect and Maintain Your Engine Air Filter
To determine if your filter needs replacement before the scheduled interval, remove it and hold it up to a bright light source, such as a flashlight or the sun. If light passes easily through the paper pleats, the filter is still functional; if the pleats are dark, opaque, and block the light completely, the filter media is clogged and requires replacement.
Normal dust accumulation will turn the filter paper a light grey or brown color, which is expected over time. However, if you observe dark oil stains, dampness from moisture, or large amounts of physical debris trapped deep in the pleats, the filter must be replaced immediately, and you should investigate the source of any oil or water intrusion.
While the standard maintenance schedule in your Owner’s Manual provides a baseline interval, tropical climates with high levels of airborne dust, volcanic ash, or heavy urban smog demand more frequent checks. Inspecting the filter every 10,000 kilometers or during every oil change is a prudent practice to ensure optimal airflow.
Common Mistakes to Avoid During the Replacement
Installing the filter upside down or forcing it in at an angle is a common error that prevents the rubber gasket from sealing properly. This creates gaps that allow unfiltered air to bypass the filter entirely, carrying abrasive dust particles directly into the engine cylinders where they can cause severe internal wear.
The plastic components of the airbox and the electrical connectors for the sensor can become brittle over time due to engine heat. Applying excessive force to release stubborn clips or pulling hard on wiring harnesses can easily snap plastic tabs or break internal wire strands, leading to costly replacement parts.
Attempting to clean a standard paper filter by blowing compressed air through it from the wrong direction or tapping it violently against a hard surface can tear or stretch the microscopic fibers of the paper media. While the filter might look cleaner afterward, its filtration efficiency will be compromised, allowing fine dust to pass through.
When to Stop and Seek Professional Help
If you discover that the airbox housing is cracked, the mounting tabs are broken, or the rubber intake hose leading to the throttle body is split or degraded, simple filter replacement is not enough. These issues require replacing the damaged structural parts to prevent unfiltered air leaks, which is best handled by a qualified mechanic.
If the Check Engine Light illuminates on your dashboard shortly after you complete the replacement, it often indicates that the sensor was bumped, damaged, or left unplugged, or that an intake vacuum leak has developed. A professional technician can scan the diagnostic trouble codes to pinpoint and resolve the issue safely.
If a previous owner installed a non-standard aftermarket cold air intake or a custom airbox with unfamiliar fasteners and routing, the standard DIY steps may not apply. In such cases, consulting a professional tuner or mechanic prevents accidental damage to custom performance components.
Frequently Asked Questions (FAQ)
Can I clean and reuse my Nissan Almera's paper air filter?
Standard original equipment manufacturer and typical replacement filters for the Nissan Almera are made of pleated paper designed for single-use filtration. Attempting to wash these filters with water or spray them with cleaning solvents will dissolve the binders in the paper, causing the media to collapse and lose its filtration capability. If you prefer a reusable option, you must purchase a specialized high-flow washable cotton or synthetic filter, which requires a dedicated cleaning kit and strict adherence to the manufacturer’s oiling and washing instructions to avoid damaging your engine’s sensors.
Will changing the air filter myself void my car's warranty?
Performing basic maintenance tasks like replacing an engine air filter typically does not void your vehicle’s manufacturer warranty, as these are considered standard consumable items. However, it is highly recommended to keep all purchase receipts for the replacement filter and maintain a detailed log of the date and mileage when the service was performed. Note that any physical damage caused to the airbox, sensors, or engine due to improper installation or using an incorrect, non-compatible part will not be covered under the warranty.
How do I know if I need an engine air filter or a cabin air filter?
These two filters serve entirely different systems and are located in different parts of your Nissan Almera. The engine air filter is located under the hood and cleans the air entering the engine intake to ensure proper combustion and protect internal engine parts. The cabin air filter, usually located behind the glove compartment inside the car, cleans the air entering the passenger cabin through the air conditioning and heating system. If you notice poor engine performance or reduced fuel economy, check the engine air filter; if you notice weak airflow from the AC vents or unpleasant odors inside the cabin, it is time to inspect the cabin air filter.
Community discussion
Share your experience or ask a question. Comments are reviewed before publication.