
Replacing the cabin air filter (often referred to as the aircon filter) on a Toyota Vios is a straightforward maintenance task that you can easily complete at home in less than 15 minutes. Located directly behind the glove compartment, this filter plays a critical role in screening out dust, pollen, road soot, and debris before they can enter your vehicle’s cabin. Regularly swapping out a dirty filter ensures clean air circulation and maintains the cooling efficiency of your air conditioning system, which is especially vital in hot, humid tropical climates where the AC runs continuously.
By taking a few minutes to perform this simple replacement yourself, you can avoid the service fees typically charged at a dealership or service center. This guide provides a clear, step-by-step walkthrough to help you identify when your filter needs changing, gather the correct materials, and complete the installation safely and effectively.
Signs Your Vios Aircon Filter Needs Replacement
One of the most common signs of a clogged cabin air filter is a noticeable reduction in airflow from your dashboard vents. When the filter media becomes saturated with dust and debris, it restricts the volume of air that the blower motor can push into the cabin. You might find yourself turning the fan speed to its maximum setting just to get a comfortable breeze on a warm day.
Products mentioned in this guide
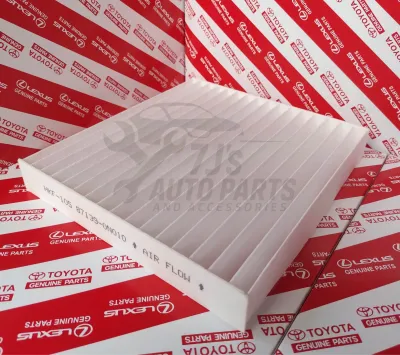
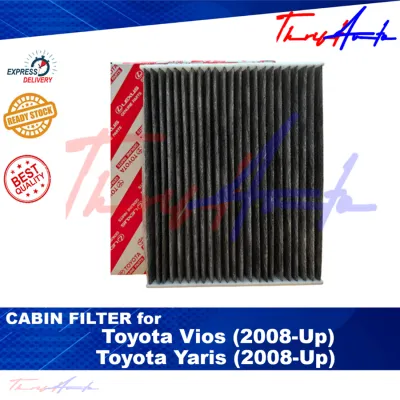
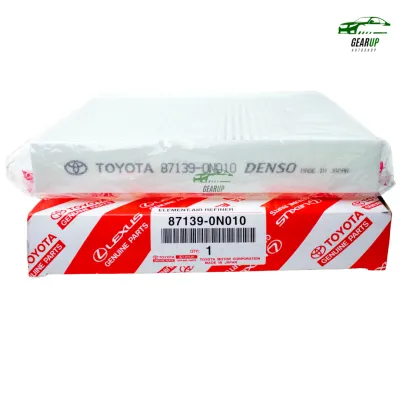

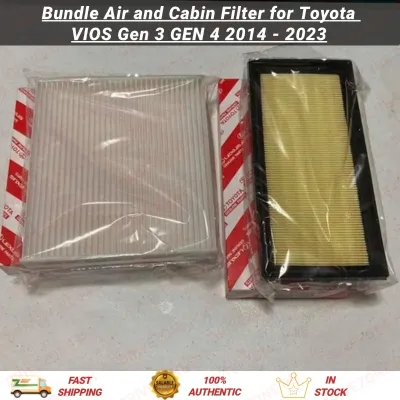
![[Fast Delivery] Toyota Aircon Cabin Filter (87139-0N010) Vios Innova Fortuner Altis Camry Yaris Rav-4 Hi-lux](https://img.lazcdn.com/g/p/97d737ee673769d5043b2151ae5ec256.jpg_400x400q80.jpg_.webp)

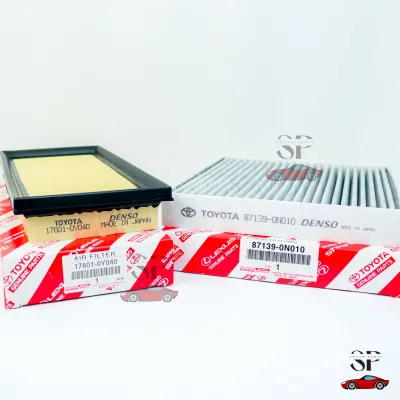
Prices are valid at publication and may change. Please refer to the product page for the latest price.
Persistent musty, damp, or sour odors when you turn on the air conditioning are another clear indicator that the filter has reached the end of its service life. In humid environments, the trapped organic matter on a dirty filter can harbor mold and mildew, which directly taints the air blowing into your face.
An unusually rapid accumulation of fine dust on your dashboard, steering wheel, and seats shortly after cleaning the interior suggests that the filter is no longer trapping airborne particles effectively. If you perform a quick visual check and see a thick layer of grey dust, dried leaves, or insects embedded in the pleats, the filter is fully saturated.
Finally, a heavily restricted filter forces the blower motor to work much harder to draw air through the system. This added strain can produce unusual whistling, humming, or rattling noises behind the glovebox area when the AC fan is active, as air struggles to pass through the blocked passages.
Tools and Materials Needed for the Job
To complete this replacement smoothly, you will need a compatible replacement cabin air filter. Because Toyota Vios dimensions and filter designs can vary across different generations and model years, you must verify the exact part number against your vehicle’s owner’s manual or the existing filter before purchasing a new one.

Basic cleaning supplies are highly recommended to clean the housing before inserting the new filter. A clean microfiber cloth and a mild interior detailer or plastic cleaner will allow you to wipe away any loose dust, dirt, or pollen that has accumulated inside the filter slot.
While most Vios models feature a tool-free glovebox removal design, having a plastic trim removal tool or a small flathead screwdriver wrapped in a cloth can be helpful. These tools can assist in gently releasing stubborn plastic clips or dampener arm latches without scratching or cracking the interior plastics.
A bright flashlight or a fully charged smartphone light is essential for illuminating the dark, recessed cavity behind the glove compartment. Clear visibility ensures you can easily locate the housing cover clips and identify the correct orientation of the filter during installation.
Step-by-Step Guide to Replacing the Cabin Air Filter
The cabin air filter housing in a Toyota Vios is conveniently located directly behind the glove compartment on the passenger side of the dashboard. This positioning allows for quick access without requiring you to disassemble major dashboard components or work under the hood of the vehicle.
Before beginning any physical work, ensure the vehicle is parked on a flat surface, the engine is turned off, the ignition key is removed, and the handbrake is engaged. This safety boundary prevents any accidental activation of the blower motor or electrical components while your hands are inside the filter cavity.
While the general replacement process is highly consistent across almost all Toyota Vios model years, minor variations exist in how the glovebox door is secured or how the filter cover clips are configured. Always refer to your specific vehicle’s documentation to confirm the exact latching mechanism before applying force to plastic parts.
Locating and Accessing the Filter Housing
Start by opening the passenger-side glove compartment completely and removing all contents, including manuals, registration documents, and personal items. This prevents items from spilling onto the floor when the compartment door is lowered.
Look at the outer right side of the glovebox door for a small plastic dampener arm, which is common on newer Vios generations. Gently slide or unhook this arm from its mounting pin on the glovebox door, taking care not to pull too hard, as the plastic pins can snap under excessive tension.
Locate the plastic stoppers on the left and right inner walls of the glovebox frame. Gently squeeze both sides of the glovebox door inward toward the center to allow these stoppers to clear the dashboard frame, then lower the door downward until it hangs freely or detaches from its bottom hinges.
With the glovebox lowered, look into the exposed dashboard cavity to find a horizontal, rectangular plastic cover, which is the cabin filter housing lid. Locate the small plastic release tabs on one or both ends of this cover, squeeze them gently, and pull the cover straight off to expose the filter.
Removing the Old Filter and Cleaning the Housing
Slide the old cabin air filter straight out of the housing slot, keeping it as level as possible during removal. This prevents loose dust, leaves, or insects trapped on top of the pleats from falling down into the blower motor fan below.
Before discarding the old filter, look closely at its frame or side panels for an arrow indicating the airflow direction, which is typically accompanied by the word “UP” or “FLOW”. Note this orientation carefully, as you will need to install the new filter in the exact same direction to ensure proper filtration.
Take a clean, dry or slightly damp microfiber cloth and carefully wipe down the interior walls of the filter housing slot to remove any accumulated dust, pollen, or fine debris. Avoid spraying any liquid cleaners directly into the housing cavity to prevent moisture from dripping into the electrical blower motor.
Peer inside the empty housing with your flashlight to inspect the top of the blower motor fan blades for any large debris, such as twigs or plastic wrappers, that might have bypassed the filter. If you spot significant blockages or damage that you cannot safely reach, consult a qualified automotive technician for professional cleaning.
Installing the New Filter and Reassembling
Take your new replacement filter out of its packaging and locate the airflow direction arrow printed on its side. Align the filter so that the arrow matches the direction of the original filter, which typically points downward toward the blower motor to ensure air is drawn through the media correctly.
Slide the new filter gently into the housing slot, ensuring that the pleated edges do not catch, bend, or fold against the sides of the opening. The filter should slide in smoothly and sit completely flush within the housing frame without requiring any force.
Align the tabs of the rectangular housing cover with the slots on the housing, then press the cover back into place until you hear a distinct click, indicating that the securing clips have locked firmly onto the housing.
Lift the glovebox door back up, align the bottom hinges if they became detached, and gently squeeze the sides inward so the stoppers slide past the dashboard frame. Reattach the dampener arm to its mounting pin on the right side, close the glovebox to verify smooth operation, and return your items to the compartment.
How to Choose the Right Replacement Filter
To ensure a perfect seal and prevent unfiltered air from bypassing the system, always match the exact part number of your new filter with the one recommended in your Toyota Vios owner’s manual or printed on the original factory filter. Because dimensions can vary slightly between different engine sizes and manufacturing years, relying solely on a generic model name can lead to fitment issues.
You can choose between standard particulate filters and activated carbon filters. Standard paper or synthetic filters are excellent for trapping dust, pollen, and soot, while activated carbon filters feature an additional layer of treated charcoal designed to absorb exhaust fumes, outdoor odors, and volatile organic compounds, making them highly suitable for urban driving in heavy traffic.
Never attempt to force an oversized filter into the housing or use a filter that is too small, as gaps will allow unfiltered air, dust, and debris to enter the evaporator core and blower motor, potentially causing expensive damage over time. A properly sized filter should fit snugly without any visible gaps or buckling of the frame.
Before starting the installation process, inspect the physical condition of the new filter’s packaging and the filter itself. Ensure the pleated media is clean, dry, and free of tears, and verify that the plastic or cardboard frame has not been bent or crushed during shipping, as structural damage can compromise its sealing capability.
Post-Installation Checks and Maintenance Tips
Once the reassembly is complete, start your vehicle’s engine and turn on the air conditioning system. Cycle through all the fan speed settings, from lowest to highest, to verify that the airflow is strong, consistent, and free of any unusual whistling, rattling, or vibrating noises.
Pay close attention to the smell of the air coming from the vents; the musty or dusty odors previously present should be gone. If an unpleasant smell persists even with a brand-new filter, it may indicate that mold or bacteria have accumulated on the AC evaporator core, which may require a specialized sanitizing treatment.
In tropical climates with high humidity and frequent road dust, it is wise to perform a quick visual inspection of your cabin air filter every few months. Simply slide the filter out and shake off any loose surface debris to help maintain optimal airflow between scheduled replacements.
Write down the date and your vehicle’s current mileage on a sticker or in a maintenance logbook whenever you replace the filter. Keeping an accurate record helps you track the service life of the component and ensures you replace it at regular intervals before performance degrades.
Frequently Asked Questions (FAQ)
How often should I change the aircon filter in my Toyota Vios?
As a general guideline, the cabin air filter in a Toyota Vios should be replaced every 10,000 to 15,000 kilometers, or at least once a year, whichever comes first. However, if you frequently drive in highly congested urban areas with heavy traffic, on unpaved dusty roads, or in regions with high seasonal pollen, you may need to replace the filter more frequently, such as every 5,000 to 7,500 kilometers, to maintain clean cabin air and prevent strain on your air conditioning system.
Can I wash and reuse my Vios cabin air filter?
Standard paper or synthetic pleated cabin air filters are strictly designed for single-use and should never be washed with water or liquid cleaners. Exposing these disposable filters to moisture destroys the structural integrity of the paper fibers, clogs the microscopic pores, and can lead to mold growth inside your dashboard. If you have installed a specialized, washable aftermarket filter, you must follow the manufacturer’s specific instructions, using only their approved cleaning solutions and allowing the filter to dry completely before reinstallation.

Community discussion
Share your experience or ask a question. Comments are reviewed before publication.