
Replacing the engine air filter on your Mitsubishi Mirage G4 is one of the simplest and most effective maintenance tasks you can perform at home. The engine air filter acts as the lungs of your vehicle, trapping dust, road debris, and airborne contaminants before they can enter the combustion chamber. In tropical climates like the Philippines, where vehicles frequently encounter dusty provincial roads, heavy urban smog, and high humidity, keeping this filter clean is vital for maintaining optimal engine performance and fuel efficiency. By taking a few minutes to replace this component yourself, you can ensure your engine breathes clean air while saving on labor costs at the service center.
Tools and Parts Needed for the Job
Before you begin the replacement process, it is essential to gather the correct replacement part and a few basic supplies to ensure a smooth workflow. The most critical step is selecting a replacement filter that matches the exact specifications of your Mitsubishi Mirage G4. Rather than relying solely on generic online listings or visual approximations, consult your vehicle owner’s manual to verify the correct part number or OEM specification. Different model years of the Mirage G4 may have slight variations in filter dimensions, so cross-referencing your vehicle’s model year with the manufacturer’s catalog is the best way to guarantee a perfect fit.
Fortunately, the air filter housing on the Mitsubishi Mirage G4 is designed for tool-free access, meaning you will not need an extensive set of mechanical tools. The housing is secured by sturdy metal tension clips that can be easily released using your hands. However, having a flathead screwdriver nearby can sometimes be helpful if the clips are stiff or if you need gentle leverage to release them.
Products mentioned in this guide
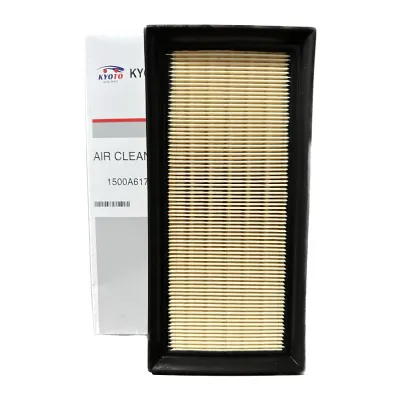
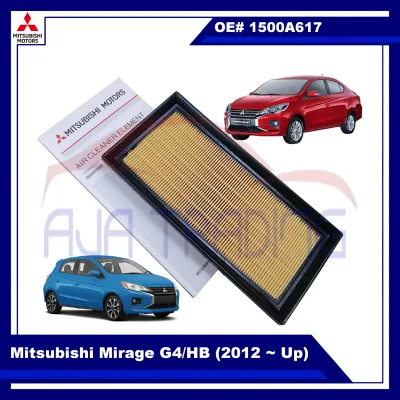
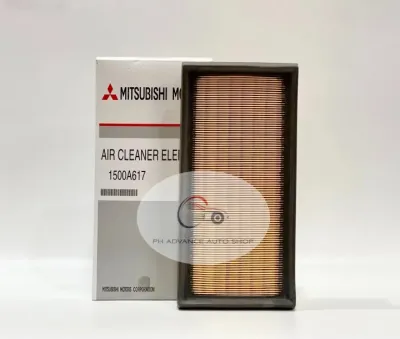
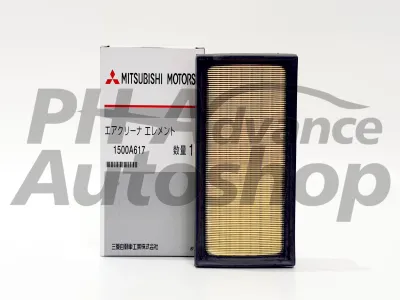
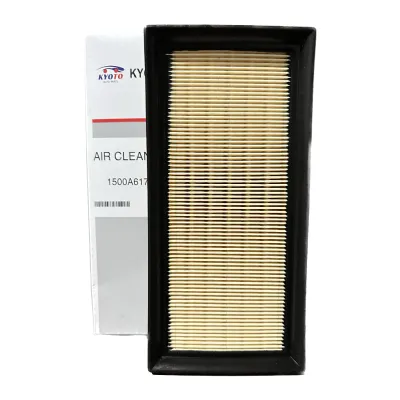
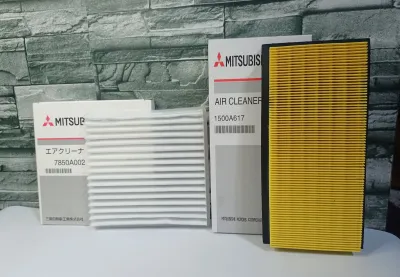
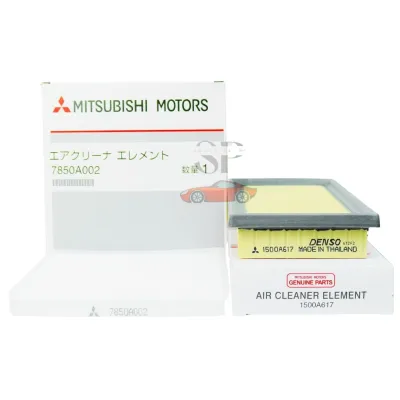
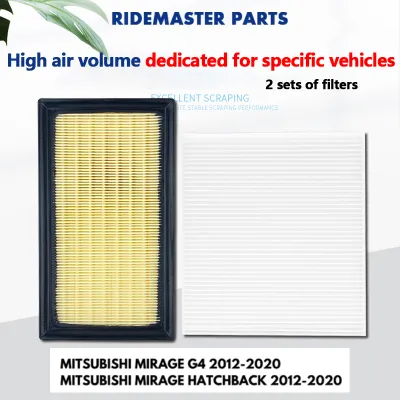
Prices are valid at publication and may change. Please refer to the product page for the latest price.
In addition to the replacement filter, prepare a clean, dry microfiber cloth. This cloth will be used to wipe down the interior of the air filter box, removing any accumulated dust, sand, or leaves before the new filter is installed. Working in a well-lit area, such as an open garage or a shaded driveway, will also make it easier to inspect the housing and ensure the new filter is seated correctly.
When purchasing your replacement filter, consider sourcing it from reputable automotive supply stores or official brand stores. While online marketplaces offer a wide variety of options, choosing a verified seller ensures you receive a high-quality filter with the correct filtration density. Avoid unbranded or suspiciously cheap filters, as they may lack the proper rubber sealing gasket or structural integrity needed to protect your engine.
Step-by-Step Replacement Guide
To begin the replacement, park your Mitsubishi Mirage G4 on a flat, level surface, engage the parking brake, and turn off the ignition. Ensure the engine has cooled down completely before opening the hood to prevent any accidental burns from hot engine components or the radiator. Once the engine bay is cool, pull the hood release lever located inside the cabin, open the hood, and secure it safely with the prop rod.

Locate the air filter housing, which is a prominent black plastic box situated on the driver’s side of the engine bay, positioned near the battery and the intake duct. On the Mirage G4, this housing is split into two halves and is held together by two metal spring clips located on the side of the assembly. Locate these clips and press them downward or outward to release the tension holding the air filter cover in place.
Once the clips are disengaged, gently lift the cover of the housing and slide it slightly backward to clear the plastic retaining tabs on the opposite side. Do not pull forcefully on the cover, as it is connected to the air intake hose; pulling too hard could loosen the hose clamps or damage the plastic ducting. With the cover lifted sufficiently, slide the old air filter out of the housing.
Take a moment to inspect the old filter before discarding it. Look closely at the pleats for heavy accumulations of dust, trapped insects, dried leaves, or dark soot. If you notice any signs of moisture, dampness, or oil contamination on the filter media, this could indicate a deeper issue within the engine’s ventilation system, and you should have the vehicle inspected by a qualified professional.
Before inserting the new filter, use your clean microfiber cloth to wipe the inside of both the upper and lower sections of the filter housing. Dust and fine sand often settle at the bottom of the box, and failing to clean this area means the loose debris will immediately clog your new filter or, worse, get drawn directly into the engine intake tract. Ensure the housing interior is completely dry and free of loose particles before proceeding.
Unpack your new air filter and compare it side-by-side with the old one to verify that the dimensions, shape, and rubber sealing gasket are identical. Slide the new filter into the housing, paying close attention to the orientation. The filter is designed to fit in only one direction, with the pleated side facing down to catch incoming air and the flat, clean side facing up toward the engine intake. Ensure the flexible rubber seal around the perimeter of the filter sits completely flush within the grooves of the lower housing.
Carefully lower the housing cover back into position, making sure the plastic tabs on the rear of the cover align perfectly with the slots on the lower housing. Once the cover is aligned and sitting flat, press the metal spring clips back up until they snap securely into place. Double-check the entire perimeter of the housing to ensure there are no gaps where unfiltered air could bypass the filter and enter the engine.
How to Inspect and Maintain the Filter Between Changes
Regularly inspecting your engine air filter between scheduled replacements is an excellent habit that can prevent premature engine wear and maintain fuel economy. A simple visual inspection can tell you whether the filter is still performing effectively or if it requires immediate replacement. To perform a visual light test, remove the filter from the housing and hold it up to a bright flashlight or direct sunlight. If light easily passes through the paper pleats, the filter is still clean enough to allow adequate airflow; if the light is completely blocked by dark, embedded dirt, the filter is clogged and should be replaced.
During these routine inspections, you can distinguish between light surface dust and deep contamination. If the filter only has a small amount of loose dust, dry leaves, or insects on the surface, you can gently tap the filter against a hard surface with the dirty side facing down to dislodge the loose debris. However, if the filter media is dark grey, greasy, or shows signs of oil saturation, tapping will not restore its airflow, and a complete replacement is necessary.
Your inspection and replacement frequency should always be adjusted based on your typical driving conditions. If you frequently drive your Mirage G4 in highly congested urban areas with heavy stop-and-go traffic, or on unpaved provincial roads where dust is constantly kicked up, the filter will accumulate dirt much faster than it would under highway driving conditions. In these demanding environments, checking the filter every few months ensures your engine always receives a clean, unrestricted supply of air.
Common DIY Mistakes to Avoid
While replacing an engine air filter is a straightforward task, there are several common mistakes that DIY beginners make which can lead to poor engine performance or even costly damage. One of the most frequent errors is installing the filter upside down or ignoring the airflow direction. If the filter is forced in backward, the structural support mesh may not face the correct direction, which can cause the filter media to collapse under the vacuum pressure of the engine intake, severely restricting airflow.
Another common mistake is failing to clean the inside of the filter housing before installing the new part. If sand, grit, or dried leaves are left inside the air box, they can easily bypass the new filter during installation or get sucked directly into the engine’s throttle body, potentially damaging sensitive internal components like the mass airflow sensor. Always take the extra few seconds to wipe the housing clean.
Finally, never force the housing cover closed if it does not seem to fit easily. If the filter is not seated perfectly flush within the housing grooves, forcing the metal clips shut can crack the plastic housing or permanently deform the rubber seal on the filter. A deformed seal allows dirty, unfiltered air to bypass the filter entirely, defeating the purpose of the replacement and exposing your engine to abrasive road dust.
Frequently Asked Questions (FAQ)
Can I wash and reuse the stock engine air filter?
No, the standard factory engine air filter installed in the Mitsubishi Mirage G4 is made of a specialized paper media designed strictly for single-use disposal. Attempting to wash a paper filter with water, soap, or chemical solvents will destroy the delicate fibers, causing the paper to swell, tear, or lose its filtration capabilities entirely. Additionally, using high-pressure compressed air to blow out a paper filter can create microscopic tears in the media, allowing harmful dust particles to pass directly into your engine. Only specific aftermarket performance filters are designed to be washed, dried, and re-oiled, and these must be maintained strictly according to the manufacturer’s instructions using their dedicated cleaning kits.
Does replacing the air filter myself void the vehicle warranty?
Performing basic, routine maintenance tasks like replacing your engine air filter yourself will generally not void your Mitsubishi Mirage G4’s vehicle warranty. Under standard consumer protection guidelines, car owners are permitted to replace consumable parts, provided that the replacement parts used meet or exceed the original manufacturer’s specifications and the installation is performed correctly without causing damage to other vehicle components. To protect yourself and maintain a clear service history, always keep the purchase receipt for the new air filter and note the replacement date and current mileage in your vehicle’s maintenance logbook. If you ever need to make a warranty claim, this documentation serves as proof that the vehicle has been properly maintained.
Community discussion
Share your experience or ask a question. Comments are reviewed before publication.