
Replacing the front cover of a Honda Click V2 is a rewarding DIY project that can restore your scooter’s sleek, factory-fresh appearance. Whether you are replacing a panel damaged by daily wear and tear or upgrading your scooter’s aesthetic, understanding the correct disassembly and assembly techniques is essential. Because motorcycle fairings rely on a precise combination of hidden interlocking tabs and threaded fasteners, rushing the job can easily lead to broken components or misaligned body lines.
In tropical climates like the Philippines, prolonged exposure to intense heat, humidity, and bumpy road conditions can make plastic panels and clips brittle over time. Taking a systematic approach ensures that you preserve the integrity of your scooter’s bodywork. This step-by-step guide walks you through the entire process, from preparing your workspace to executing the final safety and rattle checks.
Essential Tools and Workspace Preparation
Before loosening any screws on your Honda Click V2, gather the correct tools. Using improper equipment is the leading cause of stripped screw heads and gouged plastic panels. Always consult your scooter’s original vehicle documentation and owner’s manual for specific safety guidelines before beginning any disassembly. If you feel unsure about handling electrical wiring or body panels, seek assistance from a qualified motorcycle mechanic.
Products mentioned in this guide
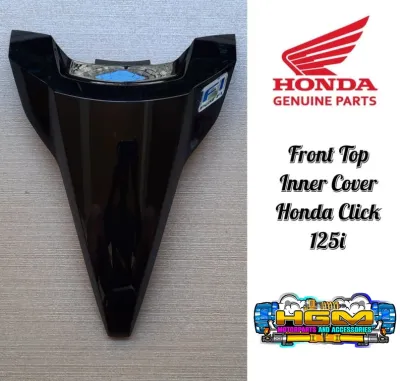
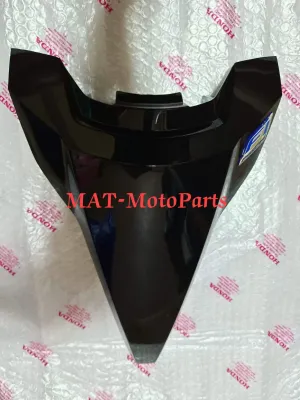



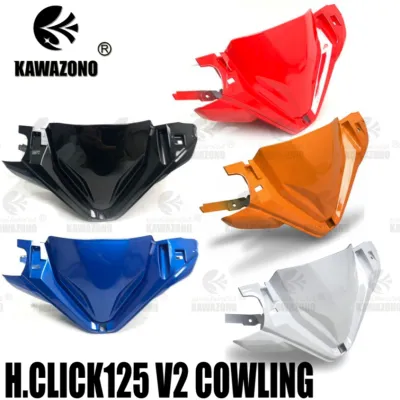
Prices are valid at publication and may change. Please refer to the product page for the latest price.
To complete this project safely and efficiently, prepare the following items:
- Phillips-head screwdrivers: Keep both a medium (#2) and a small (#1) screwdriver on hand, ensuring the tips are in good condition to prevent slipping and stripping.
- Plastic trim removal tool set: These non-marring pry tools are essential for separating panels. Avoid using flathead metal screwdrivers, as metal will easily scratch the paint or permanently gouge the soft ABS plastic.
- Magnetic parts tray: A small magnetic tray keeps your screws, washers, and metal clips organized in one place, preventing them from rolling away.
- Clean mechanic gloves: Lightweight, textured gloves protect your hands from sharp plastic edges and prevent the transfer of skin oils to the clean surfaces of your new panels.
Set up your workspace by parking the scooter on its center stand on a flat, solid concrete surface. Avoid working on grass, dirt, or gravel, where dropped screws or tiny clips can easily disappear. Ensure your workspace is well-lit, using a portable work light or a bright flashlight to illuminate the dark recesses behind the front cowl.
Step-by-Step Guide to Removing the Old Front Cover
Removing the old front cover requires a systematic approach to prevent damaging the surrounding panels. Before purchasing a replacement cover, verify its compatibility with your specific Honda Click V2 model year, interface, and mounting position using the manufacturer’s product documentation.

Step 1: Locate and Remove the Visible Screws Begin by identifying the screws securing the front cover. On the Honda Click V2, these are typically located on the inner side of the front shield facing the rider, as well as around the headlight bezel area. Carefully unscrew the fasteners behind the front inner leg shield and place them in your magnetic tray. Note that some screws may have plastic washers; keep these paired with their respective screws. Check under the handlebar cowl and near the lower portion of the front fender assembly for any additional securing screws that connect the front cover to the lower fairings.
Step 2: Releasing the Hidden Plastic Push-Clips The front cover is held tightly against the inner cowl by interlocking plastic tabs and push-clips. Insert a thin plastic trim tool into the seam between the front cover and the side panels. Gently slide the tool along the seam until you feel resistance, which indicates the location of a clip. Apply steady, outward pressure. Do not yank or jerk the tool. You should hear a soft popping sound as the clip releases from its slot. Repeat this process around the entire perimeter of the cover.
Step 3: Disconnecting the Electrical Wiring Harnesses Once all screws are removed and the clips are popped loose, do not pull the front cover away immediately. The headlight and turn signal wiring harnesses are still connected to the bulb sockets mounted inside the cover. Carefully pull the cover forward by only a few inches to create a gap. Reach into the gap and locate the plastic electrical connectors for the headlight assembly and turn signals. Press the release tabs on the plastic wire couplers and gently pull them apart. Never pull on the wires themselves, as this can pull the metal terminals out of the plastic housing.
Step 4: Organizing and Storing Hardware Place the removed front cover on a soft towel or cardboard sheet to prevent scratching. Sort the screws in your magnetic tray. If the screws are of different lengths or thread pitches, label them or place them in separate small cups. Using a long screw in a short hole during reassembly is a common mistake that can puncture your brand-new cover. If the panel feels stuck at any point, stop immediately and check for any missed screws or stubborn clips. Forcing the panel will break the delicate mounting tabs.
How to Install the New Front Cover Securely
Installing the new front cover is the reverse of the removal process, but it requires extra care to ensure proper alignment and watertight electrical connections.
Step 1: Reconnecting the Electrical Harnesses Hold the new front cover close to the scooter’s frame. Align the plastic electrical couplers for the headlight, turn signals, and horn. Push the connectors together until you hear a firm click, indicating they are locked in place.
Step 2: Conducting a Preliminary Electrical Test Before snapping the new cover into place, perform a quick function check. Briefly turn on the scooter’s ignition key. Test the low beam, high beam, left and right turn signals, and the horn. Once you verify that all electrical components function correctly, turn off the ignition. This step prevents the hassle of removing the cover again if a connector is loose.
Step 3: Aligning the Panel and Seating the Push-Clips Carefully align the new front cover with the inner cowl and the lower leg shield. Pay close attention to the alignment tabs on the edges of the panel. Ensure the gaps between the new cover and the surrounding panels are even on both sides. Once aligned, use the flat of your hand to apply firm, even pressure directly over the clip locations. Listen for a distinct click as each tab seats into its corresponding slot. Avoid pressing on the thin, unsupported edges of the plastic, as this can cause the panel to flex and crack.
Step 4: Reinstalling the Screws Retrieve the correct screws from your organized tray. Always start threading the screws by hand. Turn them clockwise a few times to ensure the threads are properly engaged. This prevents cross-threading, which can ruin the plastic mounting bosses. Use your Phillips-head screwdriver to tighten the screws until they are snug. Do not over-tighten; plastic threads strip easily under excessive force.
Common DIY Mistakes That Break Clips and Scratch Paint
Working with motorcycle plastics requires a delicate touch. Understanding common pitfalls can save you from costly mistakes during the installation process.
- Prying from the wrong angle: When removing the old cover, applying leverage to the outer edges of the plastic instead of close to the clip locations creates excessive stress. This often results in stress fractures or completely snapped mounting tabs. Always position your plastic pry tool as close to the hidden clip as possible.
- Mixing up screw lengths: The Honda Click V2 uses various screw sizes for its bodywork. Inserting a long screw into a mounting hole designed for a short screw will cause the tip of the screw to push against the outer face of the new cover, creating an unsightly bulge or cracking the painted surface.
- Ignoring damaged clips: It is tempting to reuse old clips, but plastic degrades over time due to engine heat and UV exposure. If a clip is bent, cracked, or missing its locking tabs, replace it. Reusing compromised clips leads to loose panels that vibrate and rattle, especially at higher speeds on uneven roads.
- Over-tightening fasteners: Many DIYers believe that tighter is always better. However, the mounting bosses on the back of the front cover are made of molded plastic. Over-tightening the screws will strip these plastic threads, rendering the mounting point useless and requiring creative, non-standard fixes.
Post-Installation Checks for a Rattle-Free Ride
Before hitting the road, complete these final checks to ensure your installation is secure and safe.
- Visual inspection: Examine the seams where the front cover meets the side panels and headlight assembly. The gaps should be uniform and tight, with no visible bulging or misalignment.
- Physical integrity check: Gently push and pull on different sections of the new front cover. It should feel solid and firmly attached to the scooter's frame. If there is any play or loose movement, a clip may not be fully seated.
- Final electrical verification: Turn on the ignition and re-verify all lighting systems. Ensure no wires were pinched between the plastic panels during assembly, which could cause a short circuit over time.
- Test ride: Take your scooter for a brief, low-speed test ride on a quiet street. Listen closely for any unusual rattling, buzzing, or wind noise. A quiet ride confirms a successful, professional-grade DIY installation.
Frequently Asked Questions (FAQ)
Do I need to disconnect the battery before removing the front cover?
Yes, disconnecting the negative battery terminal before starting is highly recommended. While it is possible to perform the replacement with the battery connected, disconnecting it eliminates the risk of accidental short circuits, blown fuses, or electrical sparks when unplugging and handling the headlight and turn signal wiring harnesses behind the front shield.
What should I do if a plastic retaining clip breaks during removal?
Plastic clips frequently become brittle and snap, particularly when exposed to high engine temperatures and tropical humidity. If a clip breaks, do not attempt to glue it back together or proceed with a missing clip. Keep a pack of spare OEM-compatible push clips on hand before you begin. Installing the front cover with missing clips will cause panel vibrations, rattling, and potential paint damage from rubbing panels.
Community discussion
Share your experience or ask a question. Comments are reviewed before publication.