
Replacing the cabin air filter on your Hyundai Tucson is one of the simplest and most cost-effective maintenance tasks you can perform yourself. Located directly behind the glove compartment, this filter screens out dust, pollen, road debris, and exhaust fumes before they enter the passenger cabin. By taking a few minutes to complete this replacement at home, you ensure clean, fresh air for your passengers while avoiding the labor markups typically charged at service centers.
The tropical climate of the Philippines, characterized by high humidity and seasonal dust, places a heavy demand on your vehicle’s air conditioning system. A clogged filter restricts airflow, forcing the air conditioning unit to work harder to cool the cabin, which can ultimately impact fuel efficiency and system longevity. Understanding how to service this component yourself keeps your HVAC system running optimally.
What You Need Before Starting
To ensure a seamless DIY process, gather the necessary materials and prepare your workspace beforehand. The primary item you need is a compatible replacement cabin air filter. Because filter dimensions and designs can vary across different Hyundai Tucson model years and trim levels, you must verify the exact part number. Check your vehicle’s owner’s manual or inspect the label on the currently installed filter to confirm compatibility before purchasing a replacement.
Products mentioned in this guide
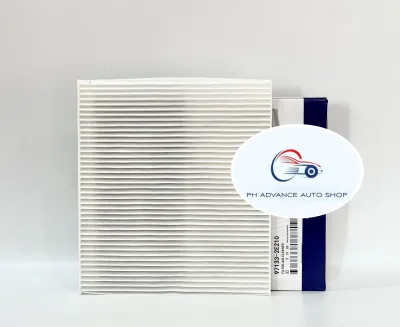
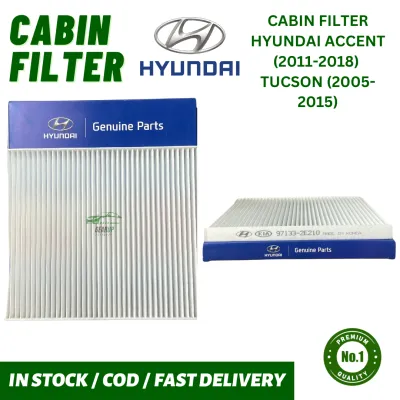
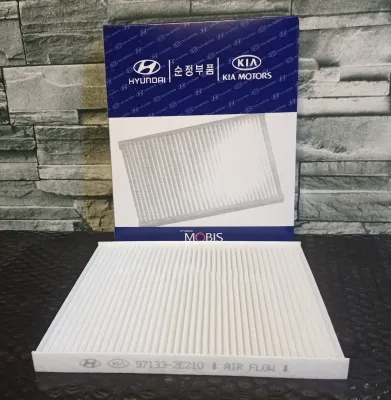
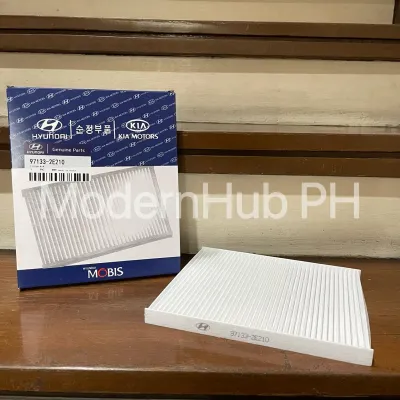
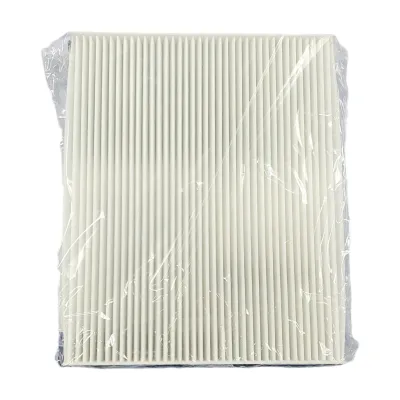
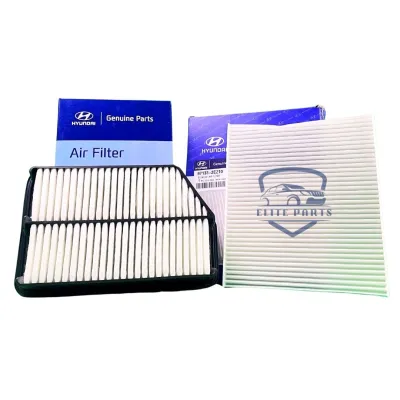
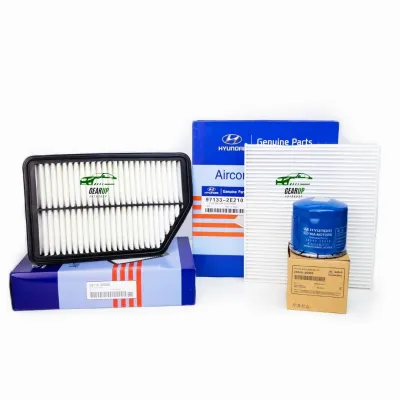
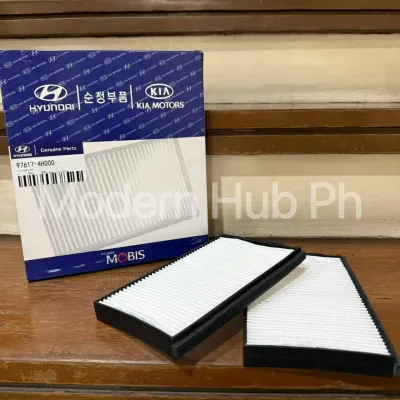
Prices are valid at publication and may change. Please refer to the product page for the latest price.
When choosing a new filter, you will generally encounter two main options: standard particulate filters and activated carbon filters. Standard particulate filters are highly effective at trapping dust, pollen, and solid airborne debris. Activated carbon filters feature an additional layer of treated charcoal designed to absorb gases, exhaust fumes, and unpleasant odors. Given the dense traffic and high humidity often experienced on Philippine roads, an activated carbon filter can significantly improve cabin air quality by neutralizing external odors.
In terms of tools, most Hyundai Tucson generations are designed for tool-free cabin filter replacement. However, keeping a flathead screwdriver or a plastic trim removal tool nearby can be helpful if the glove box stopper pins or the filter housing cover clips are particularly tight.
Before beginning, park your vehicle on a flat surface in a well-ventilated area. Turn off the ignition, engage the parking brake, and remove the key to ensure complete safety. Finally, keep a clean microfiber cloth on hand to wipe down the filter housing and remove any loose dust or debris before installing the new unit.
Locating the Cabin Filter Housing
In almost every generation of the Hyundai Tucson, the cabin air filter housing is positioned behind the front passenger-side glove box. This design allows for relatively straightforward access without requiring you to disassemble major dashboard components. However, accessing the housing requires you to lower the glove box beyond its normal open position.

While the general location remains consistent, the specific mechanism used to release and lower the glove box varies depending on your Tucson’s model year. Older generations often utilize simple rubber stopper pins on the inner side walls of the glove box that you must unscrew or pull out. Newer models frequently feature side pinch tabs or integrated plastic stoppers that require a specific twisting or squeezing motion to release. Additionally, some trims include a slow-close damper arm attached to the outer right side of the glove box frame.
Before applying any physical force, open the glove box completely and empty its contents. Perform a thorough visual inspection of the interior side walls and the rear panel to identify the specific retention method before applying force.
Step-by-Step Guide to Removing the Old Filter
Once you have emptied the glove box and identified the retention mechanisms, you can proceed with lowering the compartment. If your Tucson features removable stopper pins on the inner side walls, gently turn them counterclockwise by hand or use a plastic trim tool to release them, then pull them straight out. For models with integrated pinch tabs, gently press the left and right side walls of the glove box inward toward the center of the compartment to allow the limit stops to clear the dashboard frame.
If your vehicle is equipped with a slow-close damper arm on the outer right side, you must disconnect it before lowering the glove box completely. Locate the plastic arm attached to the peg on the side of the glove box. Gently slide the arm outward off the peg; you may need to apply slight pressure to release the retaining clip. Handle this component with care, as applying excessive force can snap the delicate plastic connector. Once disconnected, let the glove box swing downward toward the floorboard, exposing the black plastic dashboard interior.
With the glove box lowered, you will see a rectangular plastic cover running horizontally across the exposed housing. Locate the locking tabs on the right side (or on both ends, depending on the model year). Squeeze the tabs together to release the lock, then pull the cover straight off and set it aside in a safe place.
Before pulling the old filter out of the housing, note the direction of the “Air Flow” arrow printed on the side of the filter frame. On almost all Tucson models, this arrow points downward, indicating the direction of air moving toward the blower motor. Remembering this orientation is crucial for installing the new filter correctly.
Carefully slide the old filter straight out of the slot. Keep the filter level as you extract it to prevent loose leaves, dust, or insects from falling into the blower motor assembly below.
Installing the New Filter and Reassembly
With the old filter removed, take your clean microfiber cloth and carefully wipe down the inside of the empty filter compartment. This step removes any fine dust, pollen, or small debris that may have bypassed the old filter or accumulated along the edges of the housing. Ensuring a clean housing prevents immediate contamination of your new filter and helps maintain optimal airflow.
Next, prepare your new replacement filter for installation. Locate the “Air Flow” arrow printed on the side of the new filter’s frame. Align the filter so that this arrow points in the exact same direction as the one you noted during the removal process—typically pointing downward toward the blower motor. Slide the new filter smoothly into the housing slot, ensuring it sits flat and is not bent, buckled, or forced into place. A crumpled filter will allow unfiltered air to bypass the media, reducing the system’s efficiency.
Once the filter is fully seated, retrieve the rectangular housing cover. Align the left side of the cover with its corresponding slot, then press the right side firmly until you hear the locking tabs snap securely into place. Gently tug on the cover to verify that it is locked tight; a loose cover can cause air leaks and whistling noises when the fan is operating.
To reassemble the glove box, lift the compartment back up toward the dashboard. If your vehicle has a slow-close damper arm, align the arm with the mounting peg on the right side of the glove box and press it on until it clicks into place. Next, align the glove box tracks and push the compartment upward. For models with pinch tabs, squeeze the sides inward as you push the box past the dashboard frame. For models with removable stopper pins, insert the pins back into their respective holes on the inner side walls and twist them clockwise to lock them. Finally, open and close the glove box a few times to ensure the mechanism operates smoothly and securely.
When to Stop and Seek Professional Help
While replacing a cabin filter is a highly accessible DIY task, certain situations warrant stopping and consulting a professional technician. Plastic automotive components can become brittle over time, especially when exposed to the high cabin temperatures common in tropical climates like the Philippines. If you feel excessive resistance while trying to remove the stopper pins, or if a plastic retention tab snaps during disassembly, do not attempt to force the components back together. Forcing misaligned hinges or broken clips can cause permanent damage to the dashboard assembly, leading to costly repairs.
Additionally, a new cabin filter may not resolve all climate control issues. If you continue to notice persistent musty odors, weak airflow, or water dampness on the passenger-side floorboard after installing a clean filter, the underlying problem may lie deeper within the HVAC system. Issues such as a clogged evaporator drain tube, mold accumulation on the evaporator core, or a failing blower motor require professional diagnostic tools and expertise to resolve safely.
If your specific Tucson trim or model year features an aftermarket modification or a glove box configuration that does not match standard visual guides, do not guess the removal method. Refer to your vehicle’s official owner’s manual or visit a certified service center to have a technician demonstrate the correct procedure.
Frequently Asked Questions (FAQ)
How often should I change the cabin filter in my Tucson?
As a general baseline, most manufacturers recommend replacing the cabin air filter every 15,000 to 20,000 kilometers or once every 12 months, whichever comes first. However, maintenance intervals should always be adjusted based on your actual driving conditions. In the Philippines, vehicles are frequently subjected to dense urban traffic, heavy dust on unpaved roads, and high levels of airborne soot, which can clog a filter much faster than standard intervals suggest.
To maintain optimal air quality and HVAC performance, it is highly recommended to visually inspect your cabin filter during every routine oil change. If you notice that the filter media has turned dark grey, is visibly clogged with leaves and dust, or emits a stale, musty odor when the air conditioning is turned on, you should replace it immediately regardless of the elapsed time or mileage.
Can I wash and reuse the old cabin filter?
Standard paper or synthetic pleated cabin air filters are strictly designed for single-use applications and must not be washed or rinsed. These filters rely on a delicate arrangement of fibers and a specific electrostatic charge to capture microscopic dust particles and allergens. Exposing a standard filter to water or cleaning agents destroys this electrostatic charge and breaks down the structural integrity of the paper media, rendering it ineffective at filtering air.
Furthermore, reinstalling a damp paper filter into your vehicle’s dark, enclosed HVAC housing creates an ideal breeding ground for mold, mildew, and bacteria, which will quickly ruin cabin air quality and cause severe odors. The only exception is if you have purchased a specialized, aftermarket reusable cabin filter explicitly labeled by the manufacturer as washable. If using a washable filter, you must follow the manufacturer’s exact cleaning instructions and ensure the filter is completely dry before reinstalling it.

Community discussion
Share your experience or ask a question. Comments are reviewed before publication.