
Installing a muffler tip on your motorcycle exhaust is a popular way to customize your ride’s appearance and subtly alter its exhaust note. While the process is generally straightforward, achieving a secure, safe, and road-legal fit requires careful preparation, precise measurements, and the correct installation techniques. A poorly installed tip can vibrate loose, create exhaust leaks, or even detach while riding, posing a serious safety hazard to you and other motorists on the road.
In tropical environments like the Philippines, where motorcycles frequently encounter high humidity, heavy seasonal rains, and uneven road surfaces, ensuring a robust installation is even more critical. Moisture and constant road vibrations can quickly expose any weaknesses in your mounting hardware, leading to rust, rattling, or structural failure. By following a systematic approach—from verifying compatibility to performing post-installation checks—you can successfully upgrade your motorcycle’s exhaust system while maintaining safety and compliance with local road regulations.
Pre-Installation Checks and Compatibility Verification
Before purchasing or attempting to install a new muffler tip, you must verify that the accessory is fully compatible with your motorcycle’s specific make, model, and year. Never assume a tip will fit based solely on a generic product description or category label. The most critical step is measuring the outer diameter of your existing exhaust pipe’s exit point using a vernier caliper. Compare this measurement directly with the inlet specifications of the muffler tip to ensure a snug, precise fit without gaps.
Products mentioned in this guide
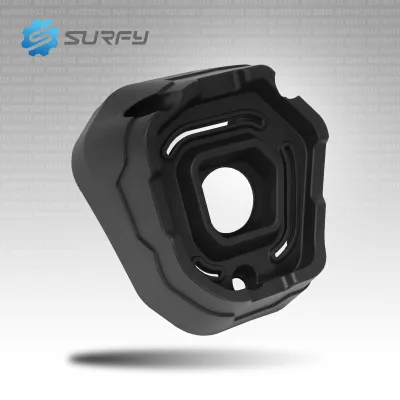
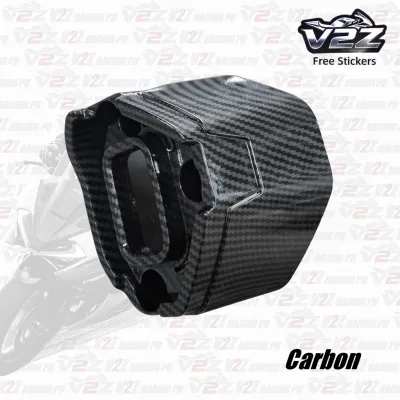
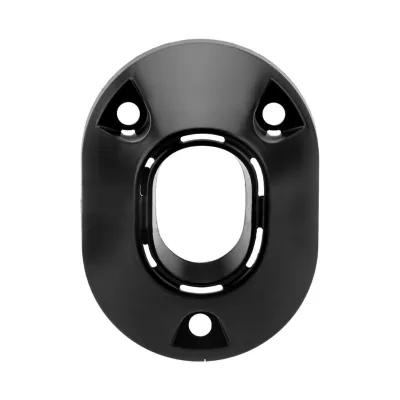

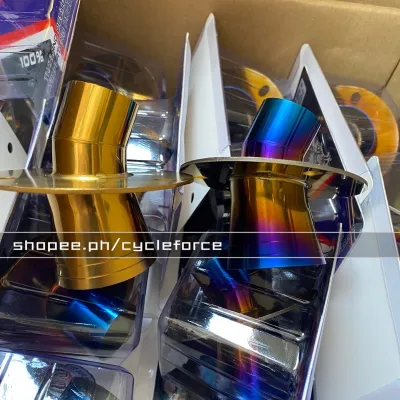
![MUFFLER END TIP FOR WAVE 125 / WAVE100 [A] GOLD Titanium made in Tailand](https://img.lazcdn.com/g/p/mdc/9f0022c405b3db5b687e5149e9215f7a.jpg_400x400q80.jpg_.webp)
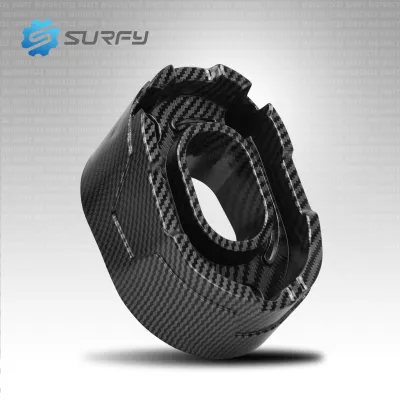
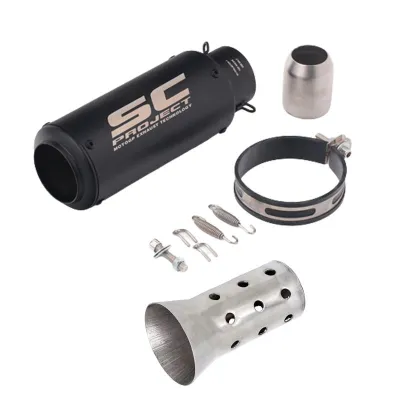
Prices are valid at publication and may change. Please refer to the product page for the latest price.
In addition to physical dimensions, consult your motorcycle manufacturer’s manual to review any warnings regarding exhaust modifications. Altering your exhaust system can have implications for your vehicle’s warranty, engine backpressure, and overall structural limits. Some manufacturers explicitly outline what types of slip-on accessories or modifications are permissible without voiding coverage or affecting engine performance.
Road legality is another vital consideration before proceeding with any physical work. In the Philippines, the Land Transportation Office (LTO) and local government units enforce strict regulations regarding motorcycle noise levels and exhaust modifications. Under local laws, aftermarket exhaust components must not exceed specific decibel limits, and modifications must not compromise emissions compliance. Installing an excessively loud or non-compliant tip can result in heavy fines, vehicle impoundment, or failure during annual registration inspections.
Establish clear stop conditions before you begin the physical installation. If you discover that the muffler tip’s inlet size does not match your exhaust pipe, if the package is missing essential mounting hardware, or if the manufacturer’s instructions are vague, do not attempt to force the fit. Forcing an incompatible tip onto your exhaust can warp the metal, create permanent exhaust leaks, or lead to the component falling off during a ride.
Essential Tools and Safety Preparation
Having the correct tools on hand ensures a smooth installation and prevents damage to both the new muffler tip and your motorcycle’s existing exhaust pipe. Depending on the mounting mechanism of your selected tip—whether it uses a clamp-on, bolt-on, or slip-on design—you will generally need a set of metric wrenches, a socket set, and appropriate screwdrivers. Using a torque wrench is highly recommended if the manufacturer specifies exact torque values for the mounting bolts or clamps.

Safety must be your top priority when working on any part of a motorcycle’s exhaust system. Exhaust pipes retain extreme heat long after the engine has been turned off, presenting a severe burn hazard. Always allow the motorcycle to cool down completely—ideally for several hours—before touching any exhaust components. Verify that the pipes are cool to the touch before starting your work.
Prepare your workspace by parking the motorcycle on flat, level ground and securing it on a stable center stand or a dedicated paddock stand. This prevents the bike from tipping over while you apply force to loosen or tighten bolts. Wear appropriate personal protective equipment, including heavy-duty work gloves to protect your hands from sharp metal edges and safety glasses to shield your eyes from falling debris, rust flakes, or carbon deposits.
Please note that this guide covers non-destructive, bolt-on, or clamp-on muffler tip installations. If your selected muffler tip requires cutting, welding, or extensive modification of the original exhaust pipe, this falls outside the scope of a basic DIY project. For any modifications involving structural alterations, electrical rerouting, or welding, always consult the original vehicle documentation and seek qualified professional installation to ensure the structural integrity and road safety of your motorcycle are not compromised.
Step-by-Step Installation Process
Begin the installation by carefully removing any existing end caps, decorative covers, or old hardware from the tip of your exhaust pipe. Use the appropriate wrench or screwdriver to loosen the securing fasteners, taking care not to apply excessive leverage that could bend the main muffler body. If the old hardware is rusted or stubborn, apply a penetrating lubricant and let it sit for a few minutes rather than forcing it, which could scratch the visible finish of your exhaust.
Once the exhaust outlet is clear, clean the mounting area thoroughly with a clean rag to remove any accumulated carbon buildup, dirt, or road grime. This ensures a clean metal-to-metal contact surface, which is essential for a secure fit. If the manufacturer’s instructions explicitly recommend it, apply a thin, even layer of high-temperature anti-seize compound to the slip joint or the threads of the mounting bolts. This compound helps prevent the metal parts from fusing together under extreme exhaust temperatures, making future maintenance or removal much easier.
Align the new muffler tip carefully with the exhaust pipe, ensuring it sits straight and matches the aesthetic lines of your motorcycle. Slide the tip onto the pipe until it is fully seated according to the product specifications. If the tip uses a clamp-on mechanism, position the clamp over the designated slot; if it uses securing bolts, align them with the pre-drilled holes or mounting brackets.
Tighten the securing hardware gradually and evenly. If the tip is held in place by multiple bolts or a multi-bolt clamp, tighten them in an alternating, crisscross pattern rather than fully tightening one bolt at a time. This distributed pressure prevents the clamp from warping, ensures an even seal around the exhaust pipe, and reduces the risk of stripping the threads. Tighten the fasteners to the manufacturer’s specified torque limits, or until they are firmly secure without overtightening.
Before finalizing the installation, physically check the clearance between the newly installed muffler tip and all surrounding components. There must be adequate space between the hot tip and the motorcycle’s bodywork, rear tire, suspension components, swingarm, and any mounted saddlebags or luggage. Keep in mind that the rear suspension will compress when you sit on the bike or ride over bumps; ensure that this movement will not cause the tire or swingarm to make contact with the exhaust tip.
Post-Installation Inspection and Testing
With the installation complete, perform a thorough visual and physical inspection before starting your motorcycle’s engine. Give the muffler tip a firm shake with your gloved hand to verify that there is absolutely no play, rattling, or movement. Inspect the joint where the tip meets the exhaust pipe to ensure there are no visible gaps or misalignments that could allow exhaust gases to escape prematurely.
Next, move the motorcycle to a well-ventilated outdoor area—never run the engine inside a closed garage or confined space—and start the engine. Let it idle while you listen closely to the exhaust note. Listen for any unusual whistling, hissing, or ticking sounds near the mounting joint, which are classic indicators of an exhaust leak. You can also carefully pass your hand near (but not touching) the joint to feel for escaping air currents.
As the engine warms up, observe the exhaust system for any abnormal vibrations or rattling. Check that the heat shields are properly aligned and that the increased temperature does not cause any nearby plastic bodywork or wiring harnesses to soften, smoke, or emit burning odors. The high operating temperatures of motorcycle exhausts can quickly melt nearby components if clearance is insufficient.
If you detect any persistent exhaust leaks, structural instability, unusual engine behavior, or if a dashboard warning light illuminates during testing, shut off the engine immediately. Do not attempt to ride the motorcycle with these issues unresolved. Allow the system to cool down, re-verify your installation steps, and if the problem persists, consult a qualified professional mechanic to diagnose and correct the issue.
Maintenance and Long-Term Care for Muffler Tips
To keep your muffler tip looking pristine and performing safely over the long term, establish a regular maintenance routine. The intense thermal cycles of heating and cooling, combined with engine vibrations and rough road conditions, can cause mounting hardware to loosen over time. Make it a habit to check the tightness of the mounting bolts or clamps during your routine motorcycle cleaning or oil changes, retightening them as necessary to prevent the tip from vibrating loose.
Cleaning your muffler tip should be done using only products authorized by the manufacturer for your specific material finish. For chrome or polished stainless steel tips, use a mild automotive soap and a soft microfiber cloth to remove road grime, followed by a dedicated metal polish to maintain the shine and prevent oxidation. If your tip features a matte black or carbon fiber finish, avoid abrasive polishes or harsh chemicals that can strip the protective coating or leave unsightly scratches; instead, use gentle cleaners specified for those materials.
In the humid and salty coastal air often found in the Philippines, corrosion can develop rapidly if the exhaust system is neglected. Regularly inspect the muffler tip for signs of rust, pitting, deep scratches, or severe heat discoloration. While minor surface discoloration is normal due to exhaust heat, deep rust or structural cracking indicates that the metal has compromised integrity. If you notice significant structural wear or if the mounting brackets begin to fail, replace the tip promptly to ensure your motorcycle remains safe and road-legal.
Frequently Asked Questions (FAQ)
Can I install a muffler tip on a slip-on exhaust or only on a full system?
You can install a compatible muffler tip on both slip-on exhausts and full exhaust systems, provided the physical dimensions and mounting mechanisms align correctly. However, because slip-on exhausts and aftermarket full systems vary widely in their outlet designs, end cap shapes, and internal baffling, you must verify compatibility with the specific exhaust model’s documentation. Some aftermarket exhausts feature proprietary end caps that cannot accommodate generic bolt-on tips, while others are designed specifically to accept matching brand-specific tips.
Will adding a muffler tip change my motorcycle's performance or fuel efficiency?
A purely cosmetic or bolt-on muffler tip generally does not alter your motorcycle’s engine performance, backpressure, or fuel efficiency, as it sits at the very end of the exhaust gas flow path without restricting it. However, if the new tip features an integrated baffle or a significantly narrower outlet diameter than the original pipe, it may restrict exhaust flow and increase backpressure. In such cases, or if you notice any changes in throttle response, consult professional tuning guidelines or a mechanic to ensure your engine’s air-fuel mixture remains balanced.
What should I do if the muffler tip clamp won't tighten securely?
If the mounting clamp or bolt does not tighten securely, stop the installation immediately and do not ride the motorcycle. Avoid using excessive force, as this can strip the threads, snap the bolt, or permanently warp the exhaust pipe. Never use improvised shims, household adhesives, or unauthorized hardware to force a fit, as these temporary fixes will quickly fail under the extreme heat and vibration of riding. Instead, remove the tip and source the correct, manufacturer-specified replacement hardware or verify if an adapter is required for your specific pipe diameter.
Community discussion
Share your experience or ask a question. Comments are reviewed before publication.