
To wire a 12V power inverter directly to a car battery safely, you must establish a secure, low-resistance electrical path using heavy-duty stranded copper cables, install an appropriately rated inline fuse on the positive cable within a few inches of the battery terminal, and route the wiring away from heat and sharp metal. This direct connection bypasses the vehicle’s sensitive interior wiring, allowing you to run high-wattage appliances without melting factory circuits or blowing stock fuses. By following a systematic connection sequence—always keeping the circuit unpowered until the final step—you can safely tap into your vehicle’s electrical system for off-grid power, camping, or mobile work setups.
Preparation and Safety Precautions
Working on automotive electrical systems carries inherent risks of short circuits, electrical burns, and battery damage. Before touching any wiring, park the vehicle on a flat surface, engage the parking brake, turn off the ignition, and remove the keys to ensure no circuits are accidentally energized. Always disconnect the negative battery terminal first; this breaks the ground path and prevents accidental short circuits if your wrench touches the metal chassis while working on the positive terminal.
Review the 12V power inverter’s user manual for specific manufacturer warnings, torque specifications, and mounting requirements. Every inverter model has unique cooling needs and terminal configurations that must be respected to prevent overheating. Additionally, check your vehicle’s manual to locate the battery, understand any specific battery-monitoring systems, and identify safe routing paths through the engine bay.
Products mentioned in this guide
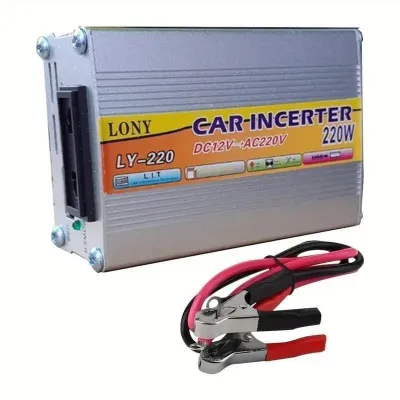
10 Lazada user ratings
👌Ease of Use:10/10 🔌Compatibility:Good 👍
ok liget na liget
👌Ease of Use:good
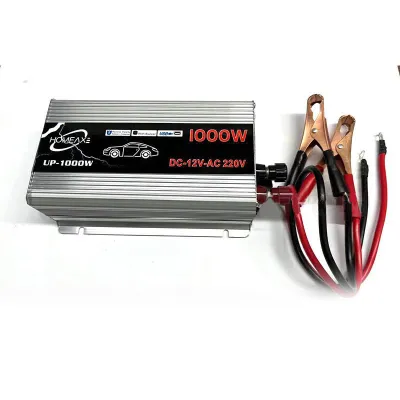
18 Lazada user ratings
what you see, what you get. Mas worth it pa siya sa eneexpect ko dumating siyang safe at walang sira highly highly recommend this item and s…Read full reviewShow less
what you see, what you get. Mas worth it pa siya sa eneexpect ko dumating siyang safe at walang sira highly highly recommend this item and shop! THANKYOU SELLER!
thank you seller, what I ordered is what I received
Thanks Rider, lazada and most of all seller.
I did try yet but I think it well work ...
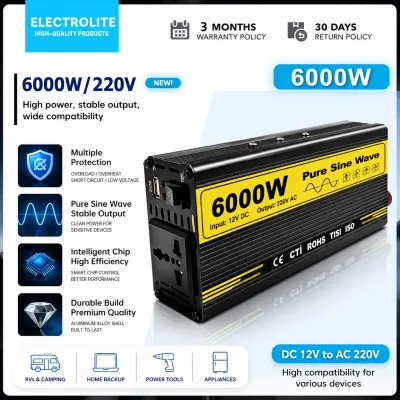
60 Lazada user ratings
Natanggap ko ang aking order mula sa nagbebenta nang maayos at mabilis. Ang produkto ay may magandang kalidad at walang mga problema. Salama…Read full reviewShow less
Natanggap ko ang aking order mula sa nagbebenta nang maayos at mabilis. Ang produkto ay may magandang kalidad at walang mga problema. Salamat sa seller at sa delivery person.
maingay sunog yung mga terminal lines kc maliliit yung wires, i think not efficiently converted. but ok nman maingay ang fan stuck yung full…Read full reviewShow less
maingay sunog yung mga terminal lines kc maliliit yung wires, i think not efficiently converted. but ok nman maingay ang fan stuck yung full volume nung fan
very nice at talagang gumaganaaa, tagal rin malowbat ang sobrang Ganda ng quality n'ya,worth the price di sayang ang binayad!!
my ratings is late because I'm busy but I used it and its operating well i hope it will last good product
Excellent Quality po..naka second order na po ako.... thank you po seller
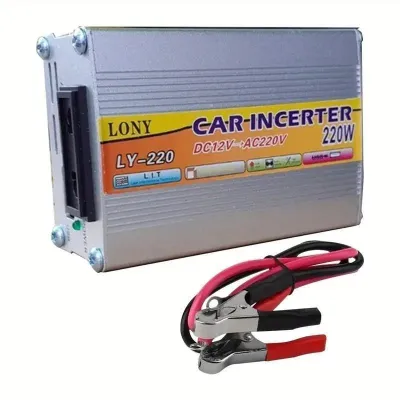
7 Lazada user ratings
Great for outdoor activities, Efficient power conversion, Reliable emergency equipment, Versatile for car and fishing trips
👌Ease of Use:kaya ang electric fan ko yamaha amplifier napagana nya ok sya worth the price ok na ok
🔌Compatibility:not yet tested for used for hours ,hope will last long.
my 3rd order
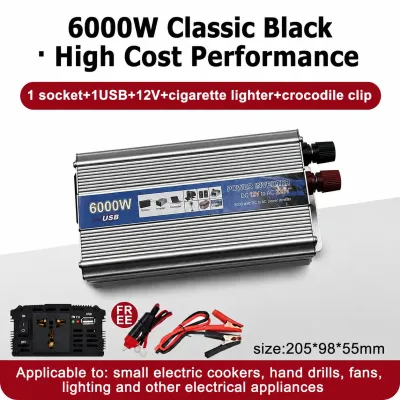
37 Lazada user ratings
Durable aluminium alloy construction., Reliable and efficient performance., High-quality pure sine wave output., Easy to install and operate…Read full reviewShow less
Durable aluminium alloy construction., Reliable and efficient performance., High-quality pure sine wave output., Easy to install and operate., Excellent power output for its size., Efficiently converts DC power to AC power., Perfect for outdoor and emergency power needs.
The product quality is very good, the seller's service attitude is very good, the performance is very good, it is Pure Sine Wave 12000w, it …Read full reviewShow less
The product quality is very good, the seller's service attitude is very good, the performance is very good, it is Pure Sine Wave 12000w, it is working and running normally, I recommend everyone to buy it, I really like it.
Hello sa seller Dumating na yung order ko... Ang masasabi ko lang ay napaka bilis dumating ng item ko kudos kay seller.. Ang ganda ng qualit…Read full reviewShow less
Hello sa seller Dumating na yung order ko... Ang masasabi ko lang ay napaka bilis dumating ng item ko kudos kay seller.. Ang ganda ng quality. Dto na kayo bumili sa seller.
maganda ang solar , malakas ang ilaw nya sana tumagal ang battery mabilis dumating ng item maganda ang packaging
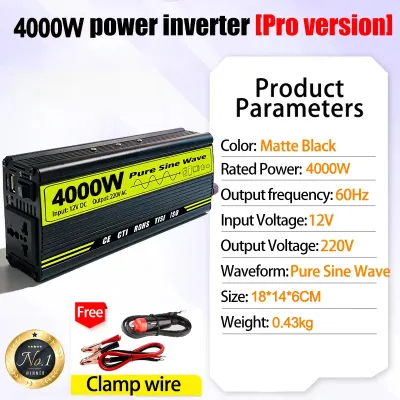
15 Lazada user ratings
This product supports both 24V and 220V voltage, so you can cook with a 220V outlet. Excellent value for money! I hope it lasts a long time!…Read full reviewShow less
This product supports both 24V and 220V voltage, so you can cook with a 220V outlet. Excellent value for money! I hope it lasts a long time! That's why I recommend this inventor; it's worth the money. I can even use it to cook rice in a rice cooker in my truck. So you should buy it too; you definitely won't regret it, and it's 100% genuine!
The packaging was excellent, with foam and a cardboard box. I received it the day after ordering. After testing, everything is normal, the c…Read full reviewShow less
The packaging was excellent, with foam and a cardboard box. I received it the day after ordering. After testing, everything is normal, the current is stable, and it's a 100% pure sine wave. Thank you! ❤️
Excellent, hope to continue using it. The packaging was very secure, but to be honest, we didn't expect it to suit me so well. Recommend the…Read full reviewShow less
Excellent, hope to continue using it. The packaging was very secure, but to be honest, we didn't expect it to suit me so well. Recommend the shop.
Okay, it's fine, no damage, and it looks great, especially in a place like ours where power outages are frequent. Thank you, seller.
I've received the package. The quality is excellent, and it works well. I hope it lasts a long time.
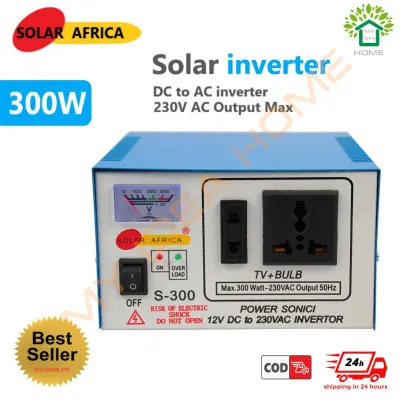
72 Lazada user ratings
Easy installation and setup, Safe overload and temperature protection, ang Ganda pa at mura...Hindi cia gaya nong una Kong bili... thank you…Read full reviewShow less
Easy installation and setup, Safe overload and temperature protection, ang Ganda pa at mura...Hindi cia gaya nong una Kong bili... thank you lazada
nabuksan kn item pero hand kp nasubukan ! I test ko pa ,bigay k review pg n test kn ! tnxz seller at Lazada pati n s rider n ng deliver ,,
thank you po. nag order na po ako ulit.
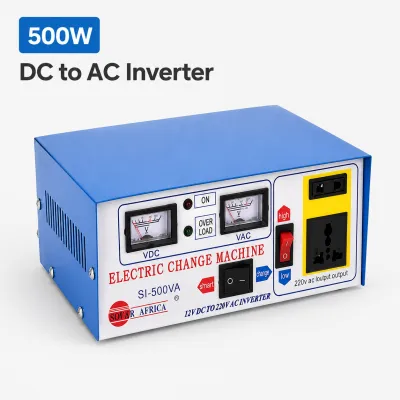
1 Lazada user ratings
goods saktong sakto sa tagulan, timing ang dating ng order ko magagamit ko na agad. thanks po
Prices are valid at publication and may change. Please refer to the product page for the latest price.
Assess your vehicle’s alternator output and battery health to ensure they can handle the additional electrical load. A standard starting battery is designed for short, high-current bursts to start the engine, not for deep-cycle discharge. In tropical climates like the Philippines, high ambient temperatures and humidity can accelerate battery degradation and increase electrical resistance, making a healthy charging system even more critical before adding heavy electrical loads.
Gather all necessary tools before starting the installation. You will need wire strippers, heavy-duty crimpers, wrenches or socket sets matching your battery terminals, heat shrink tubing, electrical tape, zip ties, a rubber grommet for firewall routing, and a digital multimeter. Having these tools ready ensures you can complete the installation without resorting to unsafe, makeshift wiring methods.
Selecting the Correct Wire Gauge and Fuses
Using undersized wires is one of the most common causes of vehicle fires. When high current flows through a thin wire, resistance generates extreme heat, which can melt the insulation and ignite surrounding materials. Additionally, undersized wires cause a significant voltage drop, meaning the inverter receives less than 12 volts under load, leading to inefficient operation, overheating, or automatic low-voltage shutdowns.

To determine the correct wire gauge, locate the inverter’s maximum continuous current draw in the manufacturer’s specifications. Divide the maximum continuous wattage by the nominal system voltage (typically 12V to 13.8V) to find the current draw in amperes. Refer to the manufacturer’s provided wire gauge chart rather than guessing, as longer cable runs require thicker wire to minimize voltage drop over the distance.
You must install an inline fuse on the positive (red) cable. This fuse is designed to protect the cable and the vehicle, not the inverter itself. If the positive cable rubs against a sharp metal edge and shorts to the chassis, an unfused cable will instantly overheat, melt, and cause a fire. Place the inline fuse holder as close to the positive battery terminal as physically possible—ideally within 12 inches (30 cm)—so that the unprotected portion of the cable is minimal.
If your inverter’s power requirements exceed your vehicle’s standard electrical capacity (typically above 1000 to 1500 watts), or if the required wire gauge is unusually thick, consult a qualified automotive electrician. They can evaluate your vehicle’s charging system, recommend high-output alternators, or design a dual-battery system to handle the load safely without damaging your vehicle’s factory electronics.
Step-by-Step Installation Guide
Begin by planning the path from the battery to the inverter’s mounting location. Route the positive and negative cables away from extreme engine heat, moving parts like cooling fans or steering columns, and sharp metal edges. If you must pass the cables through the vehicle’s firewall to mount the inverter inside the cabin, drill a clean hole, smooth any sharp edges, and install a tight-fitting rubber grommet to protect the cable insulation from chafing.
Install the inline fuse holder on the positive cable. Cut the positive cable near the battery end, strip the insulation, and crimp high-quality copper ring terminals or butt connectors onto the wire ends. Secure the wire ends to the inline fuse holder and seal the connections with adhesive-lined heat shrink tubing to keep out moisture and prevent corrosion. Leave the fuse itself out of the holder until the entire installation is complete.
Connect the positive (red) cable to the battery’s positive terminal. Secure the connection tightly to prevent arcing and resistance buildup, which can cause heat and voltage drops. Ensure the terminal connection is clean and free of corrosion before tightening the nut to the manufacturer’s specified torque.
Connect the negative (black) cable to a clean, unpainted chassis ground or directly to the battery’s negative terminal, strictly following the inverter manufacturer’s specific grounding instructions. If grounding to the chassis, scrape away any paint, rust, or dirt to ensure bare-metal contact, and secure the connection with a self-tapping screw or an existing factory ground bolt.
Double-check all crimped connections, apply heat shrink tubing to any exposed metal, and verify terminal tightness before proceeding. A loose connection under high current will generate extreme heat and can lead to system failure or localized melting.
Testing Your Setup and Routine Maintenance
Reconnect the vehicle’s negative battery terminal, insert the appropriate fuse into the inline fuse holder, and turn on the 12V power inverter without any devices plugged in. Check for normal operation, ensuring the status LED lights up green or blue and no warning alarms sound. If a red fault light appears or an alarm sounds, turn off the inverter immediately and use a multimeter to check the voltage at the inverter terminals.
Monitor the cables, fuse holder, and connections for abnormal heat, melting smells, or sparking during the first few minutes of use under a light load. Keep the engine running during this initial test to maintain system voltage. Carefully feel the connections to ensure they remain cool to the touch; any warmth indicates a loose connection or undersized wiring.
Plug in a low-wattage device, such as a phone charger or a small LED light, to verify stable power output. Once you confirm the system is operating correctly, you can gradually test higher-draw appliances within the inverter’s continuous wattage rating, always keeping the engine running for high-load applications.
Schedule periodic inspections to ensure terminal connections remain tight and cable insulation is intact. Driving on rough roads or experiencing extreme temperature changes can loosen connections over time. In highly humid environments, check the terminals regularly for green or white corrosion crusts and clean them with a wire brush to maintain a low-resistance connection.
Common Wiring Mistakes and How to Avoid Them
Skipping the inline fuse or placing it too far from the battery is a critical error. If a short circuit occurs along the cable run before the fuse, the fuse cannot blow, leaving the main positive cable completely unprotected. This can result in a rapid thermal runaway, melting the cable insulation and potentially igniting the engine bay or vehicle interior.
Never power high-wattage inverters through the vehicle’s cigarette lighter socket or standard interior accessory plugs. These circuits are typically fused at 10 to 15 amps, limiting their safe continuous output to about 120 to 180 watts. Attempting to draw more power will instantly blow the vehicle’s accessory fuse or overheat the thin factory wiring behind the dashboard.
Reversing polarity by connecting positive to negative and vice versa will cause immediate, severe damage to the inverter’s internal circuitry and can cause a violent spark. Always double-check the color coding (red for positive, black for negative) and the embossed “+” and “-” symbols on both the battery and the inverter before making any connections.
Avoid using household-grade solid core wire for automotive installations. Solid core wire is stiff and highly susceptible to metal fatigue from vehicle vibrations, which can cause the wire to crack and break over time. Always use high-strand-count automotive or marine-grade copper wire, which is flexible and designed to withstand constant vibration and temperature fluctuations.
Frequently Asked Questions (FAQ)
Will a 12V power inverter drain my car battery?
Yes, running a 12V power inverter while the engine is off will quickly drain your car battery. Standard starting batteries are designed for short bursts of power and do not tolerate deep discharges well. To prevent draining your battery to the point where the vehicle will not start, run the engine while using high-wattage devices, or install a secondary deep-cycle battery with an isolator for extended off-grid use.
Can I wire multiple inverters to the same battery?
While physically possible, it is generally not recommended to wire multiple inverters to the same battery. The combined continuous current draw can easily exceed your alternator’s output or your battery’s capacity, leading to system instability. If you must run multiple units, ensure each inverter has its own dedicated, properly fused positive cable running directly to the battery or a heavy-duty, fused distribution block, and verify that your vehicle’s charging system can handle the total load.

Community discussion
Share your experience or ask a question. Comments are reviewed before publication.