
To use a 3m cleaning cloth to apply scratch remover without causing swirl marks, you must prepare the paint surface thoroughly, fold the cloth into quarters to distribute hand pressure evenly, and use a straight-line or cross-hatch buffing motion instead of circular patterns. Circular buffing is the primary culprit behind micro-marring and holograms. In the tropical, high-humidity environment of the Philippines, airborne grit and rapid product drying pose unique challenges that require careful environmental control and proper lubrication.
Before operating, always check your vehicle’s paint care manual and the specific scratch remover’s label instructions. If instructions conflict, or if you are unsure of your paint type, stop and consult a professional detailer. Taking a systematic, patient approach ensures you safely restore optical clarity to your clear coat without inflicting fresh damage.
Preparation: Setting Up for a Safe Scratch Repair
Before any abrasive compound touches your vehicle, you must ensure the work area is entirely free of loose dirt and contaminants. Washing the vehicle thoroughly using a dedicated car shampoo is the critical first step. Any remaining road grime, dust, or microscopic sand particles left on the panel will get trapped beneath your cloth, acting like coarse sandpaper and leaving deep, permanent scratches across your clear coat.
Products mentioned in this guide
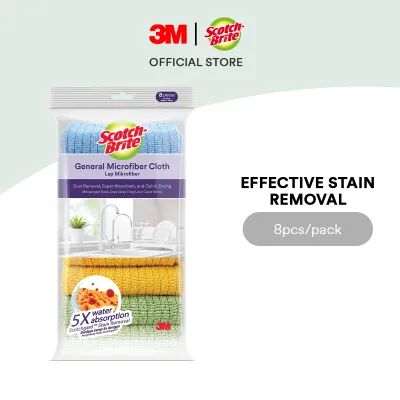
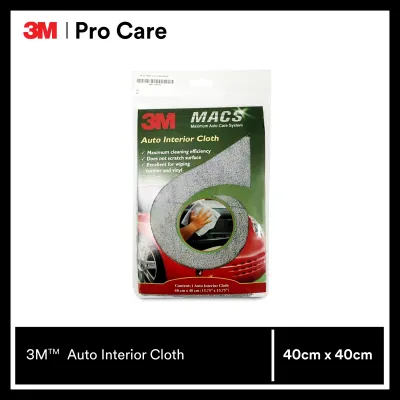
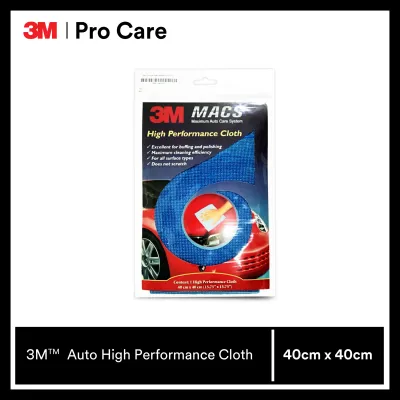
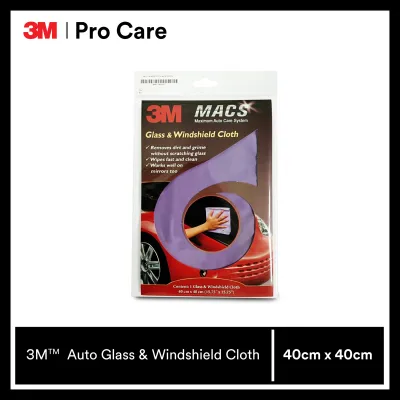
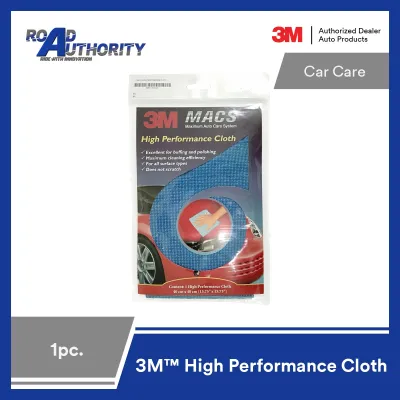
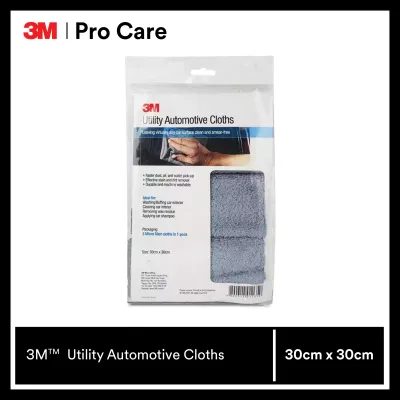
Prices are valid at publication and may change. Please refer to the product page for the latest price.
Once the vehicle is dry, you should decontaminate the specific panel you intend to repair. Using a detailing clay bar along with a suitable clay lubricant or detailing spray helps pull embedded contaminants out of the microscopic pores of the paint. Skipping this step means you risk dislodging bonded pollutants during the buffing process, which will immediately drag under your cloth and create the very swirl marks you are trying to avoid.
Environmental factors play a massive role in how paint correction products perform. In the Philippines, the intense heat and humidity can cause the solvents in scratch removers to evaporate or “flash” almost instantly. Always work in a fully shaded area, such as a covered garage or carport, and ensure the vehicle’s panels are cool to the touch. If the paint is hot, the compound will dry out too quickly, leading to high friction, stubborn residue, and localized friction burns.
Finally, read the scratch remover’s product label to verify its compatibility with your vehicle’s paint system. Hardness levels in clear coats vary significantly between automotive manufacturers. To prevent unexpected haze or paint damage, perform a small test spot in an inconspicuous area, such as the lower door sill or inside the trunk lip, before tackling highly visible panels.
Choosing and Prepping Your 3M Cleaning Cloth
Selecting the correct tool for product application is just as important as the compound itself. A premium 3m cleaning cloth designed specifically for automotive detailing is engineered with split-microfiber technology. These microscopic polyester and polyamide fibers are shaped like tiny wedges that lift and trap abrasive particles, dust, and spent compound deep within the fabric pile, keeping them away from the delicate clear coat.

Before you begin buffing, inspect your microfiber cloth meticulously. Check both sides for any trapped twigs, leaves, dried compound residue, or hardened edges from previous detailing sessions. Even a tiny piece of dried grit embedded in the fibers can ruin your paint in seconds. If you happen to drop the cloth on the ground at any point during your repair, set it aside immediately and replace it with a fresh, clean one.
To maximize control and safety, employ the “fold into quarters” technique. Fold the cloth in half, and then in half again, creating a neat, hand-sized square. This simple step provides several key advantages:
- Eight Clean Working Surfaces: You can flip and refold the cloth to access a fresh, clean section as soon as one side becomes loaded with compound.
- Cushioning: The multiple layers of folded fabric create a thick, soft cushion that absorbs uneven finger pressure.
- Edge Protection: Folding hides the hard, stitched seams or laser-cut edges of the cloth, preventing them from making direct, high-pressure contact with your vehicle's paint.
Step-by-Step Buffing Technique to Avoid Swirl Marks
Applying a scratch remover by hand requires a disciplined physical technique. By understanding how the abrasives interact with the paint and managing your movements, you can safely level the surrounding clear coat to make scratches disappear.
Priming the Cloth and Applying the Product
To begin, apply a small, dime-sized drop of scratch remover directly onto your folded microfiber cloth. Avoid dumping the product directly onto the car’s body panels, as this can lead to uneven application and excessive product buildup.
Gently massage the compound into the fibers of the cloth using your finger. This process, known as priming, ensures that the abrasives are evenly distributed across the working face of the cloth. Priming prevents “dry spotting,” which occurs when dry microfiber rubs against dry paint, generating high friction and micro-marring.
The Buffing Motion and Pressure Control
Limit your work area to a small, manageable section, typically no larger than 2×2 feet (approximately 60×60 centimeters). Working in small sections allows you to maintain consistent control over the product and prevents it from drying out before you can complete the pass.
When buffing, use overlapping, straight-line passes or a tight, controlled cross-hatch pattern (up-and-down, then left-to-right). Avoid using wide, circular motions. Circular paths naturally create curved micro-scratches that catch the light from all angles, resulting in highly visible swirl marks. Straight-line passes ensure that any minor micro-marring is uniform and easily corrected during the final polishing stage.
Control your hand pressure carefully. Let the chemical formulation and the engineered abrasives in the scratch remover do the work. Apply only moderate, even pressure using the flat of your hand rather than your fingertips. Pressing down too hard concentrates force into narrow points, which can quickly cut through the thin clear coat layer.
Maintaining Lubrication and Knowing When to Stop
Keep a close eye on how the compound behaves as you work it into the paint. The product should remain slightly wet, slick, and oily throughout the buffing cycle. This wetness indicates that the lubricants in the formula are active and protecting the paint from dry friction.
Stop buffing immediately and wipe the area clean before the product dries into a chalky, dusty haze. Buffing dry compound residue against the paint acts like dry sanding and will instantly dull the finish.
If you find that the tropical climate is causing the compound to flash too quickly, check the product label to see if you can mist a tiny amount of water or quick detailer onto the panel. This can help extend the working time of the lubricants, keeping the abrasives suspended safely.
Inspecting the Finish and Final Wipe-Down
Once you have completed your buffing passes, you must safely remove the remaining residue to evaluate your progress. Use a separate, fresh, and plush microfiber towel for the final wipe-down. Gently wipe the area in straight lines, flipping the cloth frequently to avoid dragging the spent compound back across the corrected surface.
To accurately inspect your work, you need proper lighting. Park the vehicle in direct sunlight, or use a dedicated LED detailing light held at a 45-degree angle to the panel. Examine the area from multiple viewpoints to check for any remaining scratches, hazy patches, or fine holograms.
Based on your inspection, determine the appropriate next steps:
- If a light haze remains: The scratch remover's abrasives may have left very fine micro-marring. This is normal and can be easily resolved by applying a finer finishing polish with a clean cloth using the same light, straight-line technique.
- If the scratch is still visible: Assess whether the scratch has been softened. If it is still prominent, you may repeat the process once more, provided your clear coat is thick enough. If multiple attempts yield no improvement, the defect may be too deep for hand-buffing.
Common Mistakes That Cause Swirl Marks During DIY Repair
Avoiding common pitfalls is the easiest way to protect your vehicle’s paint from unnecessary damage during a DIY repair.
- Ignoring the Fingernail Test: Run your fingernail gently across the scratch. If your nail catches in the groove, the scratch has penetrated through the clear coat and into the base color coat or primer. Hand-buffing with a microfiber cloth and compound cannot fix this; attempting to do so will only thin the surrounding clear coat dangerously. Deep scratches require professional touch-up paint or repainting.
- Using Excessive Force: Pressing down hard with your fingers concentrates heat and friction in a tiny area. This can cause the paint to haze or burn, creating a dull spot that requires professional machine polishing to correct.
- Reusing Dirty Cloths: Failing to flip or replace your cloth once it becomes loaded with spent compound and removed paint particles is a major cause of swirl marks. The loaded particles will clump together and scratch the paint as you continue to buff.
- Skipping the Final Polish or Wax: Scratch removers are designed to cut paint. Once you have leveled the scratch, the clear coat is left bare and slightly abraded. Failing to follow up with a refining polish and a protective coat of wax or sealant leaves the paint exposed to UV rays, tropical rains, and environmental contaminants, causing it to dull rapidly.
Frequently Asked Questions (FAQ)
Can I use a regular cotton t-shirt instead of a 3M microfiber cloth?
You should strongly avoid using cotton t-shirts, paper towels, or household bath towels for scratch repair. Cotton fibers are flat, woven tightly, and lack the deep, open pile of a microfiber cloth. Instead of trapping abrasive particles and paint residue safely away from the surface, cotton drags these contaminants across the paint, creating severe swirl marks and micro-marring. Microfiber is specifically engineered with microscopic channels to lift and isolate debris, making it the only safe choice for paint correction.
How should I wash the 3M cloth after using scratch remover?
To preserve your microfiber cloth for future detailing work, wash it separately from your regular laundry to prevent it from picking up cotton lint. Use a dedicated microfiber wash solution or a mild, liquid laundry detergent that does not contain fabric softeners, scents, or bleach. Fabric softeners coat the microscopic fibers, clogging their channels and destroying their ability to trap dust and absorb residue. After washing, air dry the cloth in a clean, dust-free environment, or tumble dry it on a no-heat or low-heat setting, as high heat can melt the polyester fibers and make them scratchy.
Community discussion
Share your experience or ask a question. Comments are reviewed before publication.