
A vehicle that hesitates to start on a humid morning in the Philippines can leave you stranded, wondering if your battery is failing or simply discharged. Using a digital battery tester provides a fast, accurate diagnosis of your battery’s health, voltage, and cranking capacity, provided you follow a systematic process of preparing the battery, making clean terminal connections, inputting the correct manufacturer specifications, and interpreting the screen readings under the right conditions. Instead of immediately purchasing an expensive replacement battery that could cost anywhere from ₱3,000 to over ₱8,000, learning how to operate this simple diagnostic tool allows you to pinpoint the exact state of your electrical system from your own garage.
Modern automotive and motorcycle batteries are highly sensitive to tropical heat, which accelerates internal chemical reactions and grid corrosion. Consequently, a battery that seems perfectly fine one day can fail unexpectedly the next. A handheld digital battery tester works by sending a small alternating current through the battery to measure its internal resistance, calculating its remaining life without draining the cells. This guide walks you through the entire process, from safety preparations to troubleshooting common testing errors, ensuring you get reliable, actionable data every time.
What safety precautions must you take before testing a car or motorcycle battery?
Before connecting any diagnostic tool, you must inspect the battery housing for physical damage and ensure the vehicle is completely powered down in a well-ventilated space. Lead-acid batteries contain sulfuric acid and produce highly flammable hydrogen gas during normal operation and charging cycles. A single spark near a venting battery can cause a dangerous explosion, making safety preparation the most critical phase of the entire diagnostic process.
Products mentioned in this guide

1,220 Lazada user ratings
Compact and portable design, Helps prolong battery life, Efficient diagnostic tool for car batteries, Easy to use and understand,
Fast and reliable battery analysis. Great value for money. Easy to use and understand. Convenient tool for car owners.
Convenient tool for car owners, Compact and portable design, Versatile compatibility with different battery types,
salamat 🤙 at dumating narin ng walang damage salamat din sa seller. 🙌👊🤙
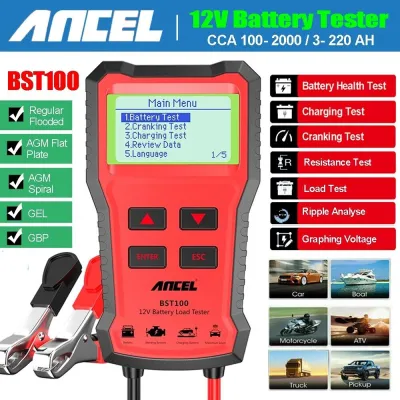
741 Lazada user ratings
I like this battery tester analyzer malalaman mo kung ano na kondisyon ng battery mukhang accurate yong mga reading ng tester ,very good par…Read full reviewShow less
I like this battery tester analyzer malalaman mo kung ano na kondisyon ng battery mukhang accurate yong mga reading ng tester ,very good para sa akin salamat sa Lazada na mabilis ang delivery
A must-have for vehicle maintenance., ok naman un item, gumagana sya. sana tumagal at matibay yung item. salamat po seller. Convenient tool …Read full reviewShow less
A must-have for vehicle maintenance., ok naman un item, gumagana sya. sana tumagal at matibay yung item. salamat po seller. Convenient tool for car and motorcycle owners., salamat seller.
Ayos na ayos! Mabilis ang delivery and gumagana sya ng maayos. Ok na ok din ang quality. Madali na imonitor ang health ang battery ng kotse …Read full reviewShow less
Ayos na ayos! Mabilis ang delivery and gumagana sya ng maayos. Ok na ok din ang quality. Madali na imonitor ang health ang battery ng kotse ko.
Quality:Good Appearance:Good Performance:Good The item is working as per functions described and specifications are correct.
The product arrived in good condition and well pack. Good quality product. And tested okay.
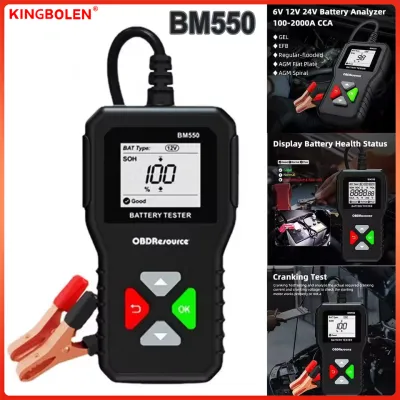
782 Lazada user ratings
The item is in exellent quality, very easy to use, accurate and looks heavy duty. I already tested the item and the results shows accurate a…Read full reviewShow less
The item is in exellent quality, very easy to use, accurate and looks heavy duty. I already tested the item and the results shows accurate and very useful for car owners. Highly recommended and it will helps car owners to determine the condition of the battery immediately once any form of fluctuation on its function. At first I was hesitant to buy this battery tester but one of my relatives advised me to purchase this kingbolen brand and thank you so much as it is worth buying it. Delivery duration is also okey. Again Thank you so much seller for selling items with great quality.
Convenient 6V/12V/24V compatibility, Easy to use and understand, Durable construction fors long-lasting use, Great tool for automotive profe…Read full reviewShow less
Convenient 6V/12V/24V compatibility, Easy to use and understand, Durable construction fors long-lasting use, Great tool for automotive professionals, Efficient cranking and charging circuit,
Received the product exactly as ordered. looks good and then try to measure the car battery and use. the delivery staff came to deliver poli…Read full reviewShow less
Received the product exactly as ordered. looks good and then try to measure the car battery and use. the delivery staff came to deliver polite products but didn't call in advance.
Great! It’s useful for preliminary checks. It’s a good idea to have one handy—just in case your car won’t start. The price is reasonable; I’…Read full reviewShow less
Great! It’s useful for preliminary checks. It’s a good idea to have one handy—just in case your car won’t start. The price is reasonable; I’d recommend it.
very usable product although not very accurate results displayed on the screen but still i considered it helpful
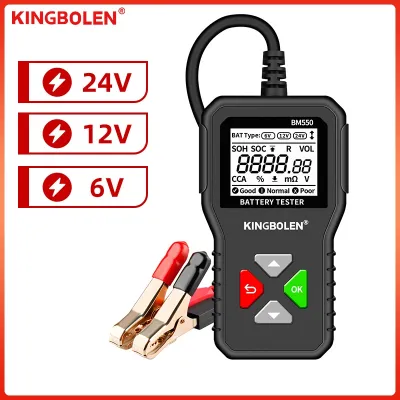
38 Lazada user ratings
i tried already, and gives me peace na good status pa ang battery ko est use additinal 6 months para mag ipon pambili ng bagong battery
Reverse connection protection, battery tester very usefull suitable to checked ebike battery..
In-car or out-of-car test, Quick internal resistance test, Measures CCA up to 2000,
In-car or out-of-car test, Displays SOH and SOC, 1.8-inch HD screen,
Plug and play design, Ideal for DIY mechanics,
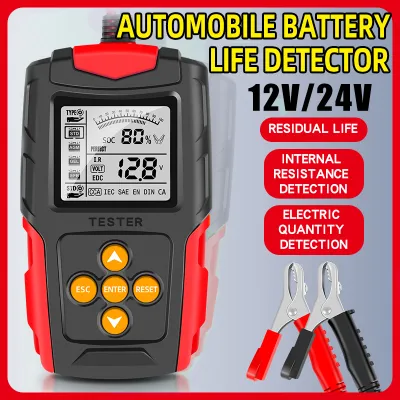
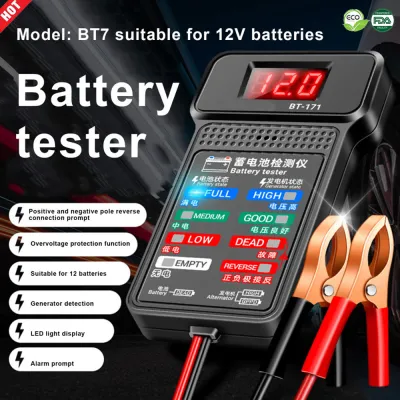
51 Lazada user ratings
tested my 2 batteries with it and it shows they may still have hope
Ideal for mechanics, Good quality material, Quick diagnostic tool,
The delivery staff is excellent, I would like to commend them.
🔨Durability:nagamit ko na ok na okPerfect for home use,
Accurate battery testing, Good quality material,
4 Lazada user ratings
Satisfied with the product
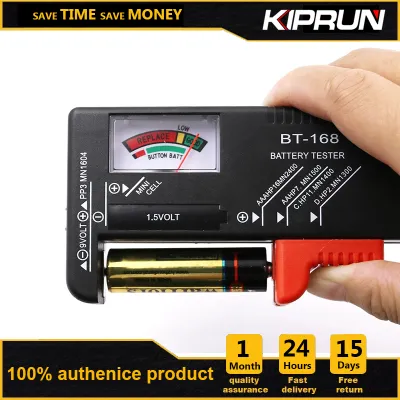
206 Lazada user ratings
Good, compact, convenient to carry anywhere, especially with those who need to use batteries to charge with the phone camera to save electri…Read full reviewShow less
Good, compact, convenient to carry anywhere, especially with those who need to use batteries to charge with the phone camera to save electricity. then charge the battery when the battery runs out first.
A must-have tool for every household., Simple and intuitive operation., Accurate battery capacity tester.,
only for 1.5v and 9v. product looks plasticity. will try later
VERY GOOD FUNCTION AND FAST DELIVERY👍
Prices are valid at publication and may change. Please refer to the product page for the latest price.
Begin by performing a thorough visual inspection of the battery casing. Look closely for any signs of bloating, bulging, cracks, or active wet leaks around the seams and terminal posts. If you notice that the plastic casing is swollen—a common consequence of overcharging or extreme tropical heat—or if there is liquid acid pooling on top of the battery, do not proceed with the test. A physically compromised battery is unsafe to test or jump-start and must be carefully removed and replaced by a qualified professional.
Next, prepare the testing environment and the vehicle itself. Ensure the vehicle’s engine is turned off, the ignition key is removed from the switch, and all electrical accessories, such as headlights, air conditioning, and cabin lights, are completely switched off. If your vehicle uses a smart keyless entry system, keep the key fob at least a few meters away from the vehicle to prevent the onboard computers from waking up and drawing current during the test. Park the vehicle in a well-ventilated area, such as an open carport or driveway, to allow any accumulated gases to dissipate safely.
Personal protective equipment is essential when working around automotive electrical systems. Always wear safety glasses to protect your eyes from accidental acid splashes or unexpected sparks, and use heavy-duty rubber or nitrile gloves to shield your skin from corrosive battery acid residue. Finally, map out where you will place the tester and its cables. Keep all testing equipment, lead wires, and your hands well clear of moving engine components, such as drive belts and radiator fans, as well as hot exhaust manifolds that could melt the tester’s protective insulation.
How do you properly connect the battery tester clamps to the battery terminals?
To establish a reliable electrical connection, you must clean the battery terminals and attach the tester’s clamps firmly in the correct sequence: positive first, then negative. Digital battery testers rely on precise micro-voltage measurements to calculate internal resistance, meaning even a tiny amount of electrical resistance at the connection point can severely skew the final health readings.

Start by identifying the positive and negative terminals on your battery. The positive terminal is almost always marked with a plus sign (+), a red plastic protective cover, or a red cable. The negative terminal is marked with a minus sign (-), a black cable, or may be bare metal connected directly to the vehicle’s chassis. If the terminals are covered in a crusty white, blue, or green powdery substance, which is lead sulfate corrosion, you must clean them before attaching the clamps. Use a dedicated battery terminal wire brush or a stiff-bristled brush to scrub the posts until you see clean, shiny metal.
Once the terminals are clean, connect the tester clamps using the standard safety sequence. First, take the red positive clamp and attach it securely to the positive (+) terminal post. Ensure the jaws of the clamp bite firmly into the lead post rather than just resting loosely on top of the terminal bolt or clamping onto the plastic protective cover. Next, attach the black negative clamp to the negative (-) terminal post. If you are testing a battery that is still installed in a vehicle and the manufacturer’s manual specifies using a chassis ground, you can attach the black clamp to a clean, unpainted metal bolt on the engine block or frame, though direct terminal connection is standard for most modern digital analyzers.
After attaching both clamps, give them a gentle wiggle to ensure they have made solid, metal-to-metal contact. The jaws of the clamps must penetrate any remaining thin layers of oxidation to prevent voltage drops during the diagnostic cycle. Throughout this process, take care to ensure that the red and black clamps do not touch each other, and that the positive clamp does not come into contact with any surrounding metal parts of the vehicle’s body or engine bay, which would cause a direct electrical short circuit.
Which testing mode and battery specifications should you input into the device?
Accurate diagnostic results depend entirely on entering the correct battery chemistry, rating standard, and capacity value into the tester’s menu. Modern digital battery testers do not simply read voltage; they use complex algorithms to compare your battery’s measured performance against its original factory specifications, making precise data entry vital.
First, locate the specification label on the top or side of your battery. You need to identify the battery’s chemistry or construction type. The most common types are standard flooded (often labeled as wet or conventional), AGM flat plate, AGM spiral, EFB (Enhanced Flooded Battery), and Gel. Standard flooded batteries are typical in most standard passenger cars in the Philippines, while vehicles equipped with automatic start-stop systems or heavy electrical modifications usually require AGM or EFB batteries. Selecting the wrong battery type in the tester’s menu will apply the incorrect testing algorithm, leading to an inaccurate health assessment.
Next, identify the rating standard used by the manufacturer. The most common standard is CCA (Cold Cranking Amps), which measures the battery’s ability to start an engine in cold temperatures. However, many batteries manufactured or sold in Asian markets use the JIS (Japanese Industrial Standard) code, such as 46B24L or 55D23L. Other standards include EN (European Norm), DIN (German Industrial Standard), or SAE. Look closely at the battery label to find which standard is printed, and select the matching option on your tester’s screen.
Once you have selected the correct standard, input the exact numerical rating printed on the label. For example, if your battery is rated at 450 CCA, use the tester’s arrow buttons to set the value to exactly 450. Avoid guessing this number or relying on the tester’s default values, as entering a higher rating than the battery’s actual capacity will make a healthy battery appear degraded, while entering a lower rating can make a failing battery appear healthy. Finally, select the appropriate test state: “In-Vehicle” if the battery is still connected to the car’s wiring harness, or “Out-of-Vehicle” if you are testing a loose battery on a workbench.
How do you interpret the voltage, health, and cranking readings on the tester screen?
Interpreting your battery tester’s output requires looking at three distinct values: the overall health status, the measured voltage, and the actual cranking capacity compared to its original rating. Once the tester completes its rapid diagnostic cycle, it will present a summary of the battery’s condition on its digital display, along with specific electrical measurements.
The most immediate reading to check is the overall health status verdict. A “Good Battery” result indicates that the battery is healthy, holds an adequate charge, and is ready for continued use. “Good-Recharge” means the internal chemistry is still in good condition, but the state of charge is low; you should fully charge the battery before relying on it. “Charge & Retest” indicates that the battery’s charge is too low for the tester to provide an accurate health reading, requiring a full recharge using a dedicated battery charger before running the test again. A “Replace Battery” or “Bad Cell” verdict means the battery has suffered irreversible internal damage or degradation and must be replaced immediately to avoid a sudden failure.
Next, examine the specific numerical values for voltage and State of Health (SOH). A fully charged, healthy 12-volt lead-acid battery should show a resting voltage between 12.6V and 12.8V. A voltage reading of 12.2V indicates the battery is only at a 50% state of charge, while anything below 12.0V is considered fully discharged. The SOH percentage represents the battery’s current cranking capacity relative to its original factory rating. For instance, if your battery was originally rated for 500 CCA but the tester measures its actual output at only 250 CCA, the SOH will display as 50%. Even if the voltage is temporarily charged to 12.6V, a low SOH indicates the battery’s internal plates have degraded and it can no longer deliver the necessary power to start your engine reliably.
If your tester supports in-vehicle system testing, you can proceed to evaluate the starter motor and alternator performance. During the cranking test, start the engine when prompted; the tester will record the lowest voltage drop during engine starting, which should ideally remain above 9.6V. A drop below this threshold suggests a weak starter motor or a severely weakened battery. For the charging test, keep the engine running and rev it as instructed by the device. The tester measures the alternator’s output voltage, which should typically fall between 13.5V and 14.5V under load. Readings outside this range point to a faulty alternator or voltage regulator that requires professional automotive electrical repair.
What common connection and setup mistakes cause inaccurate battery test results?
Misinterpreting a battery’s true condition often stems from simple setup errors, such as testing a surface-charged battery or inputting incorrect rating standards. Understanding these common pitfalls helps you troubleshoot unexpected or highly inconsistent test results before deciding to purchase a new battery.
One of the most frequent mistakes is attempting to test a battery that has a high “surface charge.” Immediately after a vehicle has been driven or connected to a battery charger, the battery exhibits an artificially elevated voltage on the surface of its plates. If you test the battery in this state, the analyzer may deliver an overly optimistic health reading. To obtain an accurate resting measurement, allow the vehicle to sit turned off for at least one to two hours, or temporarily dissipate the surface charge by turning on the high-beam headlights for about 15 seconds with the engine off, then waiting a few minutes before starting the test.
Another common error is poor clamp contact caused by dirt, grease, or corrosion on the terminals. If the tester’s clamps are attached over heavy corrosion or are resting on the plastic terminal covers rather than gripping the lead posts directly, the resulting electrical resistance will trick the tester into reporting a high internal resistance value. This often triggers a false “Replace Battery” recommendation. Always ensure the metal teeth of the clamps are biting directly into clean, bare metal on the terminal posts.
Finally, entering incorrect battery specifications during the setup phase will completely invalidate the test results. If you accidentally select the wrong testing standard—such as choosing EN instead of CCA—or enter a capacity rating that is significantly higher or lower than the battery’s actual specification, the tester’s internal microprocessor will perform its calculations using the wrong baseline. This mismatch can easily cause a perfectly healthy battery to fail the test, or allow a critically weak battery to pass undetected. Always double-check the battery’s label and verify your inputs on the tester screen before initiating the diagnostic cycle.

Community discussion
Share your experience or ask a question. Comments are reviewed before publication.