
Extracting a shattered or failed ball bearing from a vehicle requires a specialized tool called a broken ball bearing remover because standard pullers rely on an intact inner or outer race to grip. When a bearing disintegrates, leaving behind only a stubborn outer ring stuck in a housing or an inner race seized to a shaft, you must use tools like blind bearing pullers with expanding collets or heavy-duty jaw pullers to safely pull the remaining metal free. Doing this correctly prevents permanent damage to your vehicle’s steering knuckle, wheel hub, or drive axle.
Before attempting this repair, always consult your vehicle’s factory service manual to verify the exact specifications, clearances, and mounting positions of your suspension or drivetrain components. Because steering and suspension assemblies are critical safety systems, any errors during disassembly or extraction can compromise road safety. If you encounter extreme resistance or feel unsure about the process, stop immediately and seek assistance from a qualified professional mechanic.
Assessing the Damage and Selecting the Right Extractor
Before reaching for any tools, you must thoroughly inspect the failed assembly to understand exactly what remains of the bearing. A typical ball bearing consists of an outer race, an inner race, a retaining cage, and the steel balls themselves. In a catastrophic failure, the cage often shatters, allowing the balls to fall out and leaving the inner and outer races completely separated. Check whether you are dealing with a bare outer race pressed into a housing, an inner race stuck on a shaft, or a partially intact assembly with some balls still trapped inside.
Products mentioned in this guide
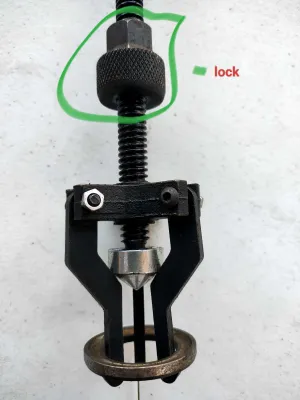
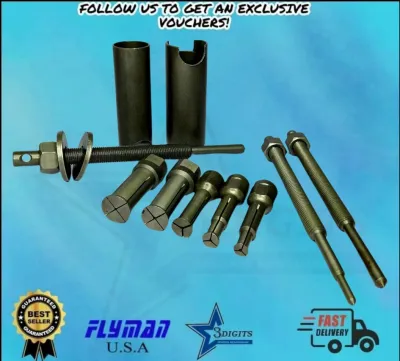
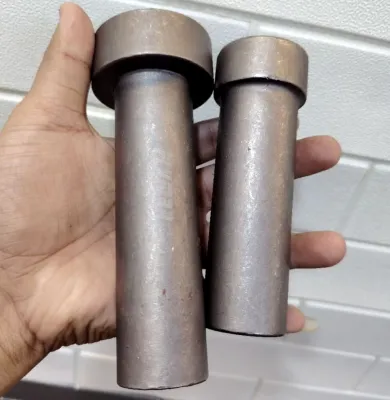
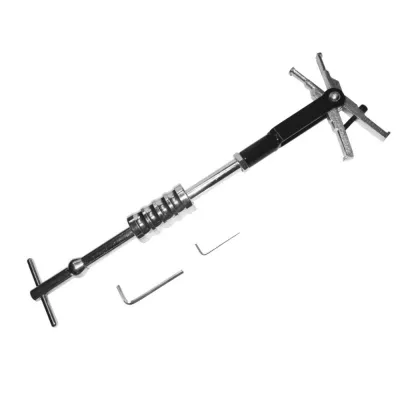
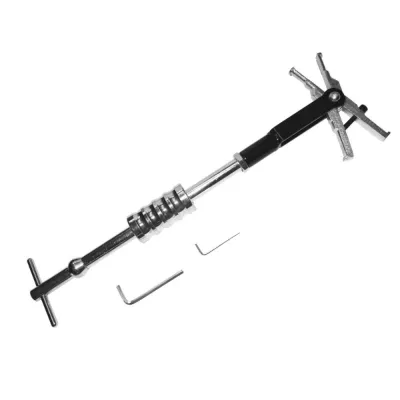
Prices are valid at publication and may change. Please refer to the product page for the latest price.
Next, determine the physical layout of the housing to choose the correct extraction method. If the bearing is seated in a through-hole, where you can access the back of the race, a standard jaw puller or a push-puller may work. However, if the bearing sits in a blind-hole housing with no rear access, you will need a blind bearing puller set featuring expanding collets. These collets slip into the center of the remaining race and expand outward to grip the internal lip securely from the inside.
Finally, verify that your chosen extractor is physically rated for the job. The tool’s jaw spread, reach, and mechanical capacity must exceed the estimated force required to break the seized bearing free. Using an undersized or low-capacity tool can lead to tool deformation, slipping, or sudden breakage under load, which risks both personal injury and severe damage to your vehicle’s suspension components.
Preparing the Vehicle and Workspace
Proper preparation is essential to ensure a safe working environment and prevent secondary damage to surrounding vehicle components. Begin by parking the vehicle on a flat, level surface, engaging the parking brake, and securing the wheels with chocks. Raise the vehicle using a heavy-duty floor jack and support it securely on jack stands rated for the vehicle’s weight; never rely solely on a hydraulic jack to support the vehicle while working underneath.

Remove the wheel, brake caliper, rotor, and any steering linkages necessary to fully expose the damaged bearing housing. When removing the brake caliper, always suspend it from the suspension spring using a heavy-duty utility hook or bungee cord to prevent tension and damage to the rubber brake hose. Clean the entire area around the bearing housing using a wire brush and a high-quality automotive degreaser to remove road grime, mud, and rust flakes that could fall into the housing or compromise your tool’s grip.
Because extracting hardened steel bearings often involves high forces and the potential for metal chipping, safety gear is non-negotiable. Wear heavy-duty, impact-resistant mechanics gloves to protect your hands from sharp metal edges and sudden tool slippage. Additionally, wear high-quality safety glasses or a full face shield to protect your eyes from flying metal shards, rust particles, or shattered bearing fragments that can eject under pressure.
Step-by-Step Extraction Process
The physical removal of a broken bearing requires patience, precision, and a steady application of force. The most critical rule of bearing extraction is to keep the pulling force perfectly aligned with the central axis of the shaft or housing bore. If the extractor is misaligned even slightly, the bearing race will cock or tilt, binding itself tighter into the bore and potentially scoring or gouging the metal mating surfaces beyond repair.
Using a Standard Jaw Puller for Accessible Bearings
If the remaining bearing race is accessible from the rear and has enough of a lip for external grip, a standard jaw puller is highly effective. Begin by positioning the puller’s jaws securely behind the shoulder of the bearing race. Double-check that the jaws are gripping only the hardened steel of the bearing and are not resting on the housing lip, dust shields, or the shaft itself, which could easily bend or crack under pressure.
Align the forcing screw of the puller precisely with the center of the shaft. To protect the threads on the end of the shaft from being crushed or distorted by the hardened tip of the forcing screw, place a protective steel pad, a specialized shaft protector, or a temporary sacrificial bolt into the shaft’s center hole. This step is vital for preserving the threads needed to reinstall your axle nut or retaining hardware later.
Slowly turn the forcing screw clockwise using a hand wrench or socket to apply gradual, incremental torque. Avoid using pneumatic or electric impact wrenches for this step, as the sudden, violent torque can cause the puller jaws to slip off the narrow bearing lip or shatter the hardened steel tool. As you tighten the screw, continuously monitor the alignment of the jaws and watch for any signs of binding, uneven stress, or tool slippage.
Deploying a Blind Bearing Puller and Slide Hammer
When a bearing outer race is pressed deep into a blind hole, or when the inner race has shattered leaving only a smooth outer ring in the bore, a blind bearing puller paired with a slide hammer is the correct tool. Select an expanding collet from your kit that closely matches the inner diameter of the remaining bearing race. Insert the collapsible collet into the center of the race, ensuring the gripping lip of the collet slips completely behind the rear edge of the ring.
Tighten the collet’s expansion pin or internal screw using hand tools to expand the collet segments outward. The collet must expand tightly against the inner walls of the race, locking its shoulder firmly behind the bearing’s rear edge. A loose collet will slip out immediately when force is applied, rounding off the gripping edges of both the tool and the bearing race.
Thread the slide hammer shaft securely onto the exposed stem of the expanded collet, ensuring the connection is fully threaded and locked to prevent thread stripping. Hold the slide hammer shaft straight and parallel to the bore, then slide the heavy weight back sharply against the stop handle. Use controlled, straight-line impacts rather than wild, angled swings; pause after every few blows to check for axial movement of the bearing and to re-tighten the collet expansion screw if it has vibrated loose.
Managing Seized Bearings and Knowing When to Stop
In regions with high humidity, tropical rainfall, or coastal salt air, suspension and drivetrain components are highly susceptible to severe rust and galvanic corrosion. If the bearing race refuses to budge under normal extraction force, do not attempt to force it with oversized breaker bars or cheater pipes. Instead, apply a high-quality penetrating oil generously to the seam where the bearing race meets the housing, and allow it to dwell for at least 15 to 30 minutes to break down the rust barrier.
If penetrating oil alone is insufficient, you can apply controlled heat to the outer housing using a propane or MAP gas torch to expand the metal housing slightly. Direct the flame only at the surrounding housing, never directly at the bearing race or the shaft, and keep the heat source moving constantly to avoid localized overheating. Always keep a fire extinguisher nearby, and ensure there are no rubber seals, ABS wheel speed sensors, brake lines, or flammable grease deposits in the immediate vicinity that could melt or ignite.
Knowing when to stop is the difference between a successful DIY repair and an incredibly expensive replacement bill. If you observe the puller tool beginning to bend, if the housing shows signs of cracking or distortion, or if you notice severe metal shaving and galling on the shaft, stop immediately. At this point, the bearing is likely cold-welded or seized beyond the capability of hand tools, and the assembly must be removed from the vehicle and taken to a professional machine shop equipped with a heavy-duty hydraulic press.
Post-Removal Inspection and Housing Preparation
Once the broken bearing is successfully extracted, you must thoroughly inspect and prepare the mating surfaces before attempting to install a replacement. Use a clean, lint-free cloth and a mild solvent to wipe away all old grease, dirt, and metal shavings from the housing bore and the shaft. Inspect the metal surfaces closely under a bright light for any signs of scoring, deep scratches, rust pitting, or ovality caused by the failed bearing spinning in its seat.
If you find minor surface rust or small burrs on the shaft or housing, you can carefully clean them up using fine-grit emery cloth or a light abrasive pad. Work in a circular motion around the shaft or bore rather than lengthwise to maintain a uniform, round profile. Avoid using aggressive files or grinding stones, as removing too much metal will ruin the precise interference fit required to hold the new bearing securely in place.
Finally, double-check the entire area for any remaining debris, shattered steel balls, or fragments of the old bearing cage that may have fallen into the axle housing or CV joint boot. Any leftover metal particles can quickly migrate into your new bearing or nearby gears, causing rapid wear and premature failure. Once the area is completely clean, smooth, and dry, apply a thin film of clean engine oil or assembly lubricant to the bore to protect the metal and facilitate the smooth installation of your new bearing.
Frequently Asked Questions (FAQ)
Can I drive my car with a broken ball bearing to the repair shop?
No, you should never drive a vehicle with a broken or severely damaged ball bearing, even for a short distance. A broken bearing compromises the structural integrity of your wheel hub assembly, which can lead to sudden wheel detachment, complete hub seizure, or catastrophic suspension failure while the vehicle is in motion. Operating the vehicle in this condition also risks destroying the steering knuckle, axle shaft, and brake assembly, turning a relatively simple bearing replacement into an incredibly expensive and dangerous repair. Always have the vehicle towed to a repair shop or complete the extraction and replacement on-site.
What should I do if the bearing inner race is spun on the shaft?
A spun inner race occurs when the bearing seizes internally, forcing the inner ring to spin directly against the axle or spindle shaft. This friction generates extreme heat, resulting in deep grooving, scoring, or even localized welding and metal transfer on the shaft surface. Standard pullers often cannot grip a spun race because the metal has deformed or fused to the shaft. If you suspect a spun race, you must inspect the shaft’s outer diameter with a micrometer; if the shaft is worn below the manufacturer’s minimum tolerance, it cannot safely support a new bearing and must be professionally resurfaced, sleeved, or completely replaced.
Community discussion
Share your experience or ask a question. Comments are reviewed before publication.