
Using a grease passage unclogging tool is a highly effective way to restore vital lubrication to your vehicle’s suspension and steering joints when grease has hardened inside the passage. This specialized tool works by injecting a light oil or solvent directly into the zerk fitting under controlled hydraulic pressure, dissolving the stubborn clog without damaging the surrounding components. By mastering this technique, you can extend the life of expensive steering linkages, ball joints, and control arms without the immediate need for costly parts replacement.
Over time, grease exposed to road debris, water, and high operating temperatures can dry out, leaving behind a solid clay-like residue that blocks fresh lubricant from entering. A standard grease gun often lacks the ability to break through this hardened barrier safely. A dedicated unclogging tool solves this problem by utilizing hydraulic shock or steady mechanical pressure to force a low-viscosity fluid into the blockage, softening the old grease and clearing the pathway for fresh lubricant.
Preparing Your Vehicle and Workspace for Safe Access
Before beginning any work on your vehicle’s chassis or suspension, safety must be your primary priority. Park the vehicle on a solid, level surface such as a concrete garage floor or driveway. Engage the parking brake firmly, place the transmission in Park (or first gear for manual transmissions), and position heavy-duty wheel chocks behind the tires that remain on the ground to prevent any accidental rolling.
Products mentioned in this guide
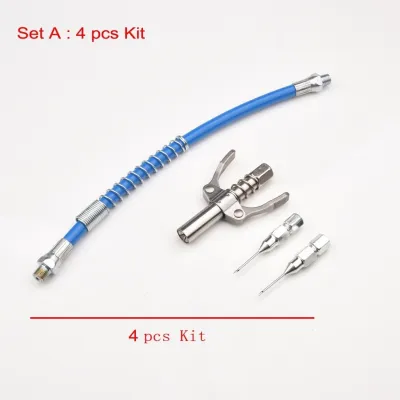
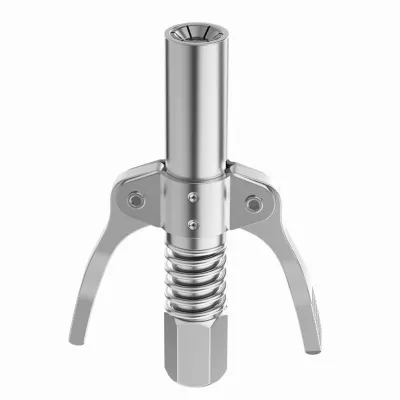
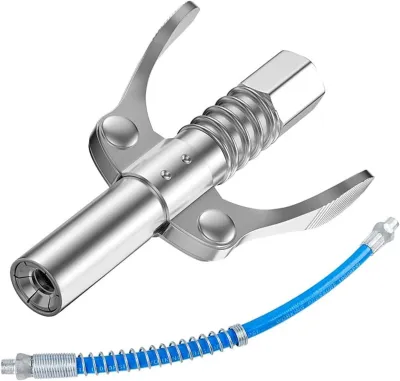
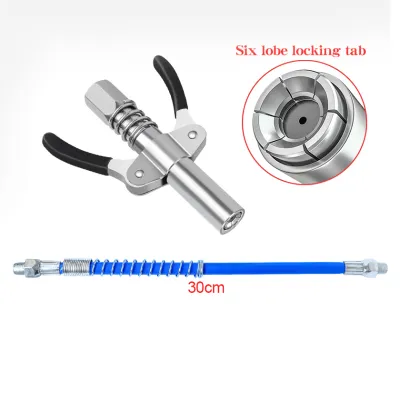
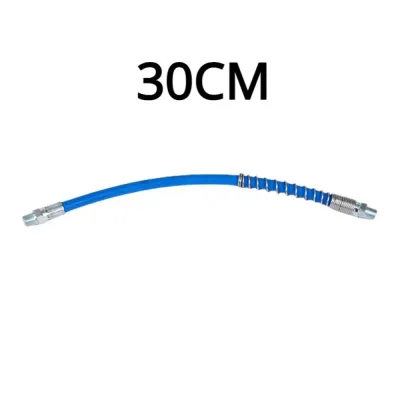
Prices are valid at publication and may change. Please refer to the product page for the latest price.
If you need to raise the vehicle to access the grease fittings, always consult your vehicle’s owner’s manual to locate the designated factory lift points. Secure the vehicle safely on jack stands of the appropriate weight rating before crawling underneath; never rely solely on a hydraulic floor jack to support the vehicle’s weight while you work.
Once you have clear access to the target area, clean the exterior of the grease fitting (commonly known as a zerk fitting) and the surrounding metal surface thoroughly. In tropical climates, road grime, mud, and high humidity can bake onto suspension components, creating a hard crust around the fittings. Use a wire brush and a clean rag to remove all traces of dirt, rust, and old grease from the tip of the fitting. This step is critical because any dirt left on the zerk will be pushed directly into the joint by the unclogging tool, causing rapid internal wear and premature component failure.
Gather all the necessary equipment before starting the process. You will need your grease passage unclogging tool, a light penetrating oil or solvent recommended by the tool manufacturer, a hammer (if using an impact-style tool), clean shop rags, safety glasses, and a grease gun loaded with the correct type of fresh grease specified in your vehicle’s service manual.
Step-by-Step Process for Clearing the Blockage
To begin the unclogging process, prepare the tool by unscrewing its piston or plunger assembly from the main body. Fill the tool’s internal chamber with a light penetrating oil, multi-purpose lubricant, or a specialized solvent as directed by the manufacturer’s instructions. Ensure the fluid you choose is safe for rubber components, as harsh solvents can degrade the delicate rubber dust boots that protect suspension joints. Reinsert the piston slightly, holding the tool upright to bleed out any trapped air pockets, which ensures that the force applied is transferred directly through the liquid.

Push the coupler of the unclogging tool firmly onto the cleaned zerk fitting. The coupler must snap securely onto the fitting to create a leak-free seal. If the coupler is loose, adjust its collar to ensure a tight grip, as any gap will allow the high-pressure fluid to spray out sideways rather than entering the blocked passage.
If you are using an impact-driven unclogging tool, hold the body of the tool steady with one hand while wearing heavy-duty work gloves. Using a ball-peen hammer or a small brass mallet, strike the top of the tool’s piston with a series of light, controlled taps. The impact creates a high-pressure hydraulic shock wave through the thin oil, forcing it into the hardened grease plug. For screw-type unclogging tools, slowly turn the handle or bolt clockwise with a wrench to build steady, mechanical pressure.
Avoid using excessive, sudden force or heavy hammer blows during this process. Applying too much force can easily snap the zerk fitting off at the threads, strip the threads inside the suspension component, or rupture the internal rubber seals of the joint. If the piston does not move after several controlled taps or turns, stop and check the alignment of the tool.
As the penetrating oil begins to break down the clog, you will feel the piston yield and slide forward into the tool body. This movement indicates that the fluid is successfully penetrating the blockage. Keep a clean rag wrapped around the base of the fitting to catch any expelled debris, old grease, and dirty oil that seeps out of the joint’s relief areas during the process, keeping your workspace clean and allowing you to monitor your progress.
Verifying Clearance and Restoring Proper Lubrication
Once the piston has traveled its full length, the blockage should be sufficiently softened or cleared. Carefully pull the unclogging tool off the zerk fitting. Wipe away any remaining oil or dissolved grease from the fitting and the surrounding area to prepare for the final lubrication step.
Attach a standard manual grease gun loaded with the vehicle manufacturer’s recommended grease to the zerk fitting. Pump the grease gun handle slowly and methodically. You should feel a normal, smooth resistance as the fresh grease flows into the joint, rather than the solid, unyielding resistance experienced before the unclogging process.
While pumping, closely observe the target component, such as a ball joint, tie rod end, or sway bar link. Watch for the rubber dust boot to expand slightly, or look for fresh, clean grease to begin purging gently from the boot’s relief valve or seal edges. This visual confirmation ensures that the fresh lubricant has reached the internal wear surfaces where it is needed most. Stop pumping immediately once you see fresh grease emerging to prevent over-pressurizing and rupturing the rubber boot.
Finish the job by wiping the zerk fitting completely clean with a dry rag. Any grease left on the tip of the fitting will attract road dust and grit, leading to future blockages. If your vehicle is equipped with them, install a tight-fitting rubber dust cap over the zerk fitting to provide an extra layer of protection against moisture, mud, and road salt.
Recognizing Damage and Knowing When to Stop
While a grease passage unclogging tool is a highly effective solution for most stubborn clogs, there are situations where the tool cannot resolve the issue, and continuing to force it can cause severe damage. You must be able to recognize when a component is beyond simple maintenance and requires replacement.
Inspect the zerk fitting itself for physical damage. If the fitting is severely rusted, bent, or has a seized internal ball check valve that refuses to depress, the unclogging tool will not work. In these cases, it is far more practical and safer to unscrew the damaged zerk fitting using a socket or a specialized zerk extraction tool and replace it with a new one. Replacement zerk fittings are highly affordable, often costing less than ₱50, and installing a fresh fitting is often the quickest way to resolve a stubborn blockage.
Pay close attention to the condition of the joint’s rubber dust boot. If you notice that the boot is already torn, cracked, dry-rotted, or completely missing, clearing the grease passage will not save the component. A damaged boot allows road grit and water to enter the joint constantly, grinding away the internal metal surfaces. In this scenario, the joint is likely already compromised and must be replaced to ensure vehicle safety.
Stop the DIY process immediately and consult a qualified mechanic if you detect any physical play, looseness, or clicking noises in critical steering or suspension components when moving them by hand or with a pry bar. Steering and suspension parts are vital safety systems; attempting to lubricate a physically worn-out or structurally compromised joint will not restore its mechanical integrity and can lead to sudden component failure while driving.
Preventing Future Blockages Through Routine Maintenance
Establishing a proactive maintenance routine is the best way to prevent grease passages from clogging in the future, saving you time and protecting your vehicle’s chassis from premature wear. Always refer to your vehicle’s owner’s manual or factory service manual to find the recommended greasing intervals, which are typically scheduled alongside routine oil changes or tire rotations.
Always use the exact type and grade of grease specified by your vehicle manufacturer. Mixing incompatible grease types—such as mixing a clay-based grease with a lithium-complex grease—can cause a chemical reaction that leads to rapid oil separation and hardening, quickly forming a solid blockage inside the passage. Keep your grease gun loaded with a high-quality lubricant that matches the required specifications for your specific driving conditions.
In tropical regions characterized by heavy seasonal rains, high humidity, and dusty road conditions, grease can degrade more rapidly. Under these demanding environmental conditions, consider inspecting and lubricating your vehicle’s chassis joints more frequently than the standard service intervals suggest. Regular lubrication flushes out moisture and contaminants before they have a chance to settle and harden.
Finally, make it a habit to inspect the protective dust caps on your zerk fittings during every under-car inspection. Replace any missing, cracked, or loose caps promptly. These simple plastic or rubber covers play a vital role in keeping road grime and moisture away from the inlet, ensuring that every time you connect your grease gun, you are pushing clean lubricant into a clear pathway.
Frequently Asked Questions (FAQ)
Can I use a standard grease gun to clear a blocked passage?
Using a standard grease gun to force open a severely blocked passage is not recommended. While a manual grease gun can generate high pressure, grease is highly viscous and does not flow easily into a hardened clog. Attempting to force grease through a blockage often results in the high pressure escaping through the easiest path, which can easily rupture the delicate rubber dust boot or seal of the joint before the clog clears. A dedicated unclogging tool is a much safer option because it uses a thin, low-viscosity oil or solvent to dissolve and break down the clog chemically and hydraulically without damaging the joint’s protective seals.
How often should I inspect my vehicle's grease fittings?
You should inspect your vehicle’s grease fittings during every routine oil change, tire rotation, or before embarking on long road trips. Regular inspections allow you to spot torn dust boots, missing grease caps, or dry joints before they lead to expensive component failures. Always defer to the specific maintenance schedule and inspection intervals provided in your vehicle’s official service documentation to ensure optimal performance and safety.
Community discussion
Share your experience or ask a question. Comments are reviewed before publication.