
Discovering a fresh scratch on your car’s paint can be incredibly frustrating, but many light surface blemishes do not require a costly trip to a professional auto detailer. By understanding how to use a scratch remover for car paint—specifically through a systematic process of compounding and polishing—you can safely restore your vehicle’s factory shine right in your own driveway. This process relies on leveling the microscopic edges of the clear coat surrounding the scratch, creating a smooth surface that reflects light evenly. In tropical climates like the Philippines, where intense sun, heavy rain, and high humidity constantly challenge your car’s exterior, mastering this DIY paint correction technique is an invaluable skill for keeping your vehicle looking pristine.
Assessing the Scratch Depth and Clear Coat Safety
Before applying any abrasive products to your vehicle, you must determine whether the scratch is a candidate for DIY repair. Modern automotive paint consists of three distinct layers: the primer that bonds to the metal or plastic panel, the color base coat, and the clear coat, which is a transparent top layer designed to protect the paint from UV rays and physical abrasion. Rubbing compounds and polishes work by gently shaving down a microscopic portion of this clear coat to match the depth of the scratch. Therefore, the scratch must reside entirely within the clear coat layer to be safely buffed out.
To evaluate the depth of the damage, perform the fingernail test. Gently run your fingernail across the scratch, perpendicular to the groove. If your nail glides over the scratch without catching, the defect is superficial and can be easily corrected with a standard scratch remover for car paint. However, if your fingernail catches or drops into the groove, the scratch has penetrated through the clear coat and into the base coat or primer.
Products mentioned in this guide
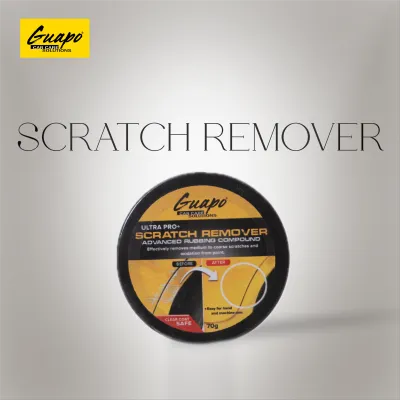
12,731 Lazada user ratings
I was curious and a bit optimistic that this product would magically remove the scratches sustained on my car based on some reviews I've rea…Read full reviewShow less
I was curious and a bit optimistic that this product would magically remove the scratches sustained on my car based on some reviews I've read but in all fairness, the product states that it only really works on light scratches. And that it does; it also removes paint marks. It only cleans up deeper scratches, making them less obvious. So I'd say it fulfills its stated purpose.
Recieved the scratch remover and tried it already, yes... light scratches disappear and it maintain its shine, its better if you use a buffi…Read full reviewShow less
Recieved the scratch remover and tried it already, yes... light scratches disappear and it maintain its shine, its better if you use a buffing machine, kahit yuong maliit lang para mas maganda ang repair, kung wala ay tiyagaan na lang, over all, good product and effective for light scratches. Will recommend... Thanks Seller and Lazada..
items received in good condition. delivered fast. items are correct based on what i ordered. it was my 3rd time ordering for shampoo and i a…Read full reviewShow less
items received in good condition. delivered fast. items are correct based on what i ordered. it was my 3rd time ordering for shampoo and i am satisfied. its my first time for the scratch remover and i hope it works fine. thank you seller, lazada and delivery rider
all items are bubble wraped... nice and secured... no damage and leakage on liquid items... arrived fast and secured ... will order again...…Read full reviewShow less
all items are bubble wraped... nice and secured... no damage and leakage on liquid items... arrived fast and secured ... will order again....
Quality:100 Appearance:100 Performance:100 bilis dumating yung parcel, diko nagagamit. edit ku ang review kapag nagamit ku na.
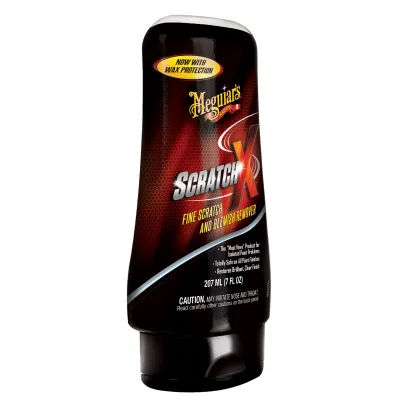
189 Lazada user ratings
maganda sya, bibili ulit
Scratch lightly removed
Very nice products 😁
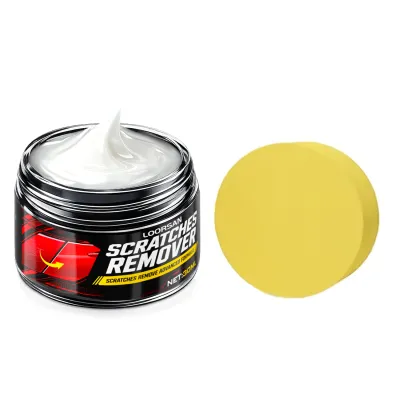
25 Lazada user ratings
The item is exactly as described!
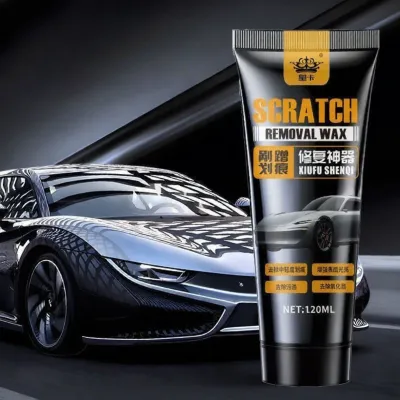
185 Lazada user ratings
Pakiredeliver po yung item nagkamali siguro ng pindot pero Ang nakalagay ay delivered na.
It takes some skill to get it right; I recommend testing it on a small area first.
haven't tried it yet. Just waiting for my vehicle to have a scratch
The car paint looks shiny after using it, I'm really satisfied!
It’s super easy to use; just a quick squeeze and it comes out!
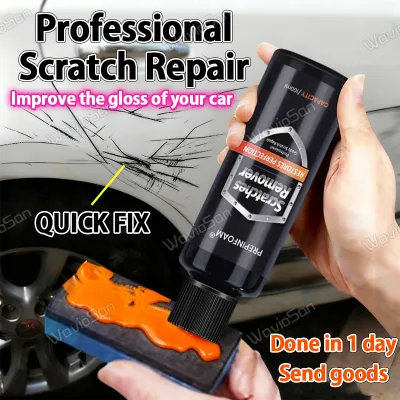
422 Lazada user ratings
🖌️Ease of Application:not tested yet. 🛠️Durability:not sure if it works for it's purpose.
👌Ease of Use:good 🖌️Ease of Application:easy 💰Value for Money:great
tested, sadly it is not effective. just a waste of money
Original quality product, One-second repair effect,
Hindi naman sya nakakaalis ng scratch sa car😥😥😥
Prices are valid at publication and may change. Please refer to the product page for the latest price.
Visual indicators also provide critical clues about the severity of the damage. Inspect the scratch closely under a bright light source; if you see a different color beneath the clear coat—such as white, grey, or bare metal—the paint layer has been breached. In these instances, attempting to buff the area with rubbing compound will only thin the remaining clear coat without removing the scratch, potentially causing permanent damage. When a scratch fails the fingernail test or displays these visual indicators, stop immediately and seek professional paint repair or use a dedicated touch-up paint kit according to your vehicle manufacturer’s paint code.
Tools and Materials Needed for Paint Correction
Achieving a flawless, swirl-free finish requires using the correct tools and materials. Using improper rags or household cleaning agents can introduce new scratches and permanently dull your clear coat. Always select products specifically formulated for automotive paint care and follow the manufacturer’s instructions carefully.

First, you will need a high-quality rubbing compound and a finishing polish. Rubbing compounds contain aggressive abrasives designed to level deep clear coat defects quickly, while polishes utilize ultra-fine abrasives to refine the surface and restore a deep, mirror-like gloss. Ensure both products are labeled as clear-coat safe.
Next, select the appropriate applicator pads. For hand application, use a firm foam or microfiber applicator pad for the compounding stage, and a separate, much softer foam pad for the polishing stage. You will also need several clean, high-density microfiber towels to wipe away product residue without marring the freshly corrected paint.
Preparation materials are equally important. Gather a pH-neutral car wash soap to clean the panel, a clay bar kit to remove embedded surface contaminants, and a roll of automotive masking tape. The masking tape is essential for covering adjacent plastic trim, rubber seals, and chrome emblems, as abrasive compounds can easily stain or damage these non-painted surfaces.
Step-by-Step Process: Applying Rubbing Compound
The compounding stage is where the actual paint correction occurs. Because this step involves removing a microscopic layer of your clear coat, preparation and careful execution are vital to avoid burning through the paint.
Begin by thoroughly washing and drying the target panel. Any dirt, dust, or road grit left on the surface will act as an extra abrasive under your pad, creating deep swirl marks and ruining your repair. In the Philippines, always perform this work in a fully shaded area, such as a garage or carport, and ensure the car’s body panels are cool to the touch. Working on hot paint or under direct sunlight causes detailing products to dry out almost instantly, making them incredibly difficult to work with and increasing the risk of paint damage. After washing, run a clay bar over the scratched area to pull out any bonded contaminants, leaving a perfectly smooth surface.
Apply a small, coin-sized amount of rubbing compound to your applicator pad. If using a fresh pad, spread a thin layer of compound across its surface to prime it. Press the pad onto the scratched area and begin working the product using overlapping, cross-hatch motions (up-and-down, then left-to-right). This ensures even coverage and prevents uneven thinning of the clear coat.
Maintain light to moderate pressure as you work. Let the abrasives in the compound do the leveling; applying excessive physical force can generate friction heat that softens and damages the clear coat. Work in small sections, roughly 30 by 30 centimeters, so you can maintain precise control over the process.
As you buff, the compound will begin to break down, transitioning from a thick paste to a thin, translucent film. Stop buffing before the product dries completely on the paint. Wipe away the residue immediately using a clean, dry microfiber towel. Inspect the scratch under a direct light source; if the scratch is still visible but visibly reduced, you may repeat the process once more, keeping a close eye on the clear coat thickness.
Step-by-Step Process: Polishing and Restoring Shine
After completing the compounding stage, you will notice that the treated area looks slightly dull, hazy, or cloudy. This is a normal and expected result of the compounding process. The coarse abrasives in the rubbing compound level the scratch but leave behind microscopic scratches of their own, known as compounding haze or micro-marring. Polishing is the essential step required to refine these micro-scratches and restore the paint’s original depth and gloss.
To begin, switch to a clean, soft polishing pad. Apply a few drops of finishing polish to the pad. Working in the same shaded environment, apply the polish to the hazy area using the same overlapping, cross-hatch pattern you used during the compounding stage.
Unlike compounding, polishing requires very light, consistent pressure. The goal is not to remove significant clear coat material, but to gently burnish the surface to a high gloss. Work the polish until it becomes a faint, oily film, ensuring you do not let it dry completely on the panel.
Buff off the polish residue immediately using a fresh, clean microfiber towel. Use a light touch and flip the towel frequently to avoid rubbing old residue back onto the paint. Once wiped clean, inspect the panel from multiple angles to verify that the haze has disappeared, leaving a uniform, glossy reflection that blends seamlessly with the surrounding paint.
Final Inspection and Paint Protection
With the correction steps complete, perform a final inspection of the repaired area. Examine the panel under different lighting conditions—such as direct sunlight, garage lighting, and a handheld LED light—to ensure the scratch is completely gone and no compounding haze remains.
Because compounding and polishing remove a microscopic layer of clear coat, they also strip away any pre-existing wax, sealant, or ceramic coating. This leaves the freshly corrected paint completely bare and highly vulnerable to environmental damage. In tropical regions, unprotected clear coat is rapidly degraded by intense UV radiation, acid rain, and organic contaminants like bird droppings and tree sap.
To protect your newly restored finish, immediately apply a high-quality car wax, paint sealant, or ceramic coating to the treated panel. This protective layer seals the clear coat, enhances the gloss, and provides a hydrophobic barrier that repels water and dirt.
To prevent future clear coat scratches, adjust your routine maintenance habits. Always use the two-bucket wash method—one bucket for soapy wash water and another with a grit guard for rinsing your wash mitt—to prevent dirt from scratching the paint during washes. Avoid automatic car washes that use stiff plastic brushes, as they are a primary source of deep swirl marks and clear coat scratches.
Frequently Asked Questions (FAQ)
Can I use a scratch remover for car paint on deep scratches?
No, a standard scratch remover for car paint or rubbing compound is not designed to fix deep scratches that have penetrated past the clear coat. If a scratch exposes the grey primer, white base coat, or bare metal, compounding will only thin the surrounding clear coat without resolving the damage. These deep scratches require touch-up paint, wet sanding, or professional body shop repair to prevent rust and restore the paint’s integrity.
Is it safe to use rubbing compound on the entire car?
It is generally not recommended to use a rubbing compound on your entire vehicle unless the paint suffers from severe, widespread oxidation or heavy swirling. Because rubbing compounds are highly abrasive and remove a portion of the clear coat, spot-treating only the affected areas is the safest approach. For general paint rejuvenation across the whole car, a much milder finishing polish or a pre-wax cleaner is a safer choice to preserve clear coat thickness.
How often can I compound and polish my car's paint?
Compounding should be done as sparingly as possible—ideally only when correcting noticeable defects like scratches or heavy oxidation. Because each compounding session removes a microscopic layer of clear coat, doing it too frequently will eventually wear the clear coat down to the base paint. Polishing, being much less abrasive, can be done once or twice a year to maintain gloss, but routine maintenance should focus on proper washing and regular application of protective wax or sealants.
Community discussion
Share your experience or ask a question. Comments are reviewed before publication.