
Using a socket pin remover correctly is the difference between a clean, professional electrical repair and a ruined wiring harness that requires an expensive trip to the auto shop. Automotive electrical connectors rely on tiny, delicate metal terminals locked securely inside plastic housings. In tropical climates like the Philippines, where high humidity, intense engine bay heat, and coastal salt air accelerate plastic degradation and metal corrosion, these connectors become exceptionally brittle and stubborn. Forcing a pin out with the wrong tool or incorrect technique will easily bend the terminal, snap the internal plastic locking tabs, or tear the wire insulation. To successfully depin a connector without damage, you must understand the locking mechanism, use the exact matching terminal release tool, and apply patient, linear pressure.
Preparing Your Socket Pin Remover and Workspace
Before you touch any wiring on your vehicle, you must establish a safe, clean, and well-lit workspace. The first and most critical safety boundary for any automotive electrical work is disconnecting the vehicle’s battery. Locate the negative battery terminal, loosen the retaining nut, and isolate the cable away from the battery post to prevent accidental short circuits, blown fuses, or damage to sensitive electronic control units (ECUs). If you are working on critical safety systems like supplemental restraint systems (SRS/airbags) or high-voltage hybrid and electric vehicle circuits, refer to your original-vehicle manufacturer instructions, as these systems require specialized safety protocols and demand qualified professional service.
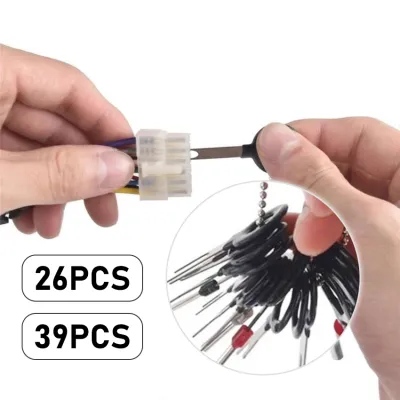
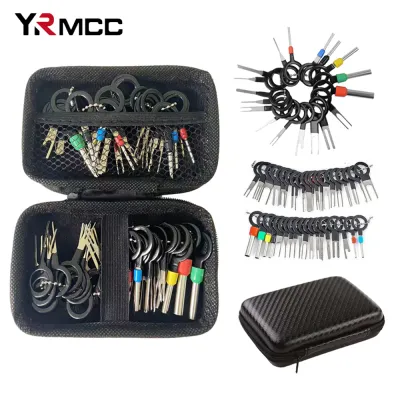
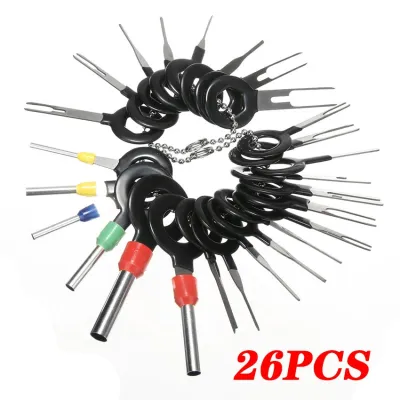
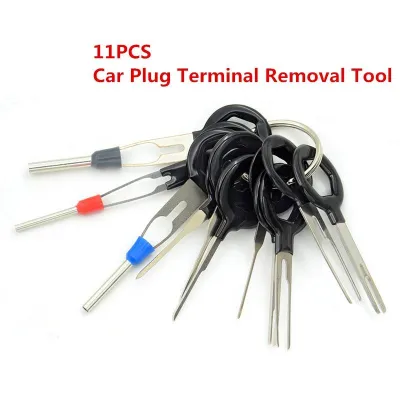
Once the electrical system is de-energized, select the correct socket pin remover from your terminal release kit. Automotive connectors use a wide variety of terminal shapes, including round pins, flat blades, and micro-sized spade connectors. Never guess the size; visually inspect the face of the connector and compare it with your tool tips. The tool must match the specific terminal cavity dimensions perfectly. Using a tool that is even slightly too large can permanently stretch the plastic housing, while a tool that is too small may bypass the locking tab entirely and bend the metal terminal.
Products mentioned in this guide
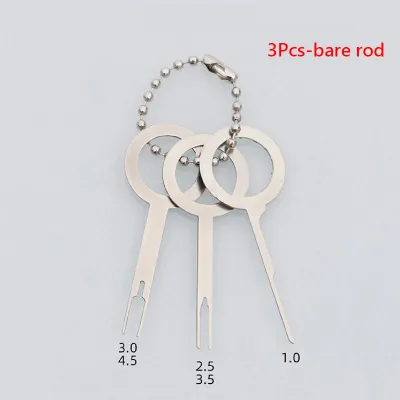
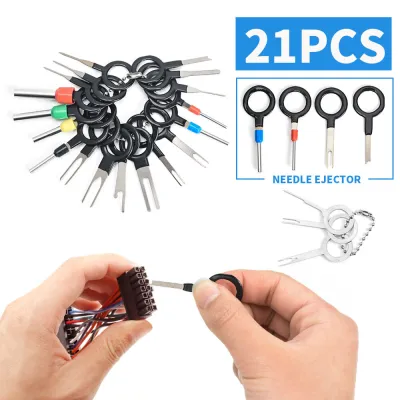
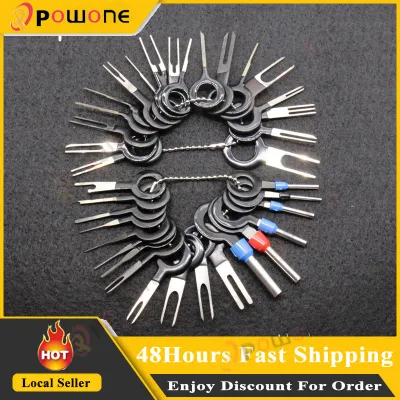
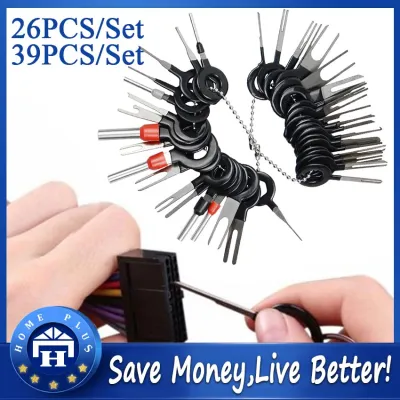
Prices are valid at publication and may change. Please refer to the product page for the latest price.
Next, clean the exterior of the connector housing thoroughly. Engine bays accumulate a thick layer of road grime, dust, and oily residue. If you insert a pin removal tool into a dirty connector, you risk pushing abrasive grit deep into the terminal cavity, which can jam the locking mechanism or cause poor electrical contact upon reassembly. Use an approved electrical contact cleaner according to its label instructions, or use a dry, soft-bristled brush to clear away loose debris from the entry points before proceeding.
Step-by-Step Pin Extraction Using a Socket Pin Remover
Extracting a terminal pin requires a delicate touch and a clear understanding of how the connector holds the pin in place. Most automotive connectors utilize a two-stage locking system to prevent wires from backing out due to engine vibrations. The first step is to identify and disengage the secondary lock, often referred to as a terminal position assurance (TPA) lock. This is typically a brightly colored plastic clip (often red, blue, or yellow) located on the outside or face of the connector housing. Gently pry or slide this secondary lock into its released position using a non-marring tool, taking care not to remove it completely unless specified by the manufacturer’s service manual.

With the secondary lock disengaged, look closely into the terminal cavity from the front (mating) face of the connector. You will see the primary locking tab, which is a tiny plastic finger molded into the housing or a small metal barb on the terminal itself. Align your socket pin remover so that its prongs or tip point directly into the release slots surrounding the terminal.
Insert the socket pin remover straight into the cavity. It is absolutely vital that you do not force, twist, angle, or wiggle the tool. The tool is designed to slide smoothly alongside the terminal to depress the locking tab. If you encounter resistance within the first few millimeters, stop immediately. Withdraw the tool, re-verify the alignment, and ensure you are using the correct tip shape. Forcing the tool will bend the delicate release prongs or gouge the internal plastic walls of the connector.
While keeping the socket pin remover fully and firmly seated to hold the locking tab down, transition your focus to the wire at the back of the connector. Gently pull the wire straight back, away from the connector housing. The terminal should slide out effortlessly. If you feel any resistance, do not yank the wire. Pulling too hard can tear the copper strands from the crimp or deform the terminal. Instead, maintain a light, steady tension on the wire while slightly adjusting the depth of the pin remover until you feel the lock release, allowing the wire and terminal to slide out smoothly.
Inspecting Terminals and Housings After Removal
Once the pin is free, you must perform a detailed inspection of both the metal terminal and the plastic housing to determine if they are safe to reuse. Begin by examining the extracted metal terminal under a bright light, using a magnifying glass if necessary. Check the locking spring or barb—the tiny metal tab that keeps the pin locked in the housing. If this tab is flattened, bent, or cracked, it will fail to lock securely when reinserted. Inspect the terminal body for any twists, bends, or cracks along the crimp area where the wire meets the metal. A deformed terminal will cause poor physical contact with its mating pin, leading to high electrical resistance, voltage drops, or intermittent electrical failures.
Next, inspect the plastic connector housing. Look inside the empty cavity to ensure the internal plastic locking fingers are intact. In older vehicles, or those subjected to the intense heat and humidity of tropical environments, these plastic tabs become extremely brittle. Look for fine white stress marks, hairline cracks, or melted areas that indicate past electrical overheating.
You must make an honest assessment of whether to reuse or discard these components. If a locking tab inside the housing is broken, or if the terminal’s locking barb is snapped, do not attempt to force the compromised pin back into the housing. A loose terminal will eventually back out due to road vibrations, resulting in a failed circuit that can be incredibly difficult to diagnose later. If any component is structurally compromised, discard it and prepare to install a replacement terminal or a new connector housing.
Troubleshooting Stubborn Pins and Stop Conditions
Even with the correct tools, some pins will refuse to budge. When you encounter a stubborn terminal, the worst thing you can do is apply more force. Instead, take a step back and re-evaluate the connector design. Double-check if there is a hidden secondary lock you missed, or if the connector requires a different style of release tool—such as a dual-prong tool instead of a single-pin probe. Refer to the vehicle’s service documentation to confirm the exact connector family and its recommended extraction procedure.
In tropical regions, moisture ingress often leads to corrosion inside the connector cavity. This corrosion acts like glue, bonding the metal terminal to the plastic housing. If you suspect dirt or corrosion is jamming the terminal, spray a small amount of quick-drying electrical contact cleaner directly into the cavity. Let it sit for a moment to dissolve any grime, then gently push the wire forward (into the connector) before attempting to insert the pin remover again. Pushing the wire forward first relieves pressure on the locking tab, making it much easier for the tool to depress the lock.
You must recognize when to stop to avoid ruining the entire wiring harness. If the terminal remains stuck after multiple careful attempts, or if you notice the plastic housing is beginning to deform or shave off under the pressure of the tool, you have reached a hard stop condition. Continuing will likely tear the wire out of the harness, requiring a much more complex and expensive repair. At this point, the safest course of action is to cut the damaged connector off and splice in a high-quality replacement pigtail, or consult a qualified automotive electrician who has specialized diagnostic and extraction equipment.
Frequently Asked Questions (FAQ)
Can I use a paperclip or small screwdriver instead of a socket pin remover?
Using improvised tools like paperclips, safety pins, or precision screwdrivers is highly discouraged for automotive electrical work. These items do not have the precise geometry, thickness, or taper required to interface with delicate terminal locks. A paperclip is often too thick, which can permanently stretch or break the plastic locking tabs inside the connector housing. Furthermore, improvised metal tools lack insulated handles and precise control, greatly increasing the risk of scratching the terminal plating, bending the contact tongue, or causing short circuits if they accidentally bridge live contacts. Investing in a dedicated socket pin remover set ensures you have the exact tool shape to release the pins safely without causing costly damage to your vehicle’s wiring harness.
What should I do if the locking tab breaks during removal?
If an internal locking tab or an external retaining clip breaks during the removal process, the structural integrity of the connector is compromised. In the high-vibration environment of an engine bay, a broken lock means the terminal will eventually back out, causing intermittent electrical connection issues or complete circuit failure. Moisture and dirt will also easily penetrate a loose connector, leading to rapid corrosion. If the break is minor but affects the terminal’s ability to lock, you must replace the damaged housing. For most common vehicles, you can purchase replacement connector housings or complete pigtail assemblies (which come with pre-wired connectors) for a nominal cost, often ranging from ₱150 to ₱800 depending on the complexity of the plug. Splicing in a new, undamaged pigtail using marine-grade heat-shrink tubing is the only reliable way to ensure a long-lasting, moisture-resistant repair.
Community discussion
Share your experience or ask a question. Comments are reviewed before publication.