
Restoring your vehicle’s wiper blades with a wiper repair tool is a straightforward process that involves shaving away a micro-layer of damaged rubber to reveal a fresh, clean edge. In tropical climates where intense sun exposure and sudden downpours are common, wiper blades can degrade rapidly, leading to annoying streaks and reduced visibility. Instead of immediately discarding a set of wipers that are otherwise structurally sound, using a specialized restoration tool can help you regain clear vision through your windshield while saving money on premature replacements.
To achieve a smooth, streak-free wipe, the tool must be used with steady hand pressure and proper alignment. This guide outlines how to evaluate your wiper blades, prepare your workspace, and execute the cutting process safely without damaging your windshield or the wiper assembly. By following these steps, you can safely extend the service life of your wipers and ensure reliable performance during heavy rain.
When to Use a Wiper Repair Tool vs. Replacing the Blade
Before attempting to restore your wiper blades, you must determine if the rubber is in a repairable condition. A wiper repair tool works by trimming away a very thin strip of the outer rubber edge that has become hardened, oxidized, or slightly nicked. This process is highly effective for addressing minor streaking, fine water lines, or slight hazing on the glass caused by normal environmental wear.
Products mentioned in this guide
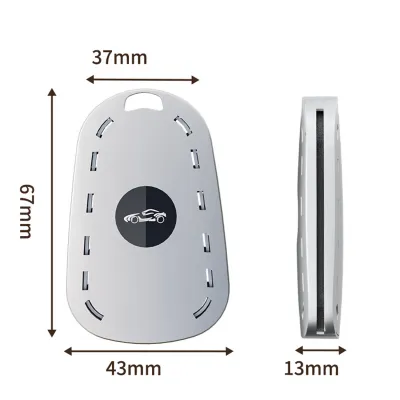

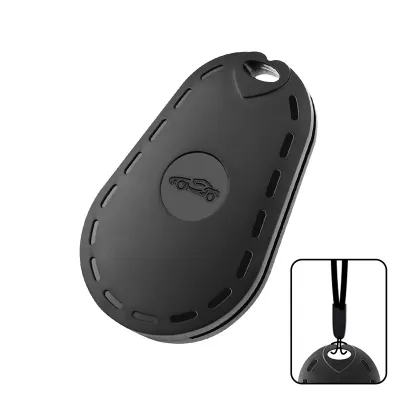
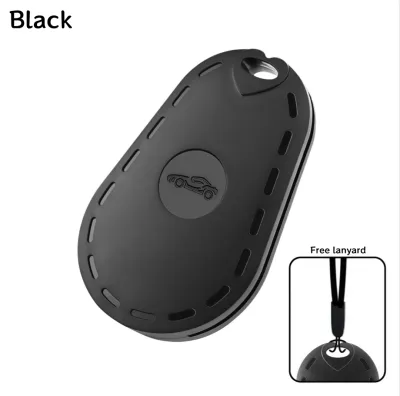
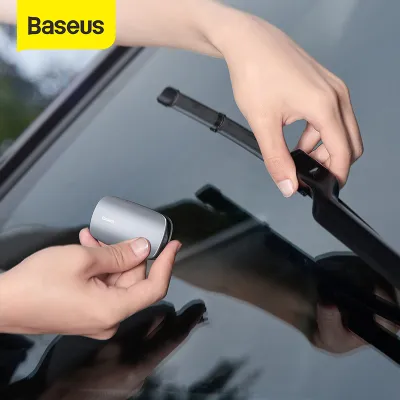
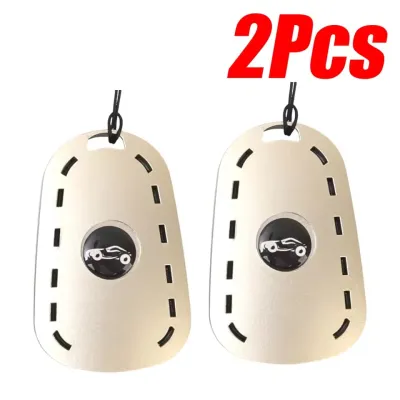
Prices are valid at publication and may change. Please refer to the product page for the latest price.
However, a repair tool cannot restore structurally compromised rubber. If your wiper blades exhibit deep cracks, physical tears, missing chunks, or if the rubber has completely separated from the metal or plastic frame, resurfacing will not work. Additionally, if the wiper’s internal spring steel or external frame is bent, the blade will not apply even pressure across the windshield, making a full replacement necessary.
To assess your wipers, perform a quick visual and tactile inspection. Lift the wiper arm away from the windshield and gently run your fingers along the entire length of the rubber squeegee. Feel for flexibility and smoothness; the rubber should bend easily without cracking or crumbling. If the rubber feels extremely stiff, brittle, or shows visible splitting at the hinge point, skip the repair tool and purchase a compatible set of replacement blades.
Tools and Materials Needed for the Job
Having the right materials on hand ensures a smooth restoration process and prevents accidental damage to your vehicle’s glass. The primary instrument required is a dedicated wiper repair tool, which typically features a small plastic housing containing a precision micro-cutter or an abrasive sanding element. Always read the specific manufacturer instructions for your tool, as cutting directions and slot alignments can vary.

In addition to the repair tool, you will need a clean microfiber cloth and a high-quality automotive glass cleaner or isopropyl alcohol. These cleaning agents are essential for degreasing the rubber element before cutting, ensuring the tool slides smoothly without skipping. Avoid using harsh household detergents that can degrade rubber compounds or strip protective coatings from your windshield.
Optional but highly recommended items include a pair of protective utility gloves and a thick towel. The gloves will keep your hands clean from the black carbon and road grime that accumulates on older wiper blades. The towel serves as a critical safety barrier for your windshield during the repair process, protecting the glass from accidental impacts.
Step-by-Step Guide to Resurfacing Your Wiper Blades
To begin the restoration, park your vehicle in a shaded area out of direct sunlight to prevent the rubber from becoming overly soft or hot to the touch. Turn off the ignition and ensure the wiper switch is in the off position.
First, carefully lift the wiper arm away from the windshield until it locks into its raised, vertical position. Because wiper arms are spring-loaded, they can snap back down with significant force if bumped. To prevent a cracked windshield, place a folded thick towel on the glass directly beneath the wiper arm before you begin working on the rubber blade.
Next, thoroughly clean the rubber squeegee. Spray your automotive glass cleaner or isopropyl alcohol onto a microfiber cloth and pinch the rubber element gently between your fingers. Slide the cloth along the entire length of the blade several times. You will likely see a significant amount of black residue and road grime transfer to the cloth; continue cleaning with fresh sections of the microfiber until the cloth comes away clean. Removing this debris is crucial, as dirt particles can nick or dull the tool’s cutting edge.
Once the blade is clean and dry, prepare your wiper repair tool. Most tools feature guide slots designed to align the rubber lip perfectly with the internal blade. Carefully insert the rubber edge into the designated slot at one end of the wiper blade. Ensure the tool is seated squarely and flush against the rubber surface to guarantee an even cut.
Holding the wiper blade steady with one hand, apply consistent, moderate pressure to the repair tool and slide it smoothly along the rubber strip in a single, continuous motion. Avoid stopping, jerking, or changing your speed midway, as this can create uneven ridges or nicks in the rubber. A thin, thread-like strip of shaved rubber should peel away cleanly behind the tool as it moves.
After completing the pass, use a damp microfiber cloth to wipe away any loose rubber shavings or dust from the newly cut edge. Inspect the blade closely to ensure the new edge is uniform, straight, and free of jagged spots. If the tool instructions allow, a second light pass can be made if the first cut did not fully clear the damaged area. Once satisfied, carefully lower the wiper arm back onto the windshield, ensuring the protective towel is removed first.
Testing and Verifying the Repair Results
Never test your newly restored wiper blades on a dry windshield. Running wipers dry creates intense friction that can instantly damage the freshly cut rubber edge and scratch your glass. Instead, thoroughly wet the windshield using your vehicle’s built-in windshield washer fluid or by spraying a generous amount of automotive glass cleaner across the entire surface.
Once the glass is wet, turn on your vehicle’s ignition and activate the wipers for a few cycles. Watch the wipe pattern closely from inside the cabin. A successful repair should result in a clean, quiet sweep that clears water rapidly without leaving thin lines of moisture or skipped patches in your direct line of sight.
Listen carefully for any unusual chattering, squeaking, or scraping noises during operation. If the wipers continue to streak or make noise after a clean cut, the rubber may have lost its structural tension, or the wiper arm itself may not be applying even pressure. If further adjustments do not resolve the issue, the repair has reached its limit, and purchasing a new set of wiper blades is the only safe solution for maintaining clear driving visibility.
Maintenance Tips to Extend Wiper Blade Life
To maximize the lifespan of your restored wiper blades and delay the need for future repairs, establish a routine cleaning habit. Every time you wash your vehicle or stop for fuel, use a damp microfiber cloth to wipe down the rubber squeegees. Removing accumulated road film, tree sap, and dust prevents these abrasive particles from wearing down the sharp edge of the rubber over time.
Always avoid dry wiping your windshield. If you need to clear light dust or pollen, always spray washer fluid first to lubricate the glass. Additionally, check the labels of any windshield washer fluids you purchase to ensure they are formulated to be safe for rubber components. Avoid using harsh chemical additives or homemade mixtures that can strip the natural oils from the rubber, causing it to dry out and crack prematurely under intense tropical heat.
When parking your vehicle for extended periods, try to utilize shaded parking spaces or use a reflective sunshade. Direct, intense sunlight transfers extreme heat to the windshield glass, which can bake and warp the resting wiper rubber. By keeping the glass cool and maintaining clean rubber surfaces, you can preserve the flexibility of your wipers and ensure they perform reliably when sudden tropical downpours occur.
Frequently Asked Questions (FAQ)
How many times can you repair a single wiper blade?
Generally, a single wiper blade can only be repaired once or twice before it must be replaced. Each pass of a wiper repair tool shaves away a thin layer of the rubber element, reducing its overall height and thickness. If the rubber becomes too thin, it will lose the structural tension required to flip back and forth smoothly as the wiper arm changes direction. Always consult your specific tool’s manual for guidance, and replace the blade immediately if the rubber appears too thin or fails to maintain firm contact with the glass.
Can a wiper repair tool fix a torn or cracked rubber blade?
No, a wiper repair tool cannot fix a torn, split, or cracked rubber blade. These tools are designed solely to shave away microscopic surface oxidation and minor edge wear from structurally intact rubber. If the rubber has physically split, torn away from its backing, or cracked due to age and sun exposure, the structural integrity of the blade is permanently lost. Attempting to use a repair tool on a torn blade will not restore performance and can cause the rubber to tear further, potentially exposing the metal frame and scratching your windshield glass.
Community discussion
Share your experience or ask a question. Comments are reviewed before publication.