
An ignition coil socket is a highly specialized automotive tool designed to safely grip, extract, and install coil-on-plug (COP) ignition systems without damaging fragile plastic housings or tearing rubber boots. Modern vehicle engines rely on these direct-ignition systems to deliver high-voltage electricity precisely to each spark plug. Because these components are nested deep within the cylinder head and subjected to extreme engine temperatures, using the correct tool is essential to prevent costly mechanical and electrical damage during routine spark plug or coil replacement.
Using a dedicated ignition coil socket ensures that the force applied during removal and installation is distributed evenly across the designated contact points of the coil body. Standard tools often slip or apply uneven lateral pressure, which can easily crack the brittle plastic connector housing or leave a torn rubber boot stranded inside the spark plug well. By understanding the correct physical techniques, safety precautions, and inspection steps, you can successfully maintain your vehicle’s ignition system and avoid common DIY pitfalls.
Preparation and Safety Before Starting
Before attempting any work on your vehicle’s ignition system, it is vital to establish a safe working environment and gather the correct tools. Working with high-voltage electrical components carries inherent risks of electrical shock, short circuits, and severe burns. Always consult your vehicle’s official workshop manual or service documentation to verify the exact specifications, mounting positions, and compatibility of your ignition coils. If you are uncomfortable performing these mechanical and electrical steps, or if you lack the proper calibrated tools, always seek qualified professional installation.
Products mentioned in this guide
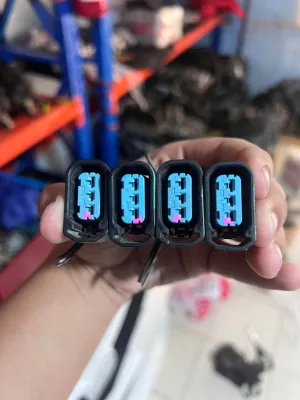
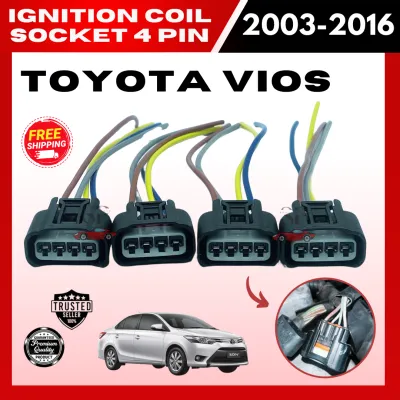
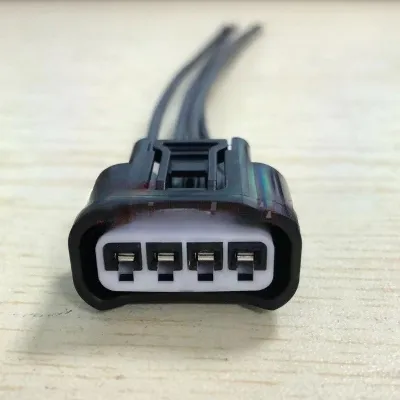
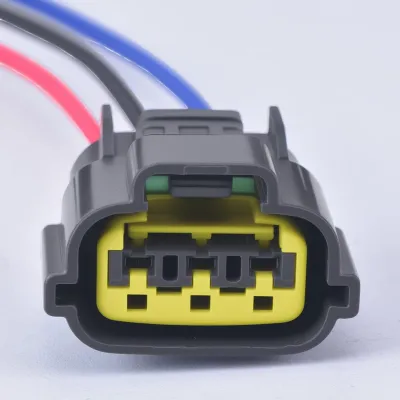
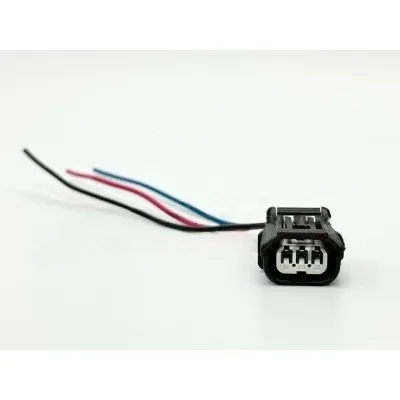
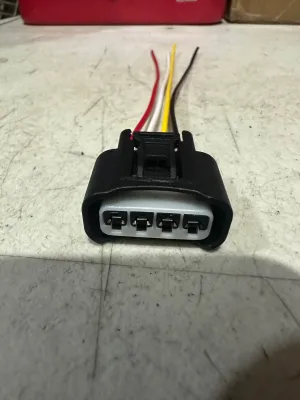
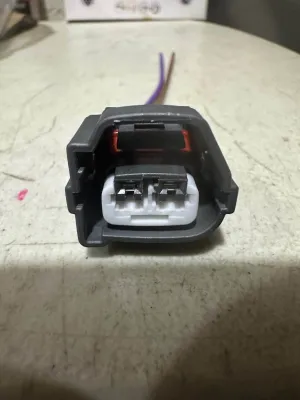
Prices are valid at publication and may change. Please refer to the product page for the latest price.
The first safety step is to disconnect the negative battery terminal to eliminate the risk of electrical shorts or accidental engine cranking. Locate the negative battery terminal clamp, which is typically secured by a 10mm nut, and loosen it with a suitable wrench. Pull the clamp completely off the battery post and position it away from the battery to prevent any accidental contact. This simple precaution protects the vehicle’s sensitive engine control unit (ECU) and prevents electrical current from flowing through the ignition system while you are working.
Working on a completely cool engine is absolutely non-negotiable for both personal safety and component longevity. In tropical climates like the Philippines, where ambient temperatures frequently exceed 30°C, under-hood temperatures can easily reach over 90°C during daily driving in heavy traffic. Attempting to remove ignition coils from a hot engine increases the risk of severe skin burns from hot metal and plastic surfaces. Furthermore, the extreme heat cycles make the plastic electrical connectors and coil housings highly brittle; manipulating these components while they are hot significantly increases the likelihood of snapping the delicate locking tabs.
To perform this job correctly, you will need a specific set of tools and materials. Ensure you have a dedicated ignition coil socket that matches the profile or dimensions of your vehicle’s coil brand and model. You will also need a suitable socket extension bar (typically 3-inch or 6-inch), a ratchet handle, a calibrated torque wrench, a soft-bristle brush, clean microfiber cloths, and a tube of high-quality silicone-based dielectric grease. Having these tools ready before you begin prevents unnecessary delays and ensures that each step can be completed with precision.
Before removing any mounting bolts or disconnecting any wires, you must clean the area around the ignition coils and spark plug tubes. Dust, road grime, and dried mud from driving through heavy tropical downpours or flooded streets can accumulate around the coil mounting spots. Use a manual dust blower, compressed air, or a soft-bristle brush to clear all loose debris from the area. If you skip this step, dirt and grit will inevitably fall down into the spark plug wells or directly into the cylinders once the coils are extracted, leading to severe internal engine wear and catastrophic damage.
Step-by-Step Guide to Removing Ignition Coils
Modern vehicles utilize Coil-on-Plug (COP) ignition systems, where an individual ignition coil sits directly atop each spark plug. These systems rely on a tight friction fit to seal out moisture and maintain electrical contact. Removing them requires a careful, methodical approach to avoid breaking the fragile plastic housings and rubber boots.

Disconnecting the Electrical Connector
Each ignition coil is connected to the engine wiring harness via a plastic multi-pin connector secured by a locking tab. Locate this tab on the side of the connector and prepare to release it. In tropical, high-humidity environments, these plastic connectors are subjected to constant moisture and heat, which can cause them to stick or bind over time.
Press down firmly on the release tab to unlock the connector. Never pull on the wires of the harness itself to disconnect it. Pulling the wires can easily pull the metal terminals out of the plastic connector housing or cause internal wire fractures that are invisible to the eye but will result in intermittent misfires and difficult-to-diagnose electrical gremlins later.
If the tab is pressed but the connector refuses to budge, do not reach for a flathead screwdriver to force it open, as this will likely snap the brittle plastic. Instead, push the connector slightly deeper onto the coil first to relieve the friction on the locking mechanism. While holding the release tab down firmly, gently wiggle the connector side-to-side and pull it backward smoothly until it slides off the terminal.
Using the Ignition Coil Socket for Extraction
Once the electrical connector is detached and the mounting bolt is removed, position your specialized ignition coil socket over the top of the coil body. Push the socket down firmly and evenly until you feel the internal rubber grippers or the specific socket profile fully engage the designated extraction points on the coil.
Attach a suitable extension bar to the socket to maintain a perfectly vertical alignment relative to the spark plug tube. It is absolutely critical to avoid tilting or side-loading the tool during extraction. Any side-loading or tilting of the tool can exert uneven lateral force on the plastic coil housing or the spark plug ceramic underneath, leading to structural cracks or broken components.
With your hands on the extension bar, apply gentle, steady upward tension. At the same time, slightly rotate the socket back and forth in a small arc of about 10 to 15 degrees. This subtle twisting motion helps break the vacuum seal and the physical adhesion that has developed between the inner rubber boot and the smooth porcelain of the spark plug over thousands of kilometers of driving.
If the coil feels completely fused and refuses to budge, do not use excessive brute force or yank violently. Pulling too hard can tear the rubber boot away from the plastic coil body, leaving the lower half of the boot stuck deep inside the spark plug tube. If this happens, you will have to stop and use specialized extraction tools to retrieve the torn rubber fragment before you can access the spark plug.
Inspecting and Preparing Components for Reinstallation
Once the ignition coil is successfully removed, take the time to inspect every part of the assembly before deciding whether to reinstall or replace it. Examine the rubber boot carefully under a bright light. Look for cracking, swelling, heat blistering, or carbon tracking, which appears as fine, black, zigzag lines on the surface of the rubber.
In highly humid and coastal areas of the Philippines, the combination of salty air, moisture, and high heat accelerates the breakdown of rubber. A degraded boot will fail to contain the high-voltage spark, allowing it to arc to the engine block instead of firing the spark plug, resulting in a noticeable engine misfire. If you notice any of these signs of degradation, the boot or the entire coil assembly must be replaced.
Look inside the bottom of the boot to inspect the metal contact spring. Ensure it is straight, has not collapsed, and is free of rust or green corrosion. If there is rust or corrosion on the spring, it will restrict the electrical current, leading to a weak spark and poor engine performance. Clean the spring according to the manufacturer’s instructions or replace the assembly if the corrosion is severe.
To protect the assembly from moisture and make future removal easier, apply a thin, uniform film of silicone dielectric grease to the inner lower lip and the outer surface of the rubber boot. This grease is highly effective at sealing out humidity and preventing the rubber from baking onto the spark plug porcelain. Ensure the grease you use is authorized by the manufacturer for use on automotive rubber and plastics.
You must keep the dielectric grease away from the internal metal spring contact and the spark plug’s terminal tip. Because dielectric grease is a non-conductive insulator, applying it directly to the electrical contact points can restrict or completely block the flow of electricity, causing immediate misfires and starting issues. Only apply the grease to the rubber surfaces that contact the porcelain body of the spark plug.
Proper Installation Techniques Using the Socket
Align the ignition coil assembly straight over the spark plug tube and lower it carefully into the well. Push down firmly by hand until you feel or hear a distinct “click” or snug seating action. This indicates that the rubber boot has fully engaged the spark plug porcelain and the internal spring has made positive contact with the spark plug terminal.
If the spark plug wells are deep or difficult to reach by hand, you can place the coil into the ignition coil socket and use the extension bar to guide it down smoothly. This ensures the assembly stays perfectly vertical and does not bind against the tube walls. Be careful not to apply excessive downward pressure that could crush the internal spring or damage the spark plug.
Insert the small mounting bolts by hand first to prevent cross-threading. Turn them clockwise for several full rotations to ensure they are threading smoothly into the aluminum cylinder head. Aluminum threads are soft and can easily be stripped or cross-threaded if you immediately use a ratchet or power tool.
Tightening these bolts requires extreme care. Over-tightening can easily crack the plastic mounting ear of the ignition coil or strip the delicate threads in the engine block. Refer to your vehicle’s official workshop manual for the exact torque specification. This value is typically very low, often specified in Newton-meters (Nm) or inch-pounds (in-lbs) rather than foot-pounds. Use a calibrated torque wrench to tighten the bolt to the exact manufacturer specification.
Once the mounting bolts are secured, line up the electrical connector and push it onto the coil terminal until you hear a distinct, positive click from the locking tab. Give the wiring harness a gentle tug to verify that the connector is locked in place and will not vibrate loose while driving on uneven roads. Repeat this process for all remaining cylinders.
Post-Installation Verification and Testing
After all the ignition coils are securely installed and connected, you can proceed with the post-installation verification. Reconnect the negative battery terminal clamp to the battery post and tighten it securely with your wrench. Ensure the connection is tight and free of movement to maintain a stable electrical path.
Before starting the engine, turn the ignition key to the “ON” position (or press the engine start button twice without depressing the brake pedal). Leave it in this position for about 5 to 10 seconds. This allows the fuel pump to prime the system, the vehicle’s electrical networks to initialize, and the engine control unit (ECU) to run its initial diagnostics.
Start the engine and let it run at idle. Listen closely to the engine sound. The idle should be smooth, steady, and free of any stumbling, hesitation, or unusual vibrations. Check the dashboard to ensure that the Check Engine Light (CEL) is not illuminated.
If you had active misfire codes before the service, connect an OBD2 scanner to the diagnostic port under the dashboard to clear the historical fault codes. Take the vehicle for a brief test drive under normal driving conditions, including light acceleration and uphill climbs, to verify that the engine runs smoothly and no new trouble codes are stored in the ECU. If any issues persist, double-check the electrical connections and coil seating.
Frequently Asked Questions (FAQ)
Can I use a standard deep socket instead of an ignition coil socket?
Standard deep sockets are not designed for this task. They lack the specialized internal rubber sleeves, magnetic inserts, or precise contours required to grip the smooth, tapered plastic body of an ignition coil. Attempting to use a standard socket can cause the tool to slip, which can easily crack the delicate plastic housing of the coil or fail to provide the secure grip necessary to pull out a tightly seated rubber boot. Investing in a dedicated ignition coil socket, which typically costs between ₱400 and ₱1,200, is essential to protect your expensive ignition components from physical damage.
What should I do if the ignition coil boot tears and gets stuck in the tube?
If the ignition coil boot tears and the lower half remains stuck inside the spark plug tube, do not start the engine or blindly poke into the tube with screwdrivers. Doing so can push the torn rubber deeper or damage the fragile spark plug porcelain. Instead, use a dedicated spark plug tube boot puller, long-reach needle-nose pliers, or long hemostats to carefully grip the torn rubber fragment and pull it straight out of the tube. Once removed, inspect the spark plug well for any debris and clean it thoroughly before installing a new coil boot assembly.
Community discussion
Share your experience or ask a question. Comments are reviewed before publication.