
A scratch on your car’s paint can be an incredibly frustrating sight, especially when you pride yourself on keeping your vehicle in pristine condition. Whether it is a light mark from a stray branch, a scuff from a tight parking space, or minor road debris damage, these imperfections detract from your car’s overall gloss and value. Fortunately, minor clear coat imperfections do not always require an expensive trip to a professional body shop, which can easily cost thousands of pesos (₱) per panel.
Using a dedicated paint restoration compound like IK Multi Pro 2 allows you to safely level and restore your vehicle’s finish right in your own garage or driveway. By understanding how to properly evaluate the depth of the damage and following a meticulous, step-by-step application process, you can achieve a smooth, high-gloss finish that blends seamlessly with the surrounding paint. Success lies in preparation, the correct technique, and understanding the physical limits of your vehicle’s clear coat.
Assessing the Scratch: Will IK Multi Pro 2 Work?
Before picking up any tools or applying any product to your vehicle, you must accurately diagnose the severity of the paint scratch. Modern automotive paint finishes consist of multiple layers applied over the bare metal or plastic substrate. The bottom layer is the primer, which helps the color adhere; next is the base coat, which provides the actual color; and the top layer is the clear coat, a transparent protective barrier that seals the paint and provides gloss and UV protection.
Products mentioned in this guide
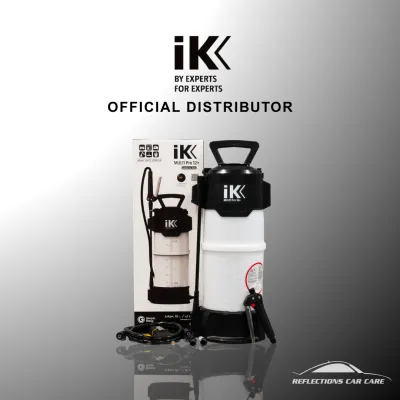
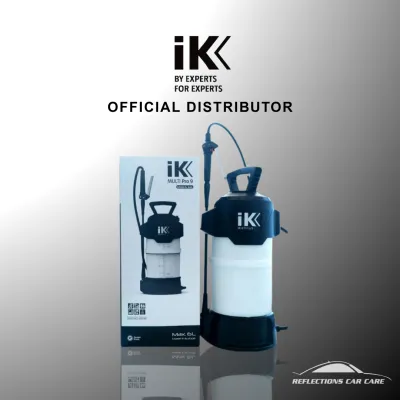
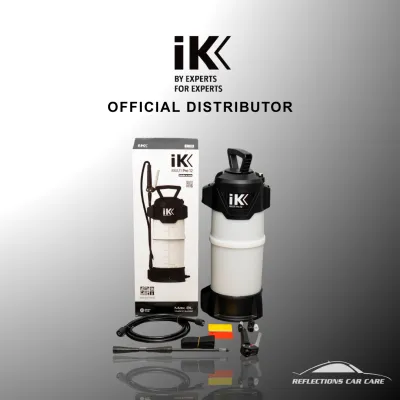
Prices are valid at publication and may change. Please refer to the product page for the latest price.
To determine if your scratch is within the repairable limits of a liquid or paste scratch remover like IK Multi Pro 2, you should perform the industry-standard “fingernail test.” Gently run your fingernail perpendicular across the scratch. If your nail glides smoothly over the defect without catching, the scratch is shallow and resides entirely within the clear coat. IK Multi Pro 2 and similar polishing compounds are specifically designed to address these surface-level clear coat scratches, scuffs, paint transfers, and light swirl marks.
If your fingernail catches in the groove, or if you can physically see a different color inside the scratch—such as white, grey, or the black of a plastic bumper—the damage has penetrated through the clear coat. In these cases, liquid scratch removers will not work. Attempting to buff out a deep scratch that exposes the primer or bare metal will only thin the surrounding clear coat dangerously, potentially causing irreversible damage. For deep scratches, you must stop and seek professional touch-up paint or specialized body shop repair to prevent rust and paint peeling.
Additionally, always check your vehicle’s owner manual and the product label for specific paint compatibility and clear-coat safety warnings. Some vehicles feature specialized matte or satin finishes that cannot be polished, as any abrasive action will permanently ruin the matte effect by creating an unwanted glossy spot.
Essential Tools and Materials for the Job
Having the correct tools on hand before you begin ensures a smooth, uninterrupted workflow and minimizes the risk of accidentally introducing new defects to your paint. Using dirty towels or improper cleaning agents can quickly turn a minor scratch repair into a major paint correction job. Gather the following materials before starting:

- IK Multi Pro 2 scratch remover: This is your primary abrasive compound formulated to gently level the clear coat.
- High-quality microfiber towels: You will need multiple clean, plush, edgeless microfiber towels (ideally 300 to 450 GSM). Dedicate at least one for applying the product and several others strictly for buffing and final inspection.
- Car wash soap and wash mitt: Use a dedicated, pH-neutral automotive shampoo. Avoid dishwashing liquids, as they strip away essential oils and can dry out rubber seals.
- Painter's tape: High-quality blue or green automotive masking tape is essential for shielding nearby trim.
- Isopropyl alcohol (IPA) or a dedicated panel wipe: A diluted solution (roughly 10% to 15% IPA) helps strip away old wax, grease, and polishing oils, leaving a completely bare surface for the compound to work on.
Investing in these dedicated detailing supplies costs a fraction of professional shop rates, saving you significant money while building a versatile car care kit for future maintenance.
Step-by-Step Guide to Applying IK Multi Pro 2
Achieving professional-grade results at home requires patience, a systematic approach, and a commitment to working in small, controlled sections. Attempting to rush the process or treat an entire car panel at once will lead to uneven results and spent product drying on your paint.
Before you begin the physical application, always read the specific manufacturer instructions on your IK Multi Pro 2 bottle. Formulations can vary slightly in their optimal working times, recommended temperatures, and specific handling requirements.
Step 1: Wash and Decontaminate the Panel
Thoroughly wash the target panel using a clean wash mitt and pH-neutral car soap to remove all road grime, dust, mud, and abrasive grit. Rinse the area completely with clean water and dry it thoroughly with a clean microfiber drying towel. Never attempt to apply a scratch remover compound over a dirty, dusty, or unwashed surface. Even tiny, invisible dust particles trapped under your polishing towel will act like sandpaper, creating severe holograms, micro-marring, and deeper scratches across your clear coat.
Once the panel is dry, mist the immediate area around the scratch with a diluted isopropyl alcohol solution or a dedicated panel wipe. Wipe the surface clean using a fresh microfiber towel. This crucial step strips away any old wax, synthetic sealants, or road film that could clog your applicator pad or prevent the scratch remover from making direct, effective contact with the damaged clear coat.
Step 2: Mask Off Trim and Plastics
Apply automotive painter’s tape to any adjacent rubber window seals, unpainted plastic bumper edges, matte black trim, or chrome badges near the work area. Polishing compounds like IK Multi Pro 2 contain fine, specialized abrasives and chemical carriers that can easily stain porous rubber and textured plastic surfaces.
Once these compounds dry on textured plastic, they leave highly visible, stubborn white residues that are incredibly difficult to clean without specialized trim restorers. Spending five minutes masking off these adjacent areas protects your vehicle’s trim and eliminates a tedious clean-up process later.
Step 3: Apply and Work the Product
Shake the bottle of IK Multi Pro 2 thoroughly before use to ensure the micro-abrasives are evenly suspended throughout the liquid emulsion. Apply a small, dime-sized amount of the product onto a clean microfiber applicator pad or a folded microfiber towel. Working in a small, manageable section—typically no larger than 2 feet by 2 feet (60 cm by 60 cm) centered over the scratch—gently press the pad onto the paint to distribute the product.
Using moderate, consistent downward pressure, guide your hand in overlapping circular or cross-hatch (up-and-down, then left-to-right) motions. The cross-hatch pattern is highly recommended as it ensures the abrasives level the edges of the scratch evenly from all directions. Keep your motions steady and controlled, ensuring you do not press hard enough to flex the metal panel. Always monitor the product’s behavior and stop immediately if you reach the maximum dwell time specified on the product label.
Step 4: Buff to a Clear Finish
Before the worked compound dries completely into a hard, chalky crust, wipe away the remaining residue using a clean, dry, plush microfiber towel. Gently buff the surface in light, circular motions to reveal the polished clear coat underneath. Frequently flip your microfiber towel to a fresh, unused side to avoid rubbing the removed clear-coat particles and spent abrasives back onto the freshly polished paint.
Once the residue is cleared, inspect the treated area under a bright, direct light source, such as a detailing flashlight or direct sunlight. If the scratch is significantly reduced but still slightly visible, you can perform a second, lighter pass. Always proceed with caution, keeping in mind that clear coat is incredibly thin and must be preserved.
Post-Repair Protection and Verification
Because scratch-removal compounds work by physically leveling the microscopic edges of the clear coat, they inevitably strip away any pre-existing wax, paint sealants, or ceramic coatings from the treated area. The newly polished clear coat is now completely bare and highly vulnerable to environmental hazards, acid rain, bird droppings, and intense UV degradation. To secure your hard work and prevent the paint from deteriorating, you must apply a fresh layer of protection.
Once you have verified that the scratch is gone or minimized to your satisfaction, wipe the panel down one final time with a light mist of water or a quick detailer to ensure no compound residue remains. Apply a high-quality car wax, synthetic paint sealant, or ceramic spray coating to the repaired panel according to the product’s specific application instructions. This seals the clear coat, restores hydrophobic properties, and enhances the depth of gloss, helping the repaired section blend seamlessly with the rest of the vehicle.
To properly verify the success of your repair, inspect the panel from multiple angles in natural, indirect sunlight. Walk around the vehicle and observe how light reflects off the treated area. A successful repair will show a smooth, continuous reflection without harsh light scattering or visible hazing.
Keep in mind that some deeper clear coat defects might only be “improved” or rounded off rather than 100% eliminated. Attempting to remove a deep scratch entirely can thin the clear coat dangerously, leading to premature clear coat failure. Improving a scratch by 80% to 90% is often the safest, most practical outcome for a DIY project, preserving the clear coat’s long-term integrity.
Common DIY Mistakes to Avoid in Hot and Humid Climates
Working on automotive paint in tropical climates, such as the Philippines, presents unique environmental challenges that can easily ruin your detailing efforts if ignored. High ambient temperatures and elevated humidity directly affect how detailing chemicals behave on vehicle surfaces.
One of the most critical mistakes is attempting paint correction under direct sunlight or when the vehicle’s panels are physically hot to the touch. Intense tropical heat causes the solvent carriers in polishing compounds to flash and dry out almost instantly upon contact with the paint. When a compound dries prematurely, it loses its lubricating properties, making it incredibly difficult to buff off and often leading to severe micro-marring, hazing, or uneven patchiness. To prevent this, always work in a fully shaded area, such as a covered garage or carport, or schedule your DIY project during the cooler hours of the day, such as early morning or late afternoon.
Another common pitfall is applying excessive downward pressure in an attempt to speed up the scratch removal. Heavy friction combined with warm ambient temperatures generates localized heat, which can quickly soften the clear coat and cause you to “burn” through the paint down to the base coat.
Always monitor your microfiber towel during the buffing process. If you notice any paint color transferring onto your towel, stop immediately. Color transfer on a modern vehicle indicates that you have completely worn through the protective clear coat and are now rubbing the color coat underneath, or that the vehicle has a single-stage paint system without a clear coat. In either scenario, continuing will cause permanent, costly damage that can only be corrected by a professional automotive respray.
Frequently Asked Questions (FAQ)
Can IK Multi Pro 2 fix deep scratches that show white or bare metal?
No, liquid scratch removers cannot fix scratches that penetrate through the clear coat into the base coat, primer, or bare metal. When a scratch shows white, grey, or bare metal, the physical paint layers have been completely removed from that groove. Polishing compounds work by leveling the surrounding clear coat to match the depth of shallow scratches; they cannot replace missing paint. Deep scratches require touch-up paint, sanding, or professional repainting to restore protection and color.
How often can I safely use scratch removers on my car's paint?
Scratch removers should only be used on an as-needed basis for specific defects, rather than as a routine maintenance product. Because these compounds work by removing a microscopic layer of clear coat to level out scratches, frequent or unnecessary use will prematurely thin your vehicle’s clear coat. Over time, an excessively thin clear coat will lose its ability to protect the underlying paint from UV rays, leading to oxidation, fading, and peeling that requires a complete professional respray.
Will the repaired area fade or peel over time?
If the scratch was successfully leveled within the clear coat and you did not burn through the paint, the repaired area will not fade or peel any differently than the rest of the vehicle. However, because the polishing process removes any pre-existing wax or sealant, you must apply a fresh layer of paint protection (such as wax or ceramic sealant) immediately after buffing. Failing to protect the freshly exposed clear coat leaves it highly vulnerable to tropical UV oxidation and environmental damage, which can lead to localized fading over time.
Community discussion
Share your experience or ask a question. Comments are reviewed before publication.