
Using a sticker remover spray on car paint is a highly effective way to dissolve stubborn adhesive residue left behind by decals, registration stickers, or temporary emblems. However, doing so without damaging the delicate clear coat requires a careful balance of chemical dwell time, gentle physical wiping, and immediate surface neutralization. Standard automotive paint consists of a base color coat protected by a thin, transparent clear coat. Because sticker removers rely on organic solvents to break down adhesive polymers, improper application can soften, dull, or scratch this protective layer. By following a systematic approach—preparing the surface, testing the solvent, managing dwell times, and restoring the paint’s protective wax—you can safely restore a flawless finish to your vehicle.
Preparing the Work Area and Gathering Supplies
Before applying any chemical solvent to your vehicle, you must establish a controlled environment and gather the correct detailing tools. The primary goal of preparation is to eliminate any physical contaminants that could cause abrasive damage when you wipe the paint. If you attempt to dissolve adhesive on a dusty or dirty car, the wiping motion will grind loose dirt, road grit, and dust particles directly into the clear coat, leaving behind a network of fine scratches known as micro-marring or swirl marks.
Begin by washing the target area thoroughly using a dedicated car shampoo and a clean wash mitt. Rinse the section with clean water and dry it completely with a clean microfiber towel. This step ensures that only the adhesive residue remains on the paint surface.
Products mentioned in this guide
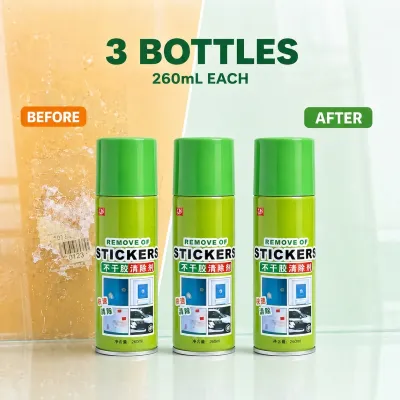
29 Lazada user ratings
This my second order salamat seller rider effective takaga sya pang tanggal ng addisive pati nga Yung mga stain kaya nya tanggalin.
It effectively removed the stickers and shellac stuck on my car. Thanks to the seller.
perfextly received but not yet tested.
89 Lazada user ratings
ok naman pero hindi masyadong effective..... hindi natanggal nang husto... huhu pero atleast nakbabawas sa tape residue...
Effective 90%. Great product for a great price. It helps me remove all adhesive residues of my car's garnish
Nice item. Excellent quality. Item shipped immediately. Will order again. Thanks seller and rider.
ayos kakfjkslakdbskkaksos dkekskdkd ekwjskskskfje ejskskskdjdjr sjwkke sjd d snskd fd s

20 Lazada user ratings
hoping to make this go a lot further than my staff did last time I bought this. let's see if it's useful or not.
💪Effectiveness: not that strong
3,776 Lazada user ratings
I recently purchased this online and I’m happy to report it’s been a good experience so far. The product arrived quickly and was packaged se…Read full reviewShow less
I recently purchased this online and I’m happy to report it’s been a good experience so far. The product arrived quickly and was packaged securely. Overall, I’m satisfied with this purchase. It’s a good value for the price and I would recommend it to others.
Quickly removes sticky residue, Leaves surfaces clean and smooth, orders complete and well packed po Thank you Seller and Courier
Great for removing stickers, Effective adhesive remover, Leaves no marks or residue, High-quality adhesive remover,
Performance: I am not sure how effective this is when removing adhesives. i will just edit my review upon use. ty!
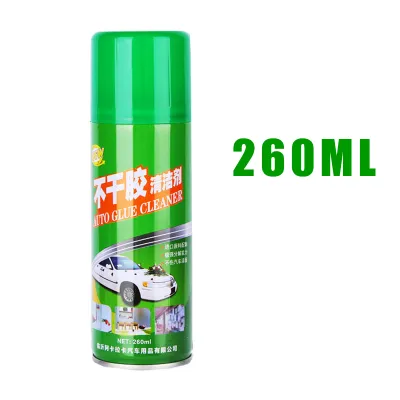
2,386 Lazada user ratings
Works well on car windows and surfaces, Efficient sticker remover, High-quality adhesive remover, Leaves surfaces clean and glossy, Leaves n…Read full reviewShow less
Works well on car windows and surfaces, Efficient sticker remover, High-quality adhesive remover, Leaves surfaces clean and glossy, Leaves no residue behind, Perfect for removing stubborn stickers, Convenient spray bottle design, Quick and effective cleaning solution,
Quality:ok Appearance:ok Performance:goods nakaka alis nga di kp na kinunan, pero 2 yrs na ang stain ng sticker sa car di ko maalis now tuma…Read full reviewShow less
Quality:ok Appearance:ok Performance:goods nakaka alis nga di kp na kinunan, pero 2 yrs na ang stain ng sticker sa car di ko maalis now tumalab ito. thanks
👌Ease of Use:ok ✨Effectiveness:ok 💰Value for Money:ok Cleans adhesive dirt effectively, Works well on car windows and surfaces,
Efficient sticker remover, Works well on car windows and surfaces, 👌Ease of Use:good ✨Effectiveness:good 💰Value for Money:good
Convenient spray bottle design, Efficient sticker remover,
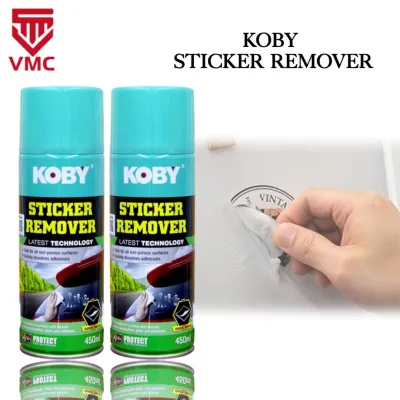
478 Lazada user ratings
nicely packed and complete items. sana magtagal at matibay. nicely packed and complete items. sana magtagal at matibay. di bagay sa plastic …Read full reviewShow less
nicely packed and complete items. sana magtagal at matibay. nicely packed and complete items. sana magtagal at matibay. di bagay sa plastic windshield ng motor ko namuti after matanggalbyung sticker.
maayos naman yun pagpack nila . sana din talaga nakakatangal ng sticker . salamat at godbless
Quality:Slightly Good Appearance:Slightly Good Performance:Slightly Good
Thank you so much seller At salamat kay pareng lex na nagdeliver
Package received in good condition
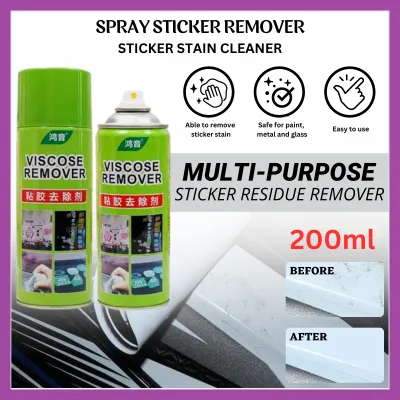
239 Lazada user ratings
Great for DIY projects, Multipurpose cleaner, Efficient adhesive remover, Efficient adhesive remover, Saves time and effort, Removes sticker…Read full reviewShow less
Great for DIY projects, Multipurpose cleaner, Efficient adhesive remover, Efficient adhesive remover, Saves time and effort, Removes stickers effortlessly, Works on various surfaces, A must-have for crafters,
Saves time and effort, Easy to use and effective, A must-have for crafters, Removes stickers effortlessly, Multipurpose cleaner, No residue …Read full reviewShow less
Saves time and effort, Easy to use and effective, A must-have for crafters, Removes stickers effortlessly, Multipurpose cleaner, No residue left behind, Great for DIY projects,
Convenient spray bottle, A must-have for crafters, Removes stickers effortlessly, Multipurpose cleaner, No residue left behind, Efficient ad…Read full reviewShow less
Convenient spray bottle, A must-have for crafters, Removes stickers effortlessly, Multipurpose cleaner, No residue left behind, Efficient adhesive remover,
Multipurpose cleaner, A must-have for crafters, Works on various surfaces, Convenient spray bottle,
Prices are valid at publication and may change. Please refer to the product page for the latest price.
Next, select your tools. You will need several clean, high-gsm plush microfiber towels. Microfiber is essential because its split fibers trap lifted adhesive and contaminants within the pile, keeping them away from the paint surface. Avoid using paper towels, old cotton t-shirts, or kitchen sponges, as these materials are too abrasive for automotive clear coats.
Finally, consider your environment. Always park the vehicle in a cool, shaded area away from direct sunlight. High ambient temperatures, which are common in tropical climates like the Philippines, cause solvents to evaporate rapidly. If the sticker remover spray dries on the paint, the dissolved adhesive will re-harden, and the concentrated chemicals may bake into the clear coat, increasing the risk of chemical etching or staining. The metal panels of the car should feel cool to the touch before you begin.
Conducting a Safety Spot Test on the Clear Coat
Automotive paint finishes vary significantly depending on the vehicle’s manufacturer, age, and previous repair history. Factory clear coats are generally highly chemical-resistant, but aftermarket repaints, smart repairs, or older, weathered finishes may react unpredictably to solvent-based cleaners. Therefore, conducting a safety spot test is a mandatory step before applying any sticker remover spray to a highly visible area of your car.

Select an inconspicuous test area on the vehicle. Ideal locations include the lower portion of the rear bumper, the inside edge of a door jamb, or the paint under the trunk lip. These areas feature the same paint and clear coat formulation as the rest of the exterior but are hidden from normal view.
Spray a very small amount of the sticker remover onto a clean microfiber towel and press it gently against the test area for the manufacturer’s recommended dwell time. Remove the towel and inspect the paint closely under strong, direct lighting. Look for any immediate adverse reactions, such as clouding, hazing, color transfer onto the towel, wrinkling, or softening of the paint. You can test for softening by gently pressing a fingernail into the tested spot; if it leaves an impression, the clear coat has softened. If you observe any of these warning signs, stop immediately, wash the area with soapy water to neutralize the solvent, and consult a professional automotive detailer. If the test area remains glossy, hard, and unchanged, you can proceed with confidence.
Step-by-Step Application and Adhesive Removal
Removing adhesive safely is a controlled chemical process rather than a physical scrubbing task. The goal is to let the active solvents in the sticker remover spray penetrate and liquefy the adhesive backing so that it can be lifted away with minimal friction. Patience and methodical execution are your best defenses against paint damage during this stage.
Applying the Spray and Managing Dwell Time
To begin the removal process, identify the exact boundaries of the adhesive residue. If you are dealing with a thick sticker that is still attached, you may need to gently peel back a corner first to allow the solvent to seep underneath. For exposed adhesive residue, hold the sticker remover spray bottle approximately 10 to 15 centimeters away from the surface and apply a light, targeted mist directly onto the sticky area.
If the residue is located near sensitive plastic trim, rubber weatherstripping, or headlight lenses, avoid spraying directly. Many solvent-based sticker removers can dry out rubber or cause polycarbonate plastics to stress-crack or turn white. Instead, spray the product directly onto a clean microfiber towel and hold the damp cloth against the adhesive residue. This localized application technique gives you complete control over where the chemical goes.
Once applied, you must manage the dwell time strictly according to the product label’s instructions. Do not guess the time or leave the product on the paint indefinitely. The solvent needs time to break the chemical bonds of the adhesive, which typically takes between one and three minutes. However, environmental factors play a significant role. In hot or humid conditions, the spray will evaporate much faster. Monitor the treated area closely; if the solvent begins to dry out before the dwell time is complete, apply a very light secondary mist to keep the adhesive wet and active.
Wiping Techniques to Prevent Clear Coat Scratches
Once the dwell time has passed and the adhesive has softened into a gel-like consistency, it is time to wipe it away. The physical technique you use here is critical to preventing scratches. Never scrub the paint in rapid, circular motions or apply heavy downward pressure. Circular scrubbing grinds the dissolved, sticky adhesive back into the surrounding clear coat, creating a larger mess and increasing the risk of scratching.
Instead, use a gentle, single-direction wiping motion. Place your plush microfiber towel flat against the surface and wipe in one straight line to lift the softened residue off the paint. After each pass, fold the microfiber towel to a fresh, clean section. This step is vital because once adhesive is trapped in the towel’s fibers, continuing to use that same section will drag the sticky particles across the clear coat, causing micro-scratches.
If you encounter resistance, do not scrape the paint with plastic razor blades, credit cards, or abrasive kitchen pads. While some detailers use plastic scrapers, they carry a high risk of gouging the clear coat if used at an incorrect angle. Instead, let the chemistry do the work. If a layer of adhesive remains, simply reapply a small amount of the spray, wait another minute, and wipe gently again. Working in thin, progressive layers is the safest way to tackle thick or aged residue.
Post-Removal Cleaning and Paint Protection
Once the adhesive is completely gone, the job is not yet finished. Sticker remover sprays leave behind an oily solvent residue that must be neutralized and removed. If left on the vehicle, this chemical film can attract road dust, degrade the clear coat over time under UV exposure, and prevent any protective coatings from bonding to the paint.
Immediately wash the treated area with a dedicated car shampoo or wipe it down thoroughly with an automotive quick detailer. This step neutralizes and lifts the remaining solvent molecules from the surface. Dry the area completely with a clean microfiber towel and inspect the paint under a bright inspection light or direct sunlight. Check the surface from multiple angles to ensure there is no lingering tackiness, chemical hazing, or “ghosting”—a phenomenon where the outline of the old sticker remains visible due to uneven paint weathering.
Because solvent-based sticker removers are designed to dissolve organic compounds, they will completely strip away any pre-existing car wax, paint sealant, or ceramic coating on the treated area. Leaving the paint bare exposes it to environmental hazards such as bird droppings, tree sap, and UV rays, which can cause rapid oxidation.
To restore protection, apply a high-quality car wax, synthetic paint sealant, or ceramic spray coating to the clean, dry spot. Buff the protective product to a high shine using a clean microfiber towel. This restores the hydrophobic properties of the paint and ensures the treated spot matches the gloss and protection level of the rest of the vehicle.
Troubleshooting Stubborn Residue and Paint Reactions
In some cases, you may encounter old, sun-baked adhesives that resist initial removal efforts, or you may notice unexpected changes in the paint finish. Knowing how to troubleshoot these situations safely prevents permanent damage to your car’s exterior.
For exceptionally thick, hardened, or aged adhesive—such as residue that has been baked onto a hood or roof for years—a single application of sticker remover spray will rarely suffice. The outer layer of the adhesive often hardens into a chemical-resistant shell. To address this, apply the spray and let it dwell, then gently wipe away only the top softened layer. Repeat this process multiple times, working through the adhesive layer by layer. You can also drape a solvent-dampened microfiber towel over the stubborn spot and cover it with a piece of plastic wrap to slow down evaporation, allowing the chemical to penetrate deeply over several minutes.
It is also important to distinguish between surface adhesive residue and actual paint damage. If you remove a sticker and notice a distinct outline that cannot be wiped away, this is often “ghosting.” Ghosting occurs when the paint surrounding the sticker has faded and oxidized from years of UV exposure, while the paint underneath the sticker remained protected. This is not adhesive residue; it is a physical difference in paint wear. No amount of sticker remover will fix ghosting. Instead, the paint will require a professional machine polish or paint correction to level the surrounding clear coat and restore a uniform appearance.
If at any point during the process the paint becomes soft to the touch, begins to bubble, or exhibits a persistent cloudy haze that does not wipe away with quick detailer, stop immediately. These are signs of clear coat compromise or chemical incompatibility. Do not attempt to scrub, sand, or polish the area yourself. Seek the assistance of a professional automotive detailing shop, as they have the specialized tools and paint depth gauges required to assess and repair chemical damage safely.
Frequently Asked Questions (FAQ)
Can I use sticker remover spray on matte paint or vinyl wraps?
No, you should avoid using standard solvent-based sticker remover sprays on matte paint finishes or vinyl wraps unless the product label explicitly states it is safe for these materials. Matte paint does not have a standard glossy clear coat; its textured surface scatters light to create the flat look. Applying a solvent can dissolve this texture, leaving behind permanent glossy spots or blotches that cannot be polished out. Similarly, vinyl wraps are made of plastics that can easily soften, discolor, or bubble when exposed to harsh organic solvents. For these sensitive surfaces, look for specialized, mild adhesive removes formulated specifically for vinyl or matte finishes, or use gentle heat from a hair dryer to soften the adhesive instead.
What should I do if the spray leaves a cloudy or hazy spot?
If the sticker remover spray leaves a cloudy or hazy spot on your clear coat, first determine if it is simply dried solvent residue or actual paint damage. Wash the area thoroughly with car shampoo and water, then wipe it with an automotive quick detailer. If the haze disappears, it was merely dried residue. If the cloudiness persists, the solvent may have lightly etched or micro-marred the clear coat. To restore clarity, apply a small amount of a fine finishing polish or a dedicated pre-wax cleaner to a clean microfiber applicator pad. Work the polish gently into the hazy spot using light pressure in straight lines, then buff clean. If the haze does not improve, avoid aggressive compounding or machine polishing, and consult a professional detailer to prevent burning through the clear coat.
Community discussion
Share your experience or ask a question. Comments are reviewed before publication.